The Daytona JetBrains Gateway Plugin allows you to seamlessly connect to your Daytona workspaces directly from JetBrains Gateway.
This integration enhances your development experience by providing streamlined workspace management, improved team collaboration, direct profile access, and simplified command handling - all within your familiar JetBrains environment.
This guide will walk you through the entire process of installing and setting up the Daytona plugin for JetBrains Gateway, from prerequisites to advanced usage. By the end, you'll be able to leverage the full power of Daytona within your JetBrains workflow.
Prerequisites
Before beginning the installation process, ensure you have the following:
Daytona Access: Either a hosted instance or a self-hosted demo from the Daytona Enterprise Demo GitHub repository.
Daytona Dashboard URL: Obtain this from your Daytona installation.
JetBrains Gateway: Download and install from the official JetBrains Gateway website.
JetBrains IDE License: An active license for your preferred IDE.
The installation process consists of two main parts: installing the plugin package and establishing a connection between your Daytona installation and JetBrains Gateway.
Quick Install via JetBrains Gateway
Open JetBrains Gateway:
Launch the JetBrains Gateway application on your local machine.
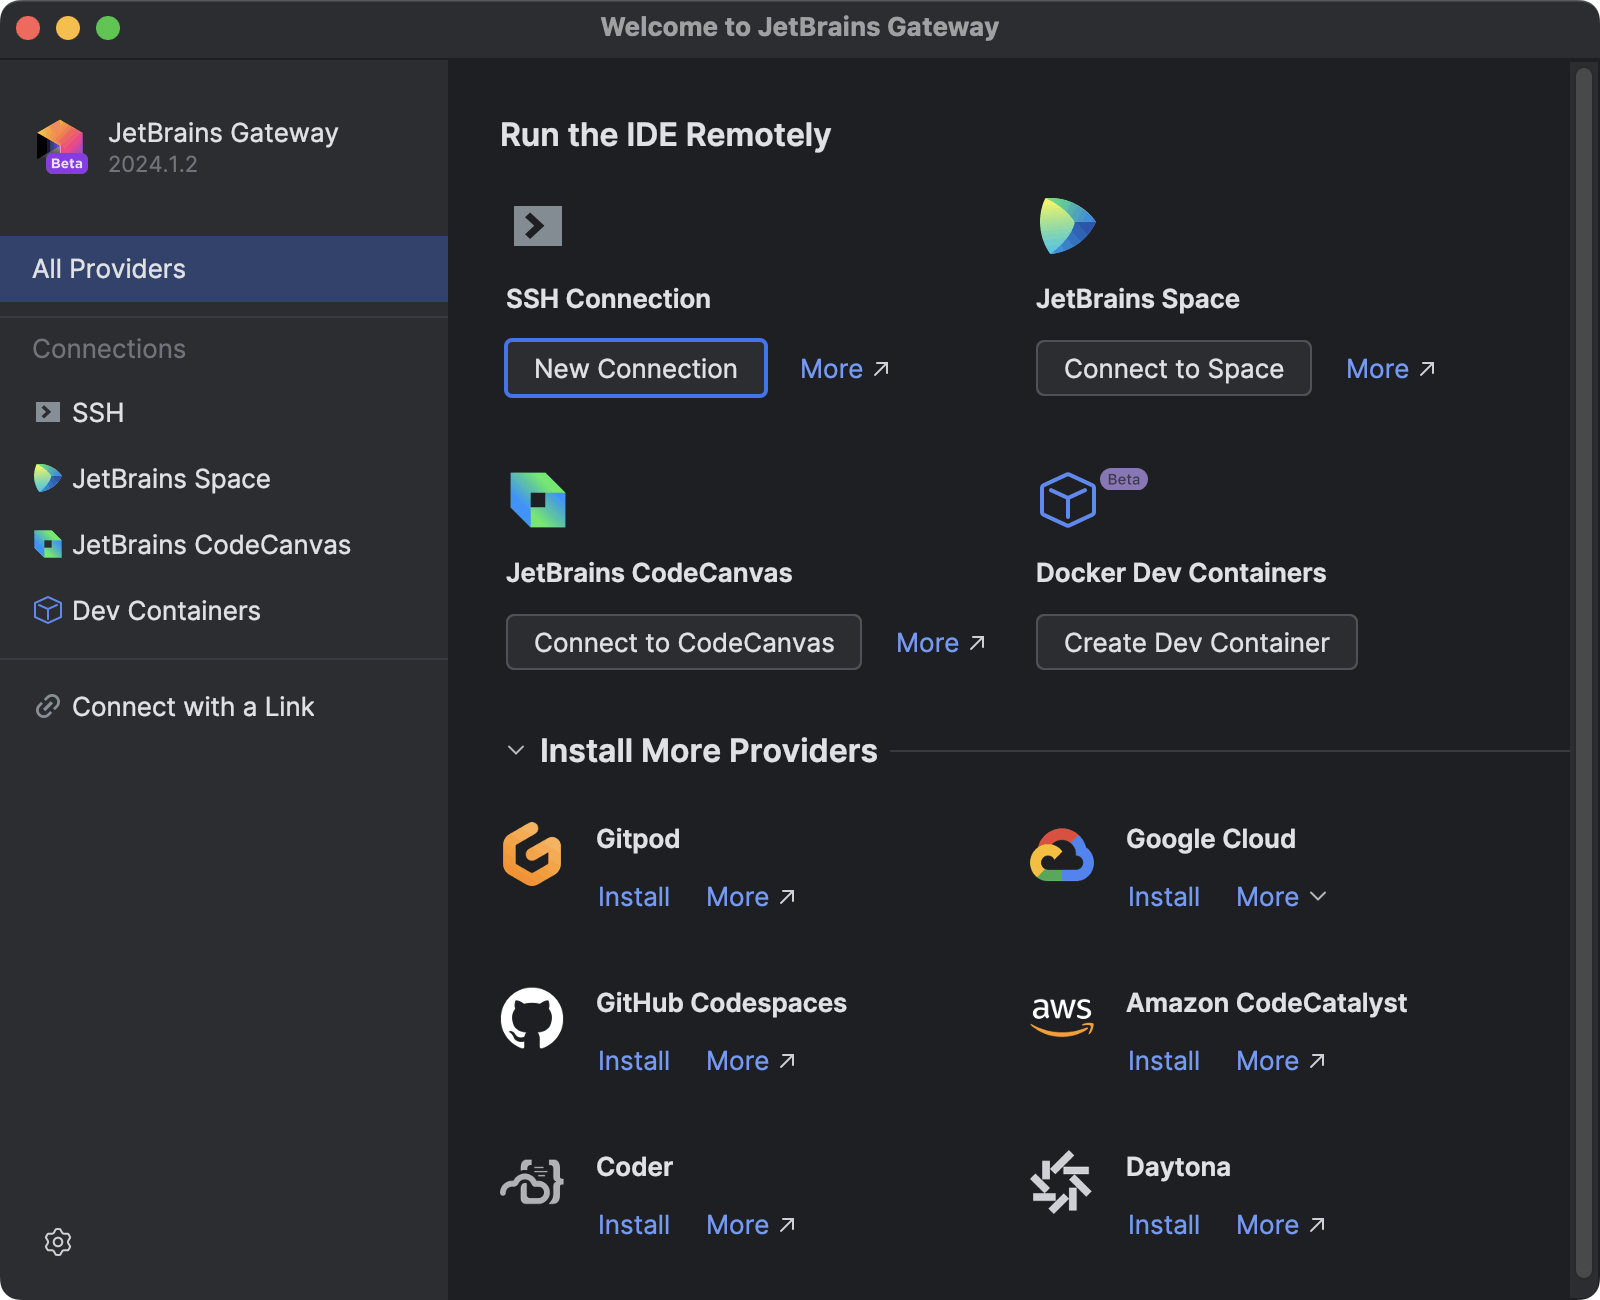
Install Daytona Plugin:
Find Daytona on the start screen of the JetBrains Gateway under Install More Provider and click Install next to the Daytona option.
Connecting to Daytona
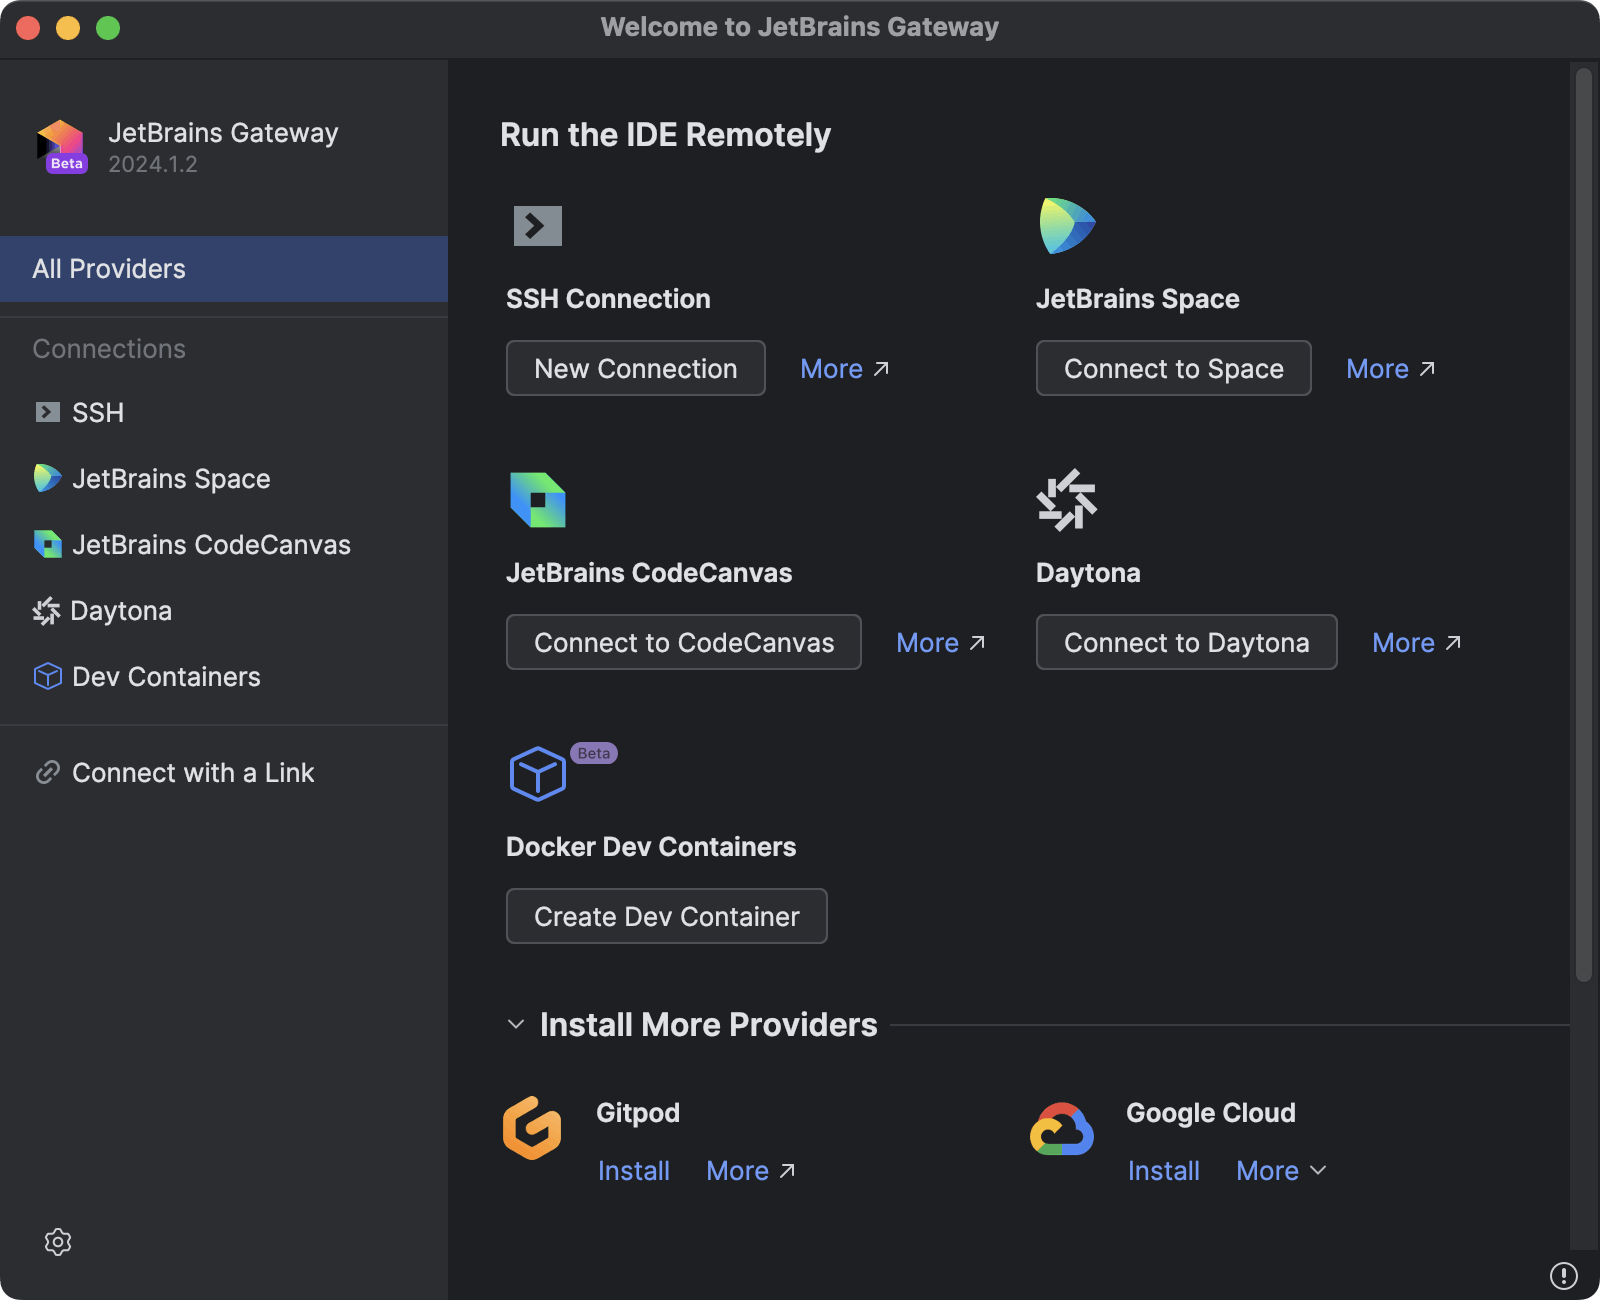
After the installation is complete, you can connect to your Daytona instance.
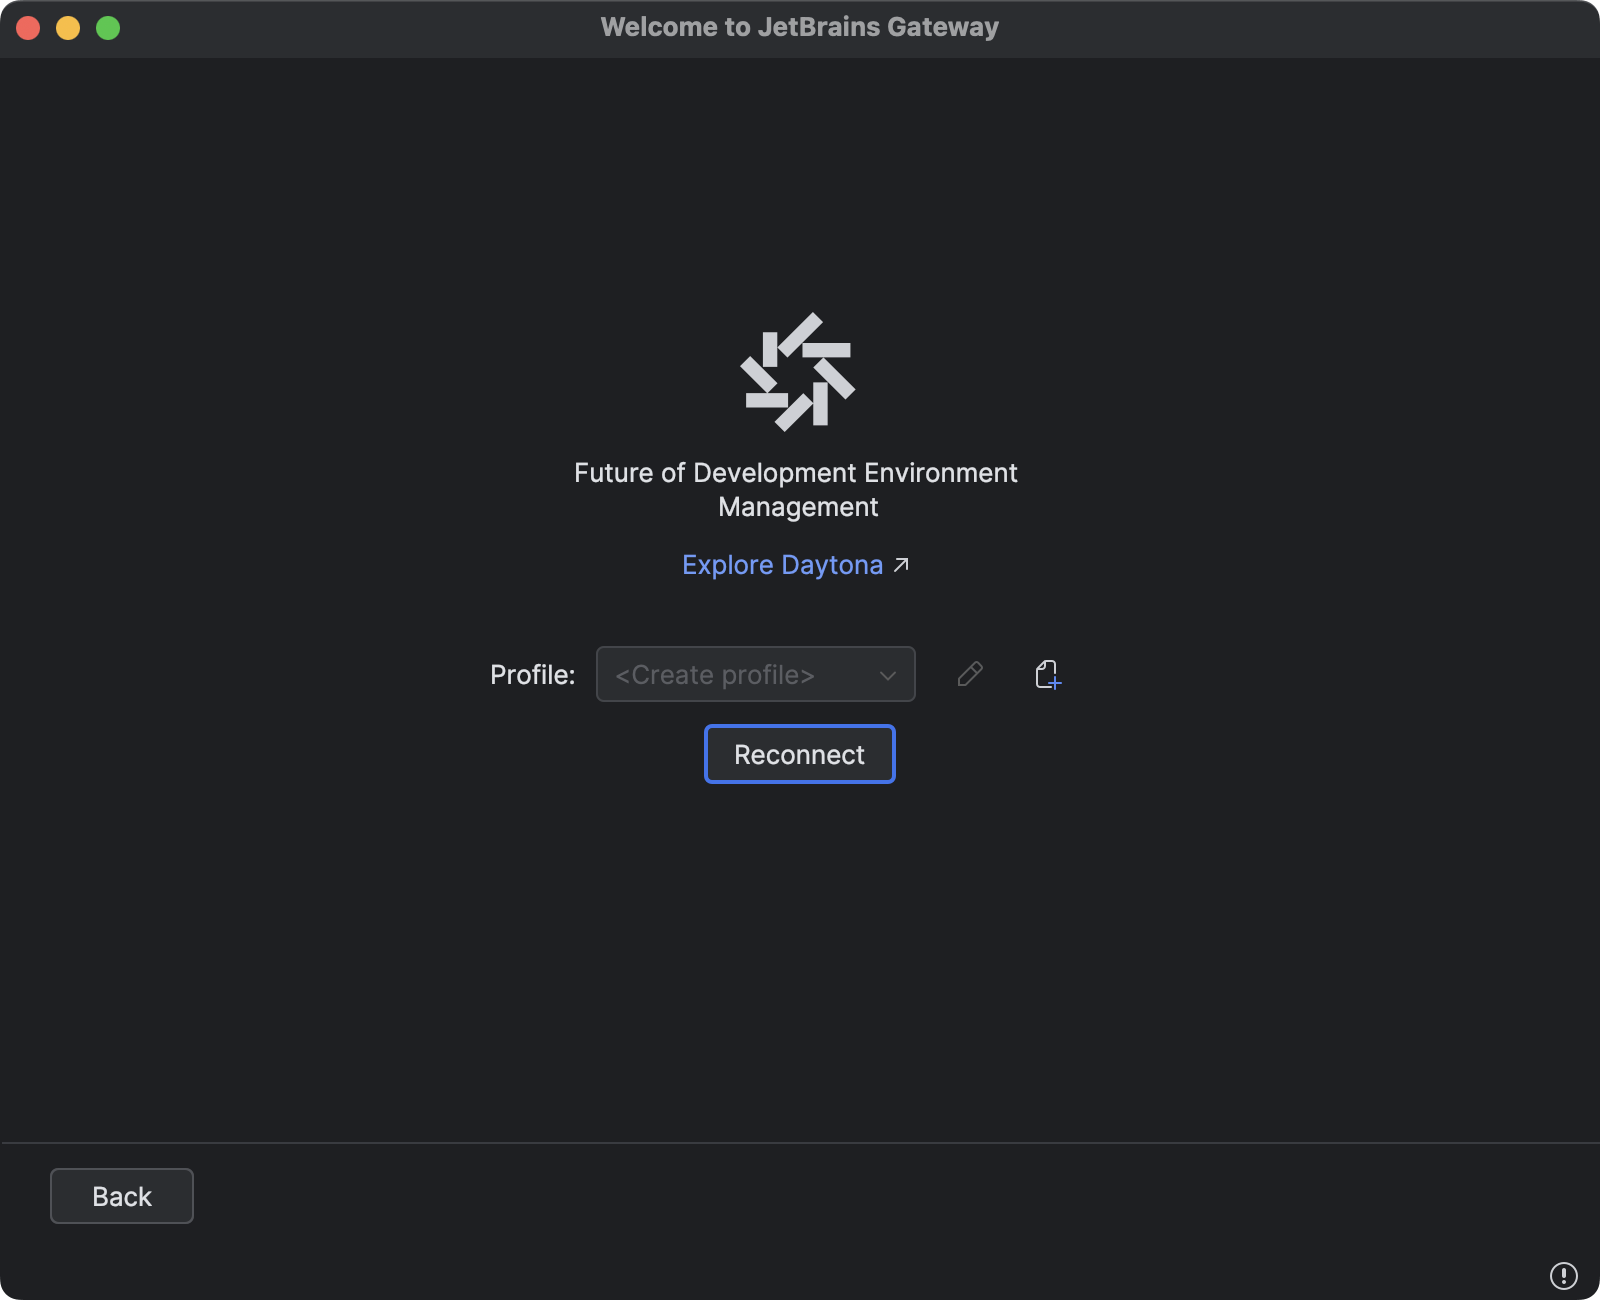
Click "Create New Profile" in JetBrains Gateway.
Enter a profile name and your Daytona instance URL.
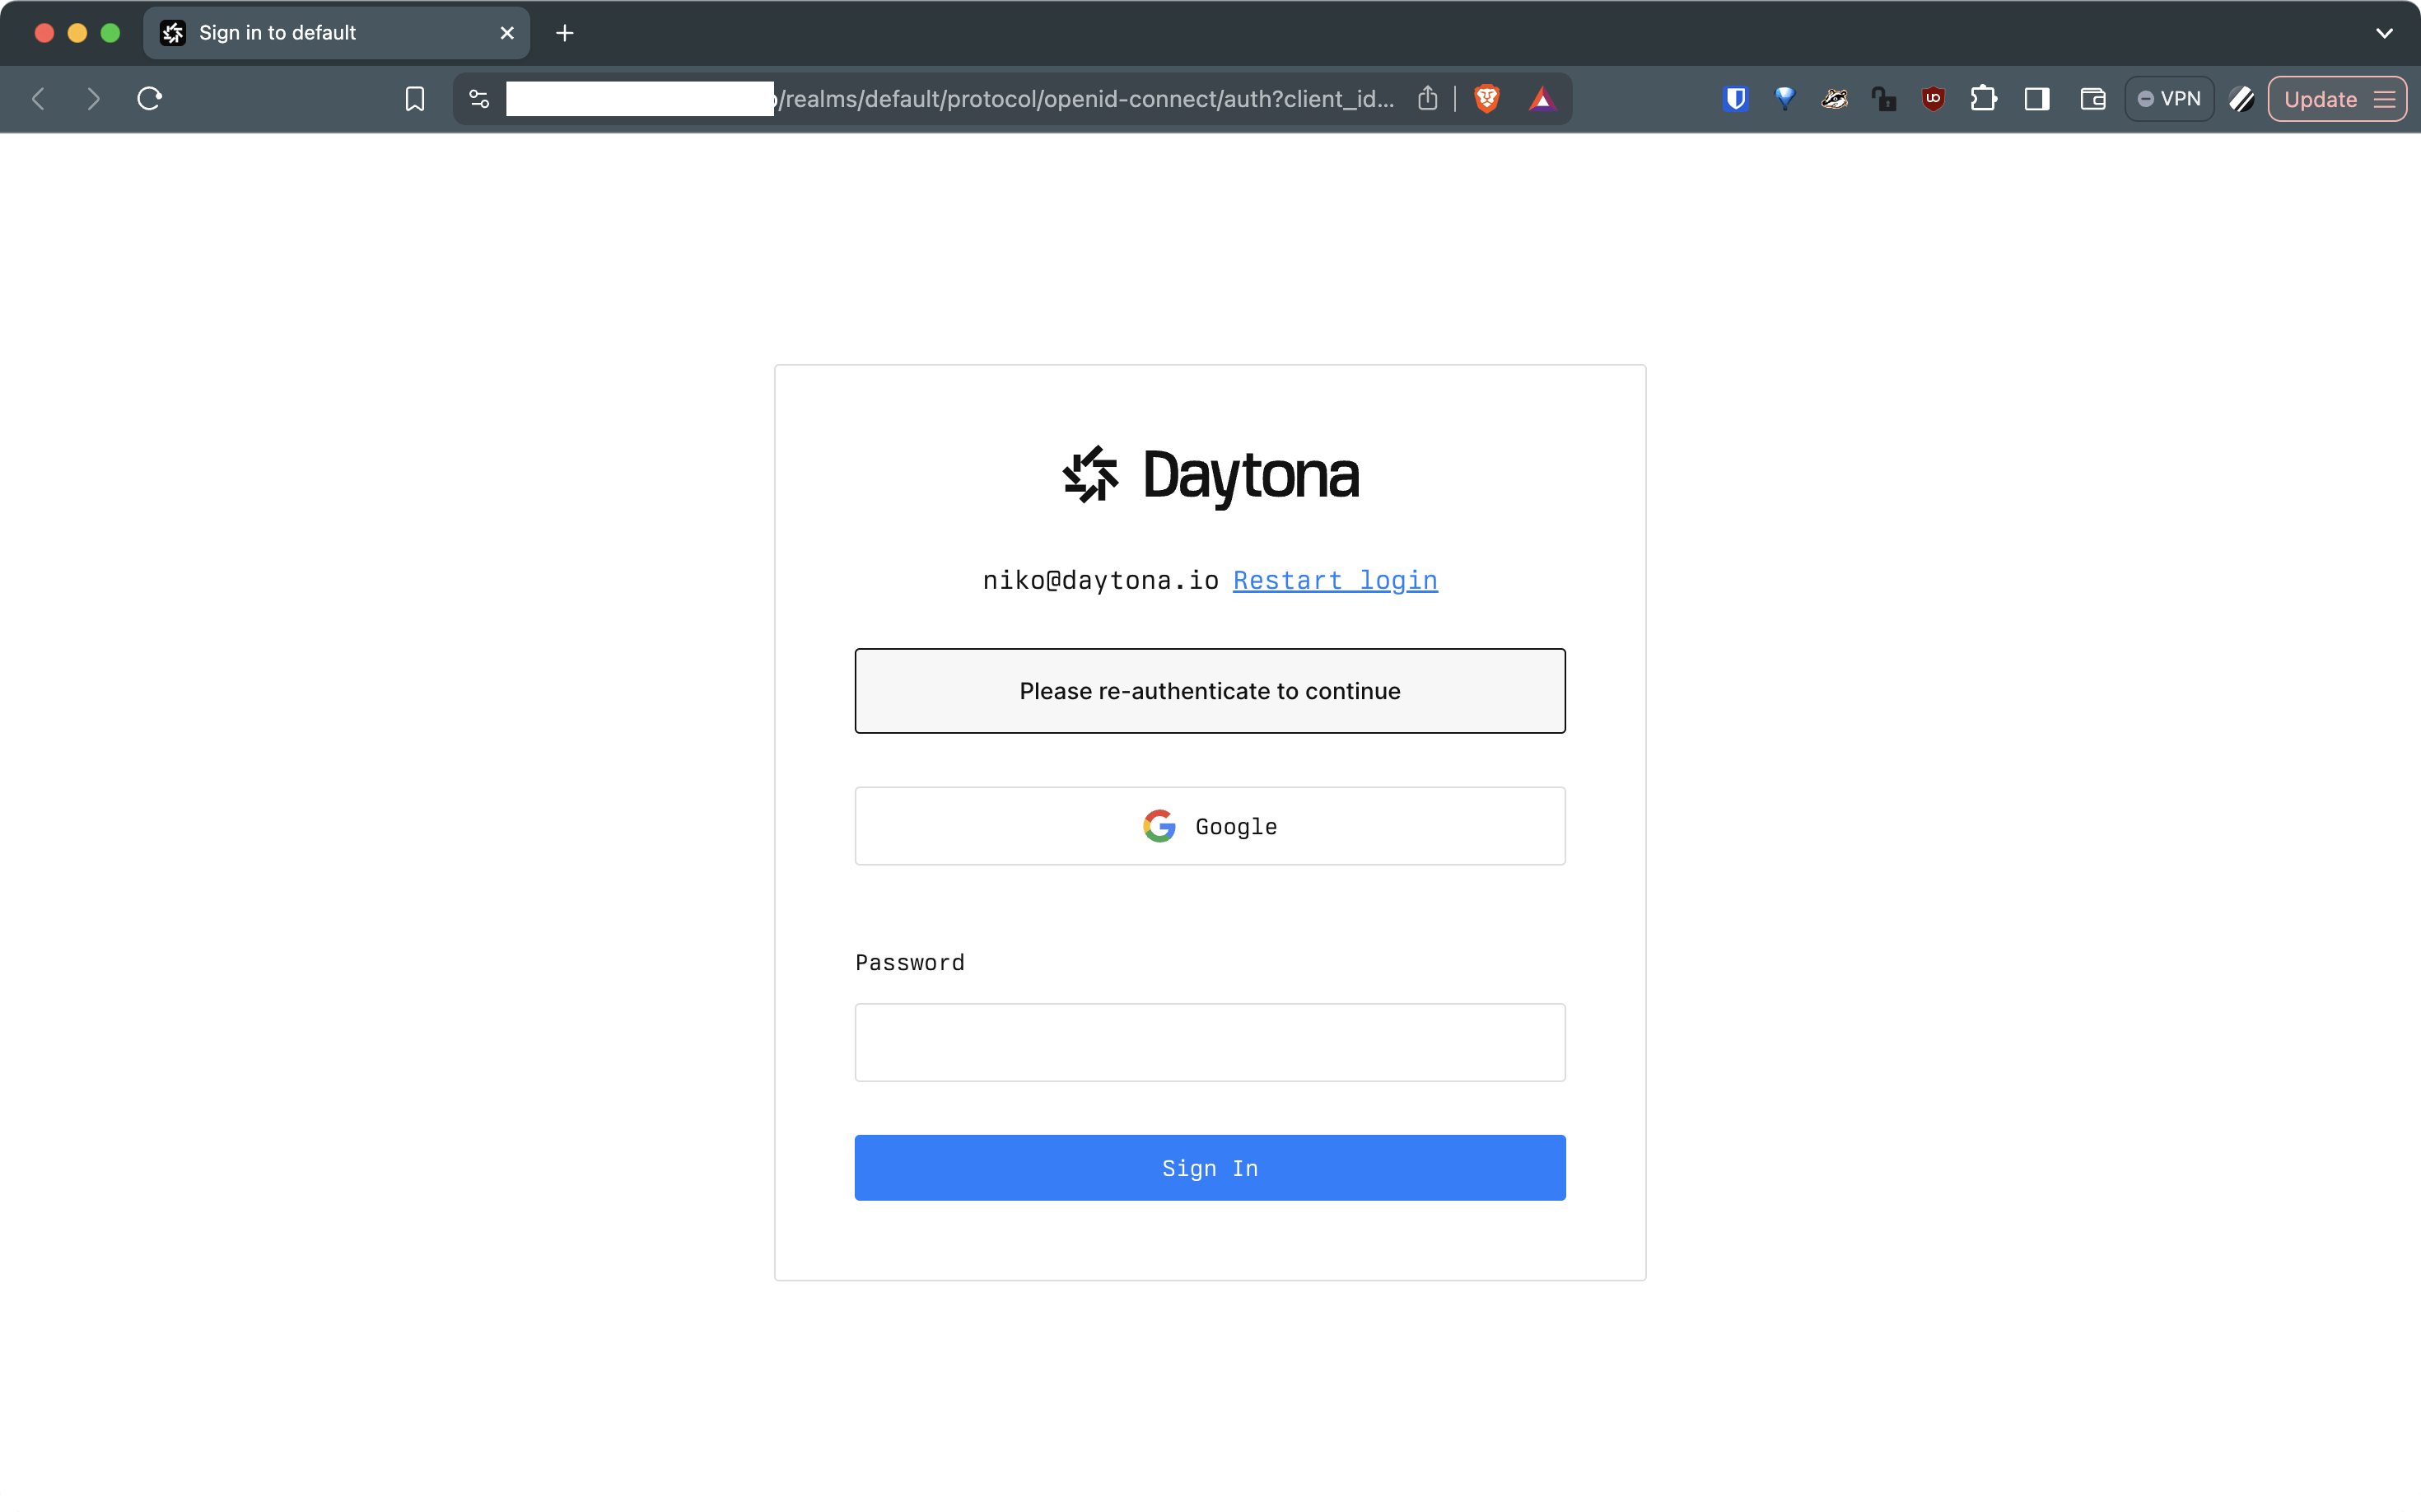
Click "Create" and authenticate in the browser window.
After establishing the connection, you can access the various features of the Daytona plugin.
Leveraging Daytona Features
Workspace Creation
Note
Configure your Git provider in the Daytona Dashboard under personal settings first (menu under your avatar icon). Note Notenote
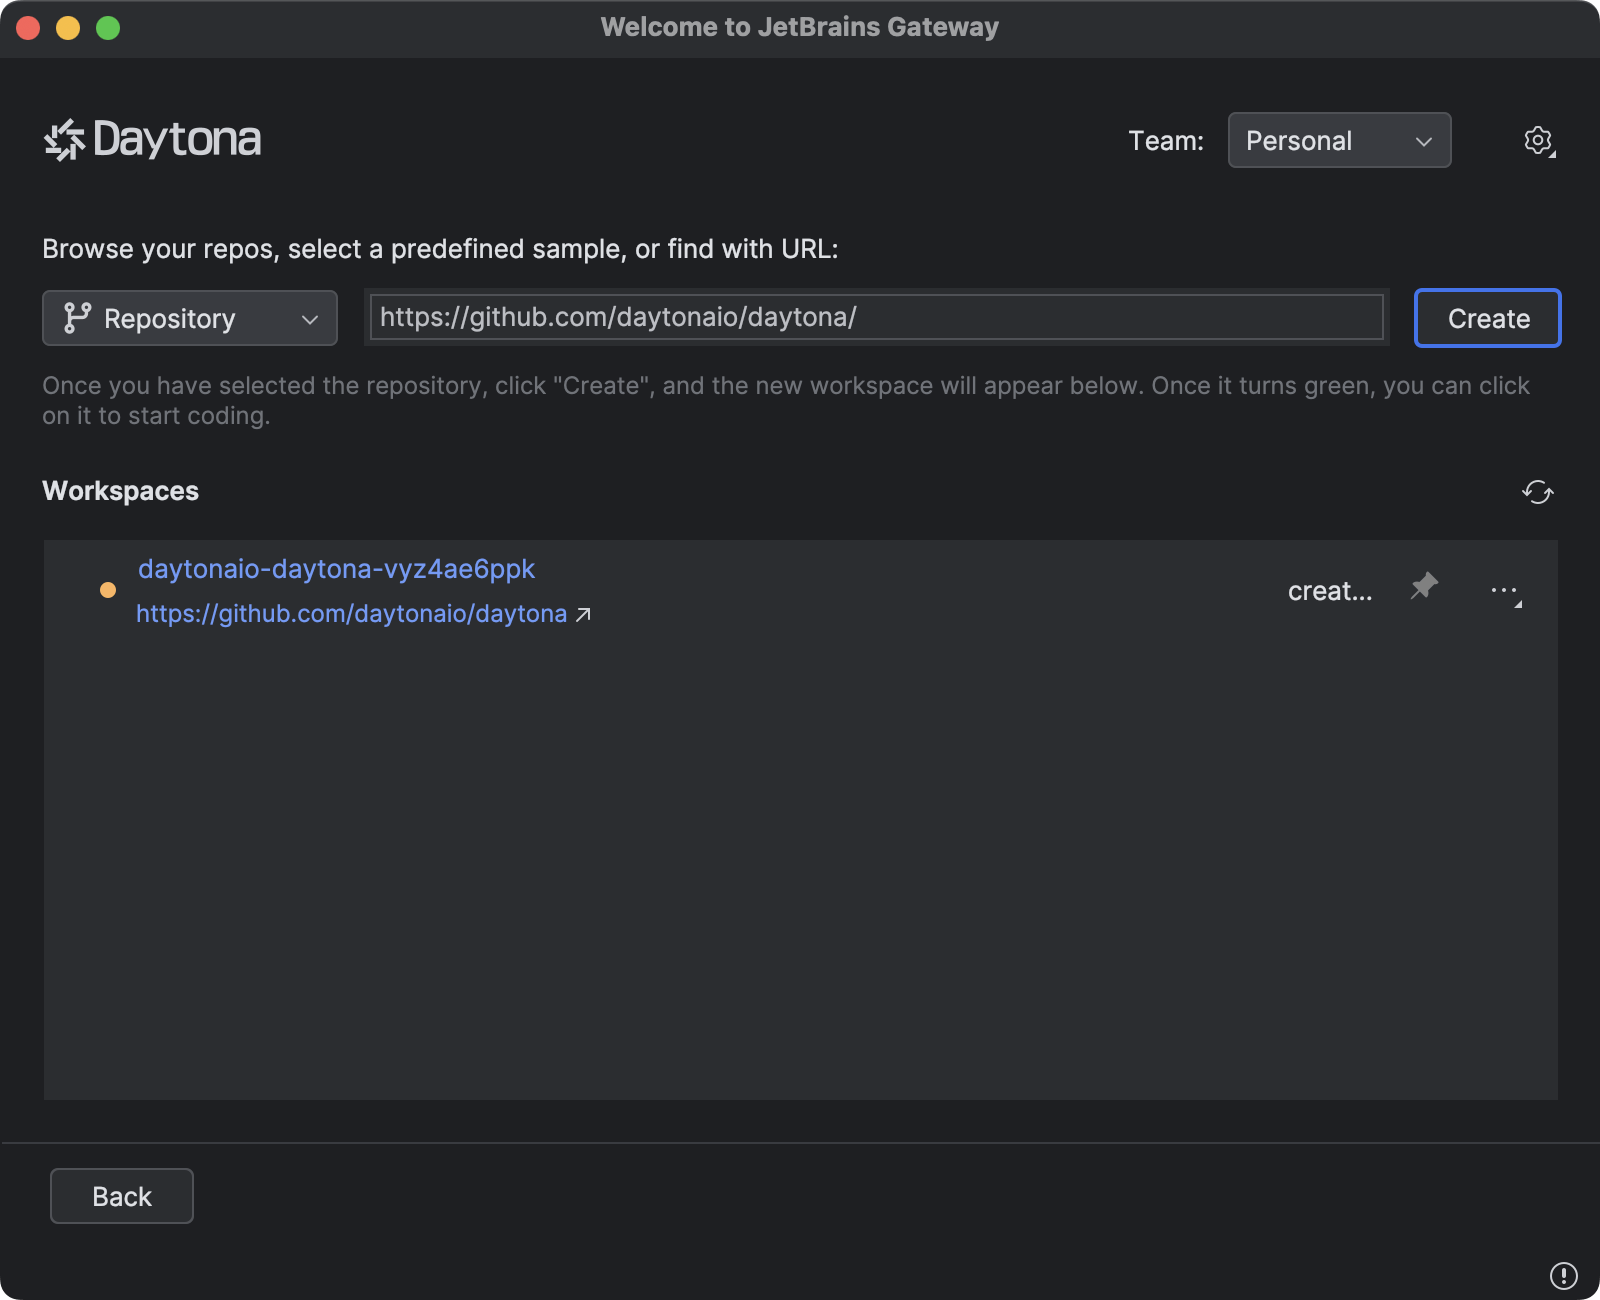
Option A: Via Repository URL:
In the Daytona configuration screen of the plugin, start typing the name of your repository or paste a repository URL in the "enter a public repository URL" field.
Click "New Workspace".
Option B: Via Dropdown Menu:
Click the dropdown menu next to "Repository:".
Select the "Samples" option, choose your preferred sample, and then click "New Workspace".
Note
Creating a workspace may take a few seconds. Avoid clicking multiple times to prevent creating duplicate workspaces.
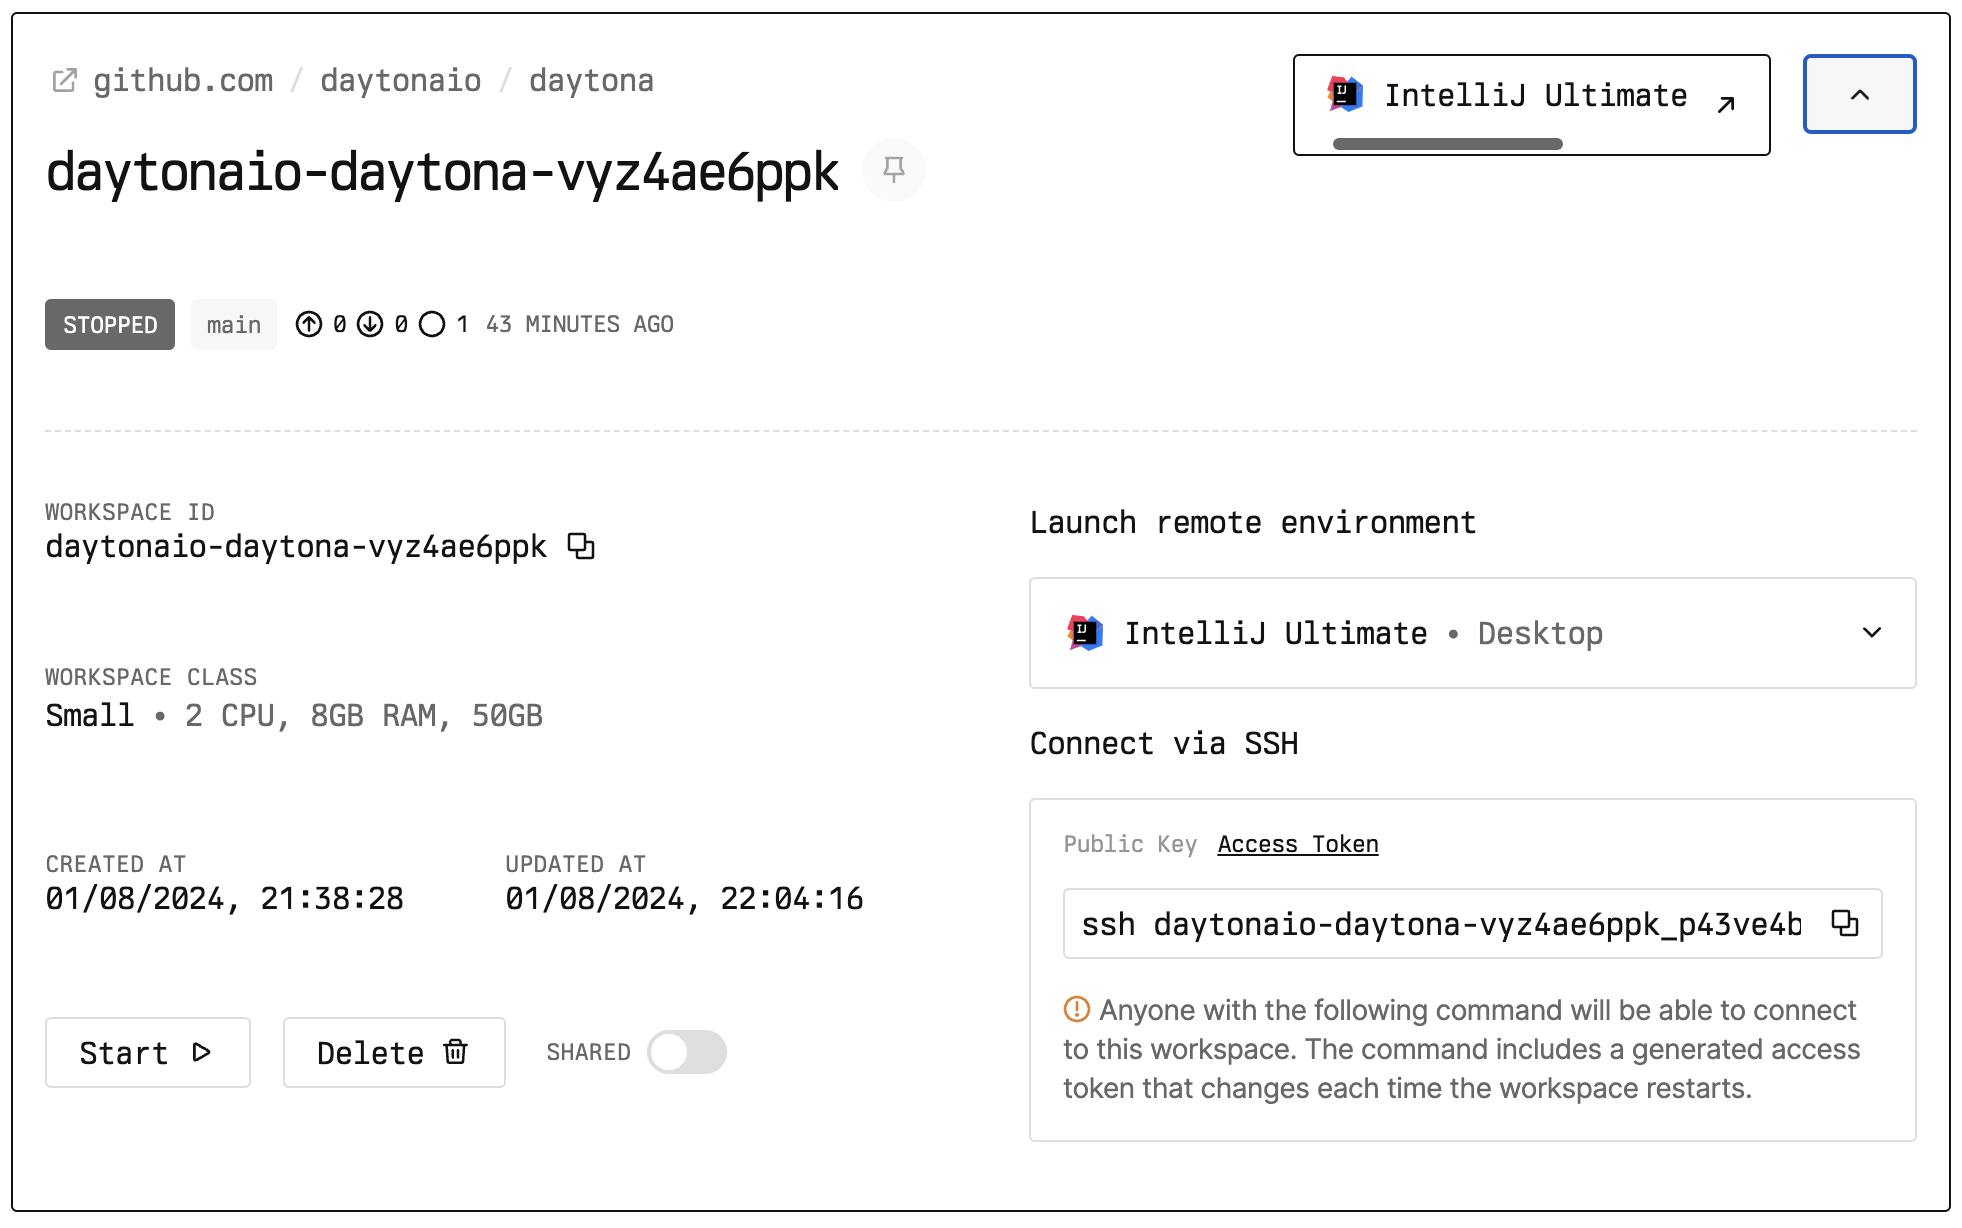
Connecting from Daytona Dashboard
Alternatively you can create and connect the workspace from the Daytona web dashboard and also start the preferred JeBrains IDE.
Access Your Daytona Dashboard:
Open your web browser and navigate to your Daytona dashboard URL.
Ensure you're on the "Workspaces" tab.
Select a Workspace:
Choose a workspace from the list.
Click the IDE button next to the workspace name.
Optionally you can select different IDE from the dropdown menu.
Note
If you don't have any repositories, you'll need to create a new workspace by clicking "Create" in the "WORKSPACES" tab and creating a repository from your Git provider.
Grant Access to Your Daytona Workspace:
Your browser will prompt you to open JetBrains Gateway. Choose "Open JetBrains Gateway".
JetBrains Gateway will open and attempt to connect to your workspace. This may take a few minutes.
Do not close the "Trying to connect using the link" pop-up window. It will close automatically once the connection is established.
Workspace Management
Checking Workspaces: View your workspaces under "Recent workspaces". A lit circle indicates a started workspace.
Pinning Workspaces: Click the pin button to keep important workspaces visible.
Opening Workspaces: Click on a workspace name or the "Open" button to launch it in your chosen IDE.
Working in a Workspace:
Use the Linux terminal within the IDE.
Debug your code using the built-in debugger.
For web applications, use port forwarding to view live previews.
Stopping Workspaces: Click the "..." button and select "Stop".
Destroying Workspaces: Click the "..." button and select "Destroy". Note that this action is irreversible.
Profile Management
Checking Profiles: Use the dropdown menu next to "Profiles:" to view and switch between profiles.
Adding a Profile:
Click "Add profile".
Enter a name and the Base API URL.
Click "New" and follow the authentication process.
Editing a Profile: Click the edit button next to the profile dropdown to modify profile details.
Deleting a Profile: In the edit menu, select "Delete".
Team Management
Switching Teams: Use the dropdown menu next to "Teams:" to switch between different teams.
Troubleshooting
If you encounter issues:
Ensure all prerequisites are met.
Check your internet connection.
Verify that your Daytona installation is running correctly.
Restart JetBrains Gateway and try the connection process again.
If problems persist, consult the Daytona documentation or reach out to support.
Uninstalling the Daytona Plugin
To remove the Daytona plugin:
Open JetBrains Gateway and go to "Manage Providers".
Find "Daytona Gateway" under "/downloaded".
Click the down arrow next to "Disable" and choose "Uninstall".
Confirm the uninstallation and restart JetBrains Gateway.
Manual Installation of the Daytona Gateway Plugin (Optional)
While the automatic installation through JetBrains Gateway suffices for most users, you might need to manually install a specific version of the Daytona plugin.
Download the Daytona Gateway Plugin Package.
Open JetBrains Gateway.
Click the settings button (bottom left) > "Managing Providers".
In the "Plugins" window, click settings > "Install Plugin from Disk".
Select the downloaded .jar file.
Confirm installation.
Conclusion
By following this guide, you should now have successfully installed and configured the Daytona plugin for JetBrains Gateway. This powerful integration allows you to seamlessly manage your Daytona workspaces within your preferred JetBrains environment, enhancing your development workflow and productivity.
Remember to keep both JetBrains Gateway and the Daytona plugin updated to ensure you have access to the latest features and improvements. Happy coding!