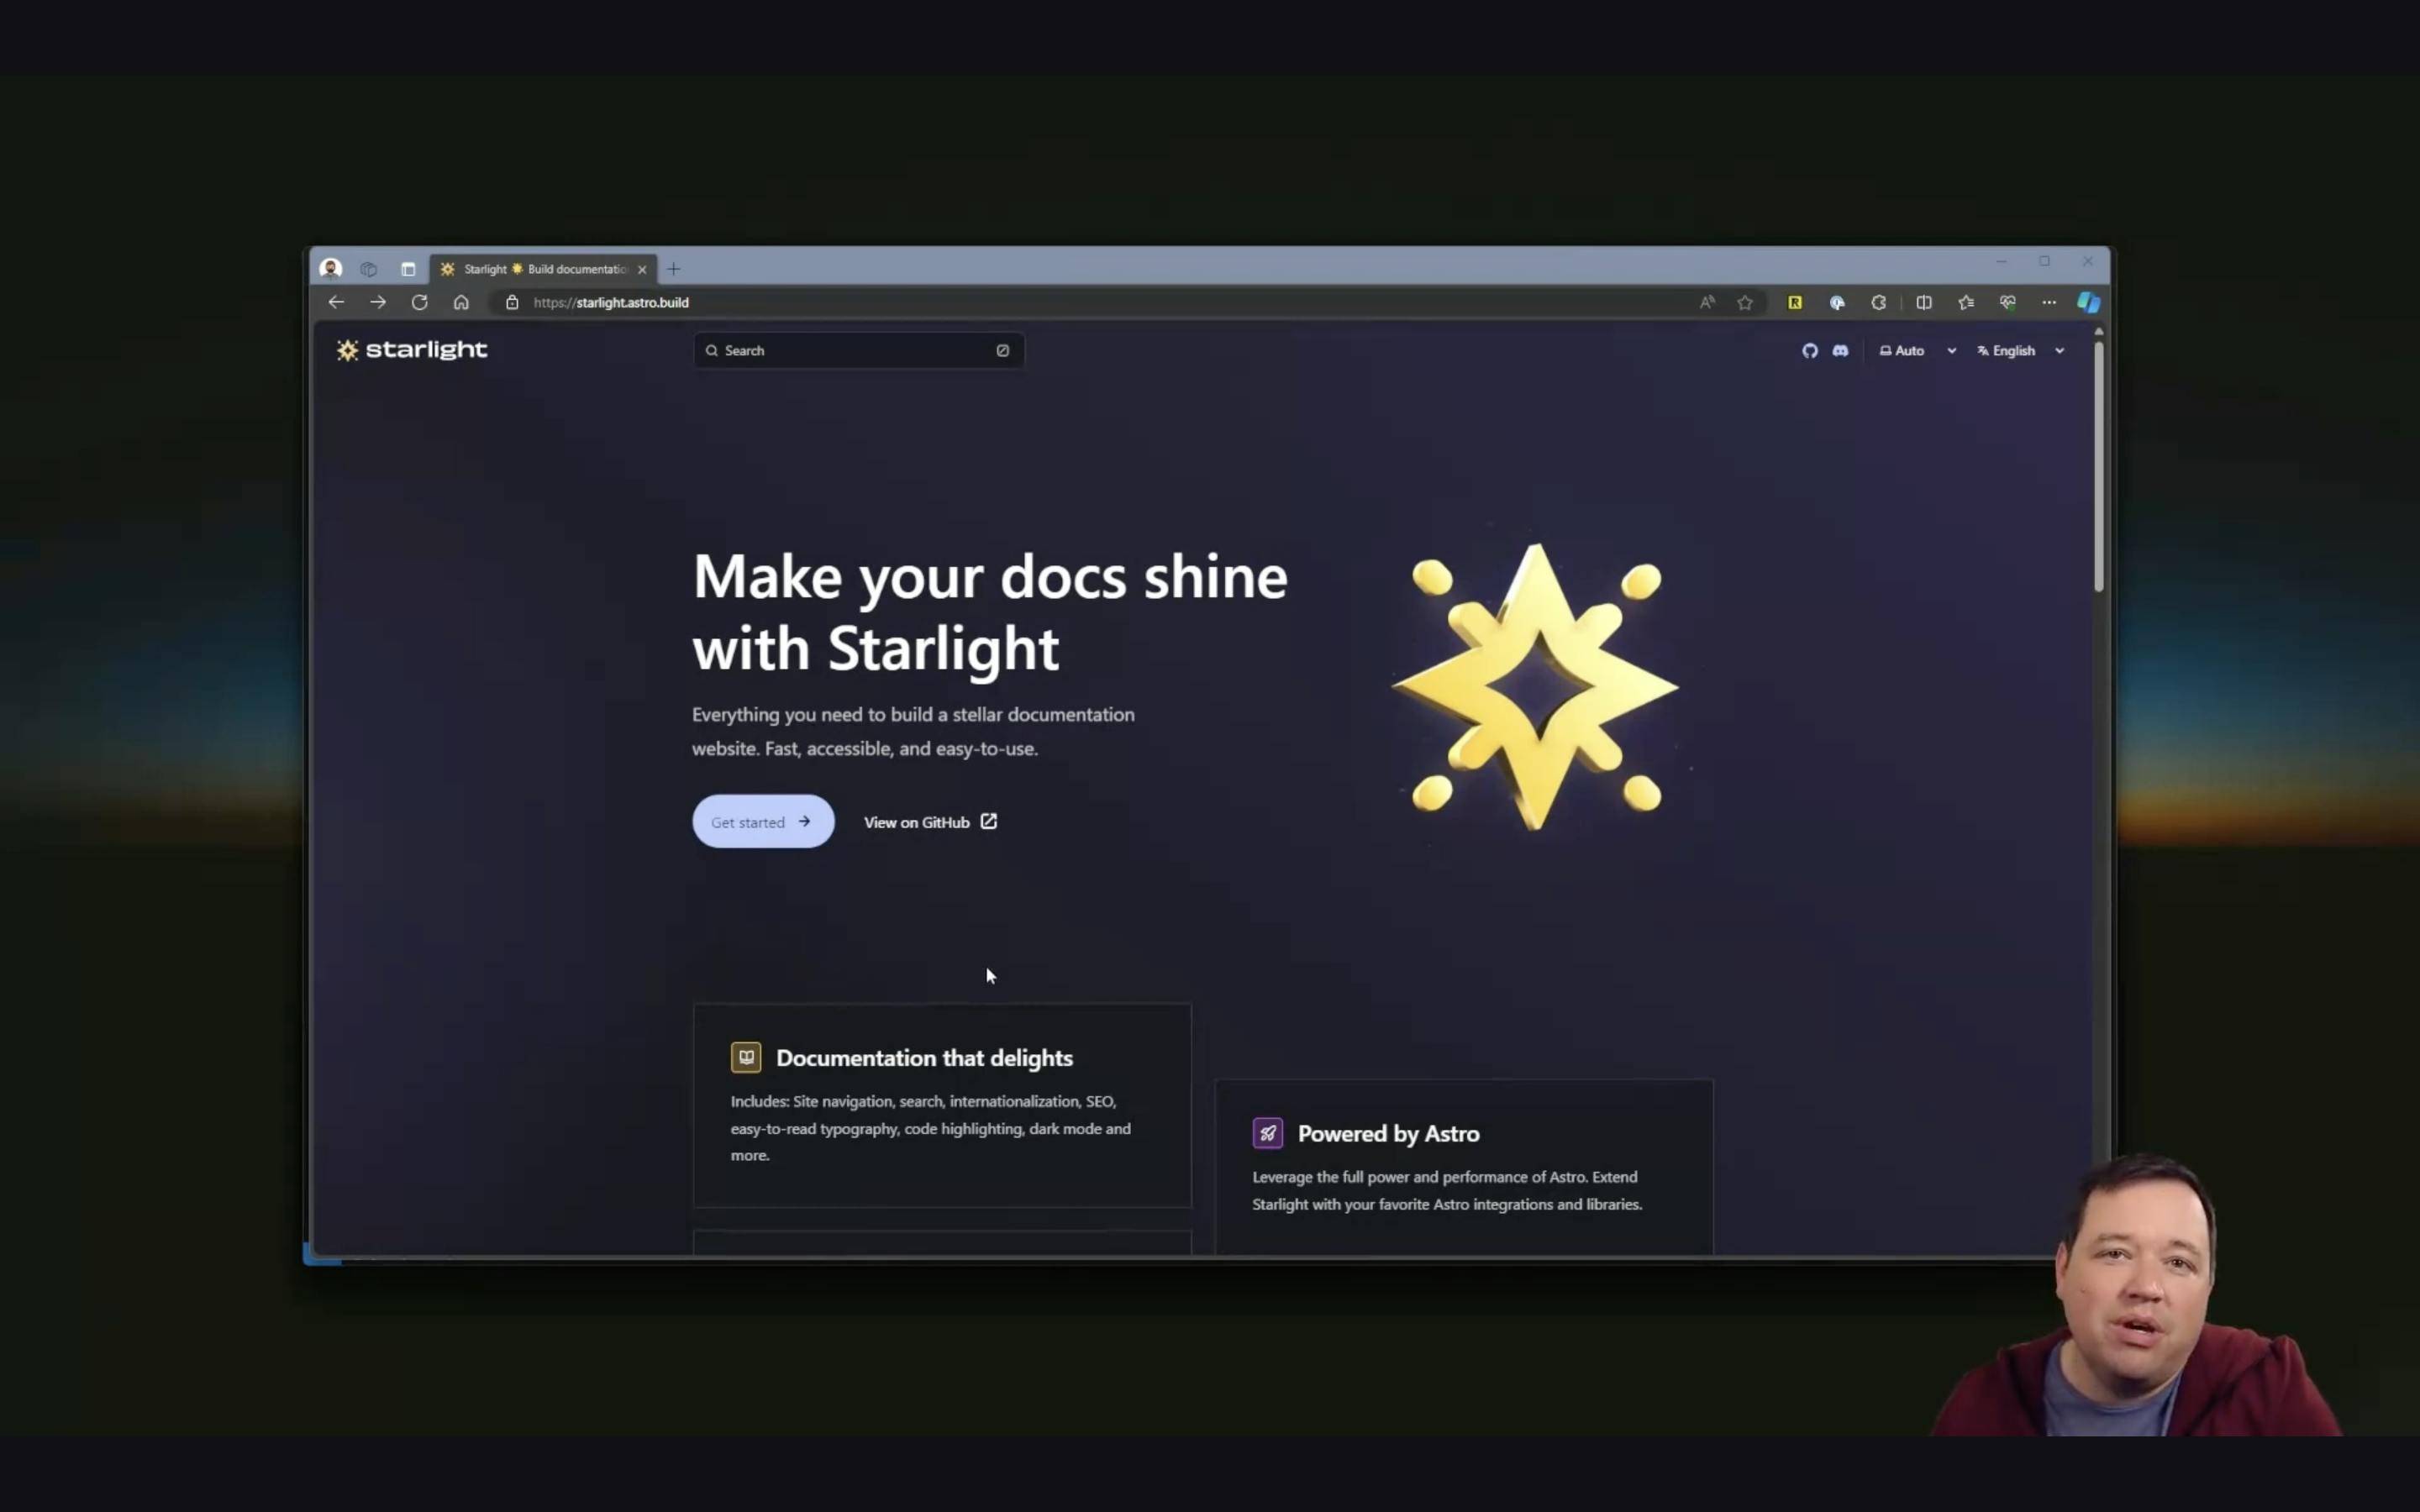
Quickly set up dev environments with Daytona using Starlight docs. Development automation coupled with remote development environments can bring magic to engineering teams. In this article, we'll walk through how to start with Daytona, an automated development environment platform, using the Starlight docs framework as an example.
Daytona allows you to spin up preconfigured development environments for any project automatically. It integrates with your source control to clone repos and builds ready-to-code dev environments complete with dependencies, tools, and configurations.
TL;DR
Quickly set up dev environments with Daytona using Starlight docs.
Download and configure Daytona.
Use CLI to build ready-to-code environments.
Share work and easily destroy environments after use.
Daytona environments can be hosted locally or in the cloud. The key benefits are:
No time wasted setting up new projects
Standardized and reproducible environments
Built-in collaboration features
Quickly onboard new developers
We'll use the Starlight Docs framework, an Astro-based documentation site, to demonstrate getting up and running with Daytona. Incidentally, we are also utilizing this project for our Daytona documentation.

Step 1 - Install the Daytona CLI
First, install the Daytona CLI on your local machine by visiting the Daytona download page and choosing the appropriate binary for your system.
By executing the commands below, you'll download the binary, adjust its ownership, and relocate it to the designated directory. Please be aware of your operating system's unique requirements and modify the commands as necessary for compatibility.
1curl -Lo daytona "https://download.daytona.io/core/daytona-core-darwin-arm64" && sudo chmod +x daytona && sudo mv daytona /usr/local/bin/ && rm -f daytona
Follow the README file and go through logging in with GitHub and configuring your Daytona profile.
Step 2 - Create a Development Environment
Next, use the CLI to generate a dev environment.
1daytona create https://github.com/withastro/starlight
This clones the Starlight repo and builds a development environment with all dependencies installed.
Behind the scenes, Daytona reads the devcontainer.json to determine everything needed to build a ready-to-code environment.
Step 3 - Open in VS Code
Once the environment is ready, open it in VS Code:
1daytona code
This launches VS Code and attaches it to your Daytona environment. It may take a minute for dependencies to finish installing.
You now have full access to the repo and can start coding immediately with everything configured for you.
If you wish to change the default IDE, for example, to a VS Code web IDE, you can do it with the following command:
1daytona ide
Step 4 - Run the Site Preview
To preview Starlight, open a terminal in VS Code and run:
1npm run dev
Daytona exposes running services on localhost so you can view sites right in the browser. Click "Open Preview" when prompted to view port 4321.

Step 5 - Share and Collaborate
A key benefit of Daytona is built-in collaboration. To share your environment, forward ports by running:
1daytona ports forward [WORKSPACE_NAME] [PROJECT_NAME] -p [PORT] [flags]
This prints a publicly accessible URL for others to view your dev instance. Share with coworkers to get feedback or troubleshoot issues.
You can also achieve the same by using the ports tab inside the VS Code.
Step 6: Destroying Your Ephemeral Environment
Once your project work or collaboration session is complete, you might want to clean up your workspace by destroying the ephemeral environment you've created. Daytona makes this process straightforward and efficient, ensuring that no unnecessary resources are left consuming space or memory on your system.
To dismantle all of your environments, execute the following command in your terminal:
1daytona delete --all
This command tells Daytona to remove all components of the development environment you've set up, effectively cleaning up your workspace.
Remember, this action is irreversible, so ensure that you've committed to git repo all necessary work and that you're ready to remove the environment before running the command.
In just a few minutes, you have the capability to do it all over again. This demonstrates the remarkable efficiency of combining automation with remote environments.
Conclusion
Within minutes, Daytona allowed us to spin up a ready-to-code environment for an unfamiliar project without messing with your default local dev environment. Everything is installed and configured automatically.
We could run the site locally, leverage favorite tools like VS Code, and easily collaborate with teammates.
Development automation simplifies onboarding, enforces consistency, and speeds up feedback cycles. Give Daytona a try on your next project!


