


The DigitalOcean Provider lets Daytona manage Workspace projects on DigitalOcean droplets, offering scalable cloud management.
To use it, a DigitalOcean API token with the right permissions is needed to manage droplets for Workspace creation and management.
Prerequisites
To follow along with this article, you should have:
A basic understanding of DigitalOcean and Droplets.
A DigitalOcean account with access to create API tokens.
Installed Daytona's latest version.
Step 1: Preparations
Create a DigitalOcean API Token
To configure the Daytona DigitalOcean Provider, create a DigitalOcean API token with Full Access permission. This token will allow Daytona to manage your droplets. Follow the steps below to create an API token:
Step 1.1: Log in to your DigitalOcean account and navigate to the API section in the dashboard.
Step 1.2: Click on Generate New Token under the Personal Access Tokens section.
Step 1.3: Give your token a descriptive name (e.g., Daytona-provider) and select the scopes required for managing droplets. Name your token descriptively
Step 1.4: Click Generate Token and copy your token to use it later.
Now that you have your API token, you can set up the Daytona DigitalOcean Provider.
Step 2: Main Process
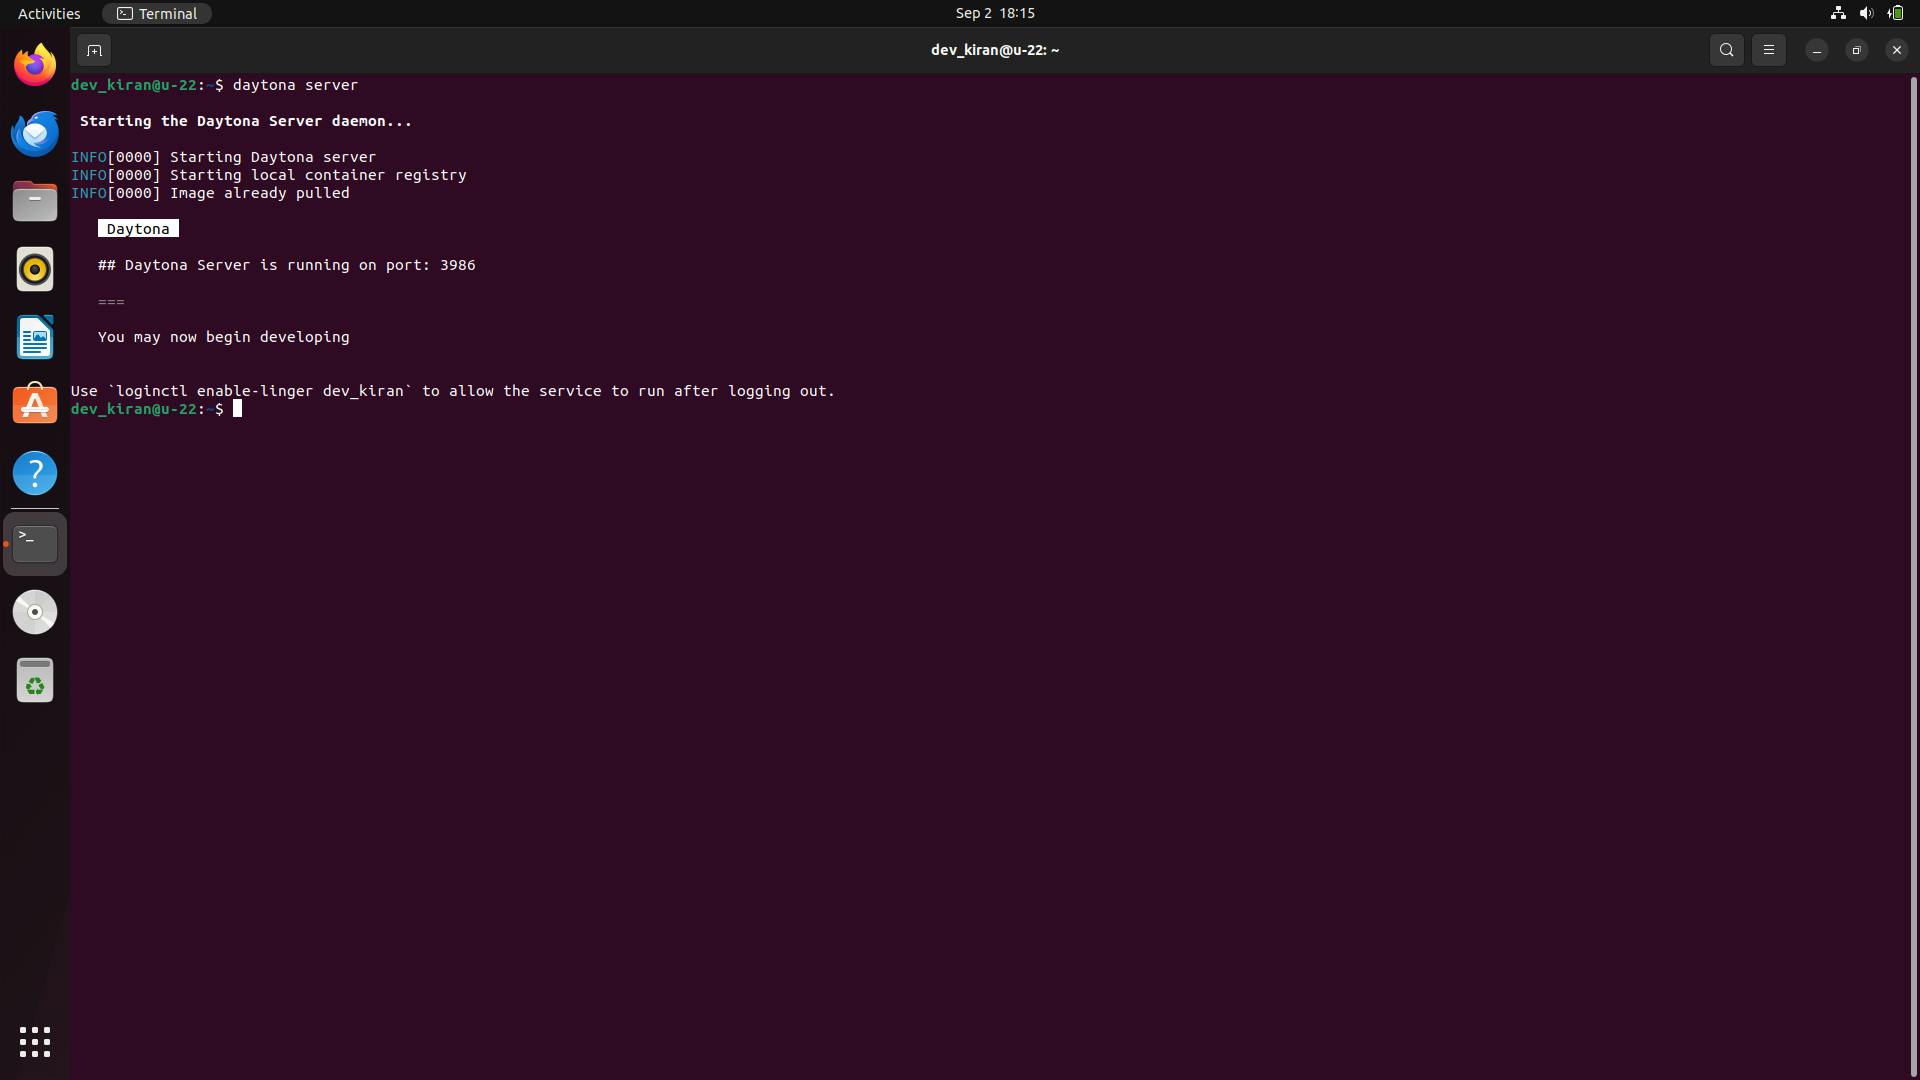
Step 2.1: Start Daytona Server
Start the daytona server by running the command
1daytona server
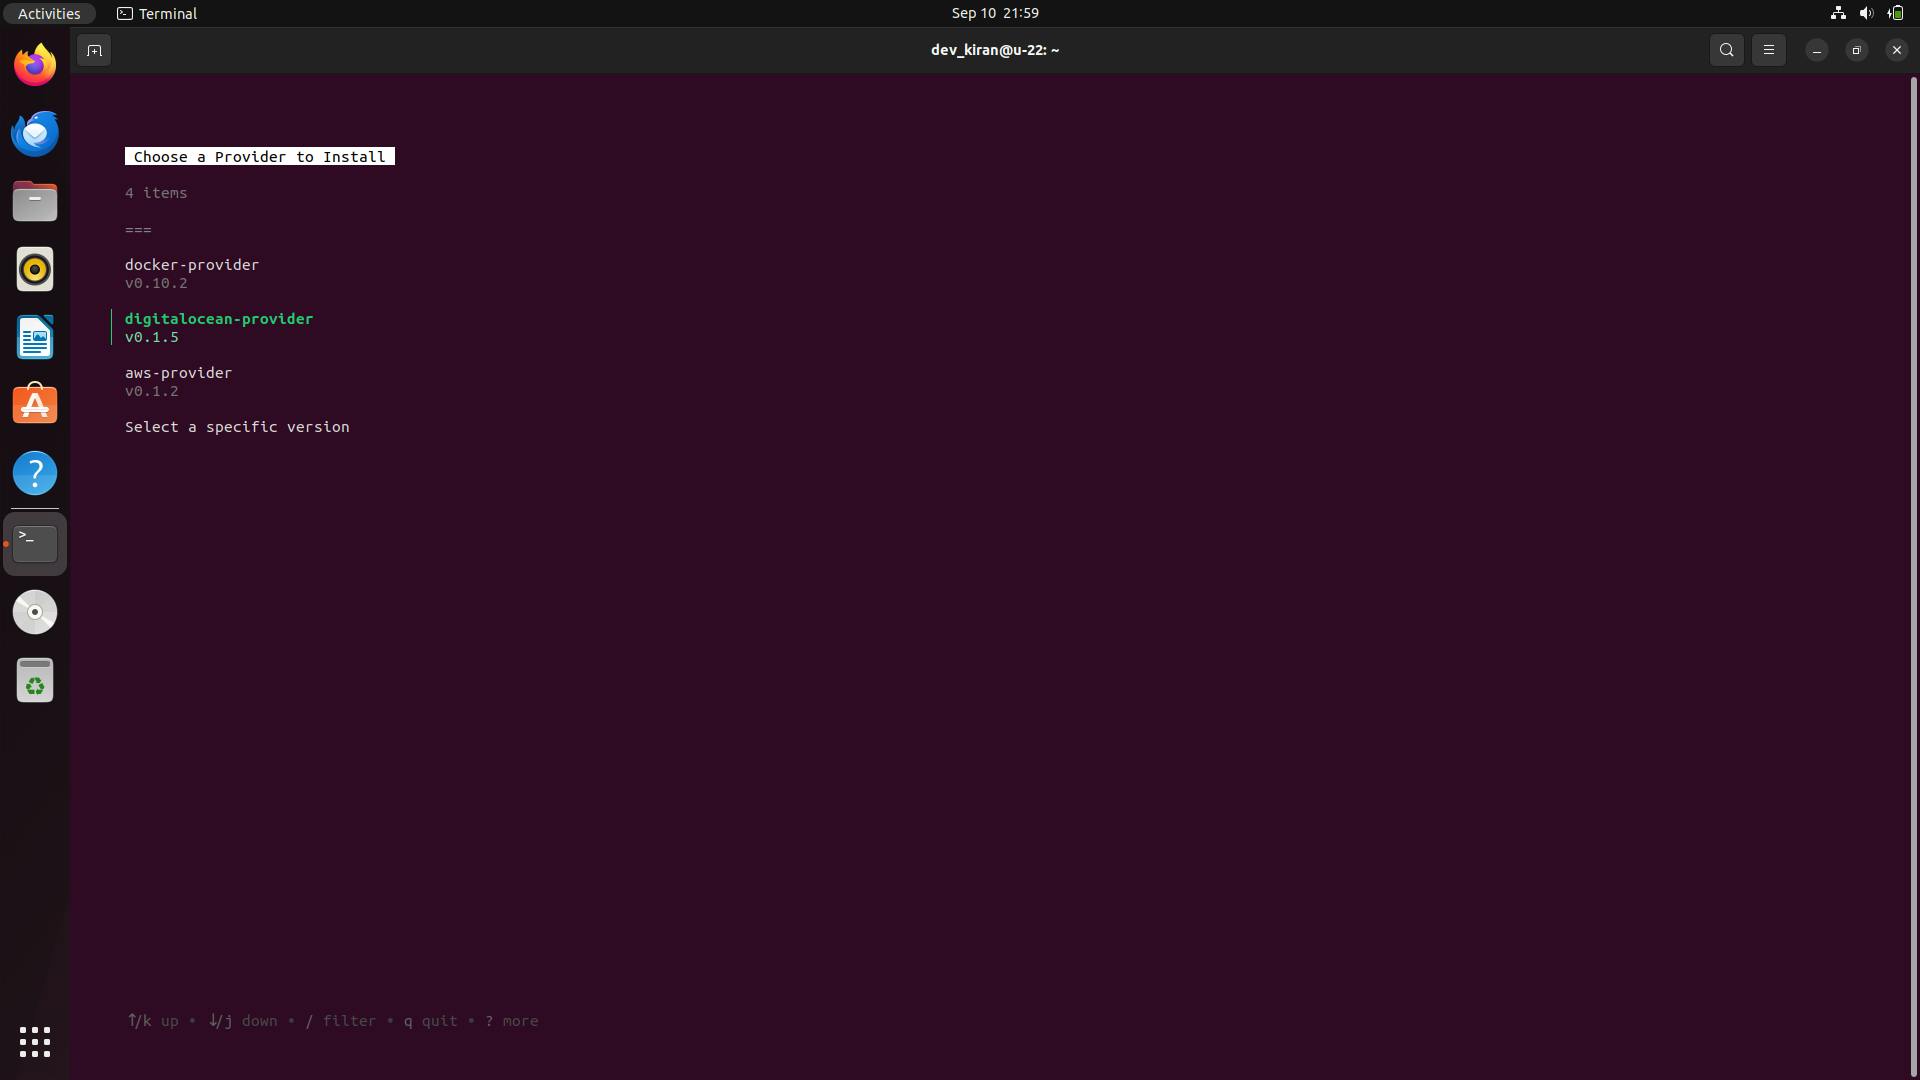
Step 2.2: Install the DigitalOcean Provider
Run the command below, and you will be prompted to choose a provider. Select digitalocean-provider from the list
1daytona provider install
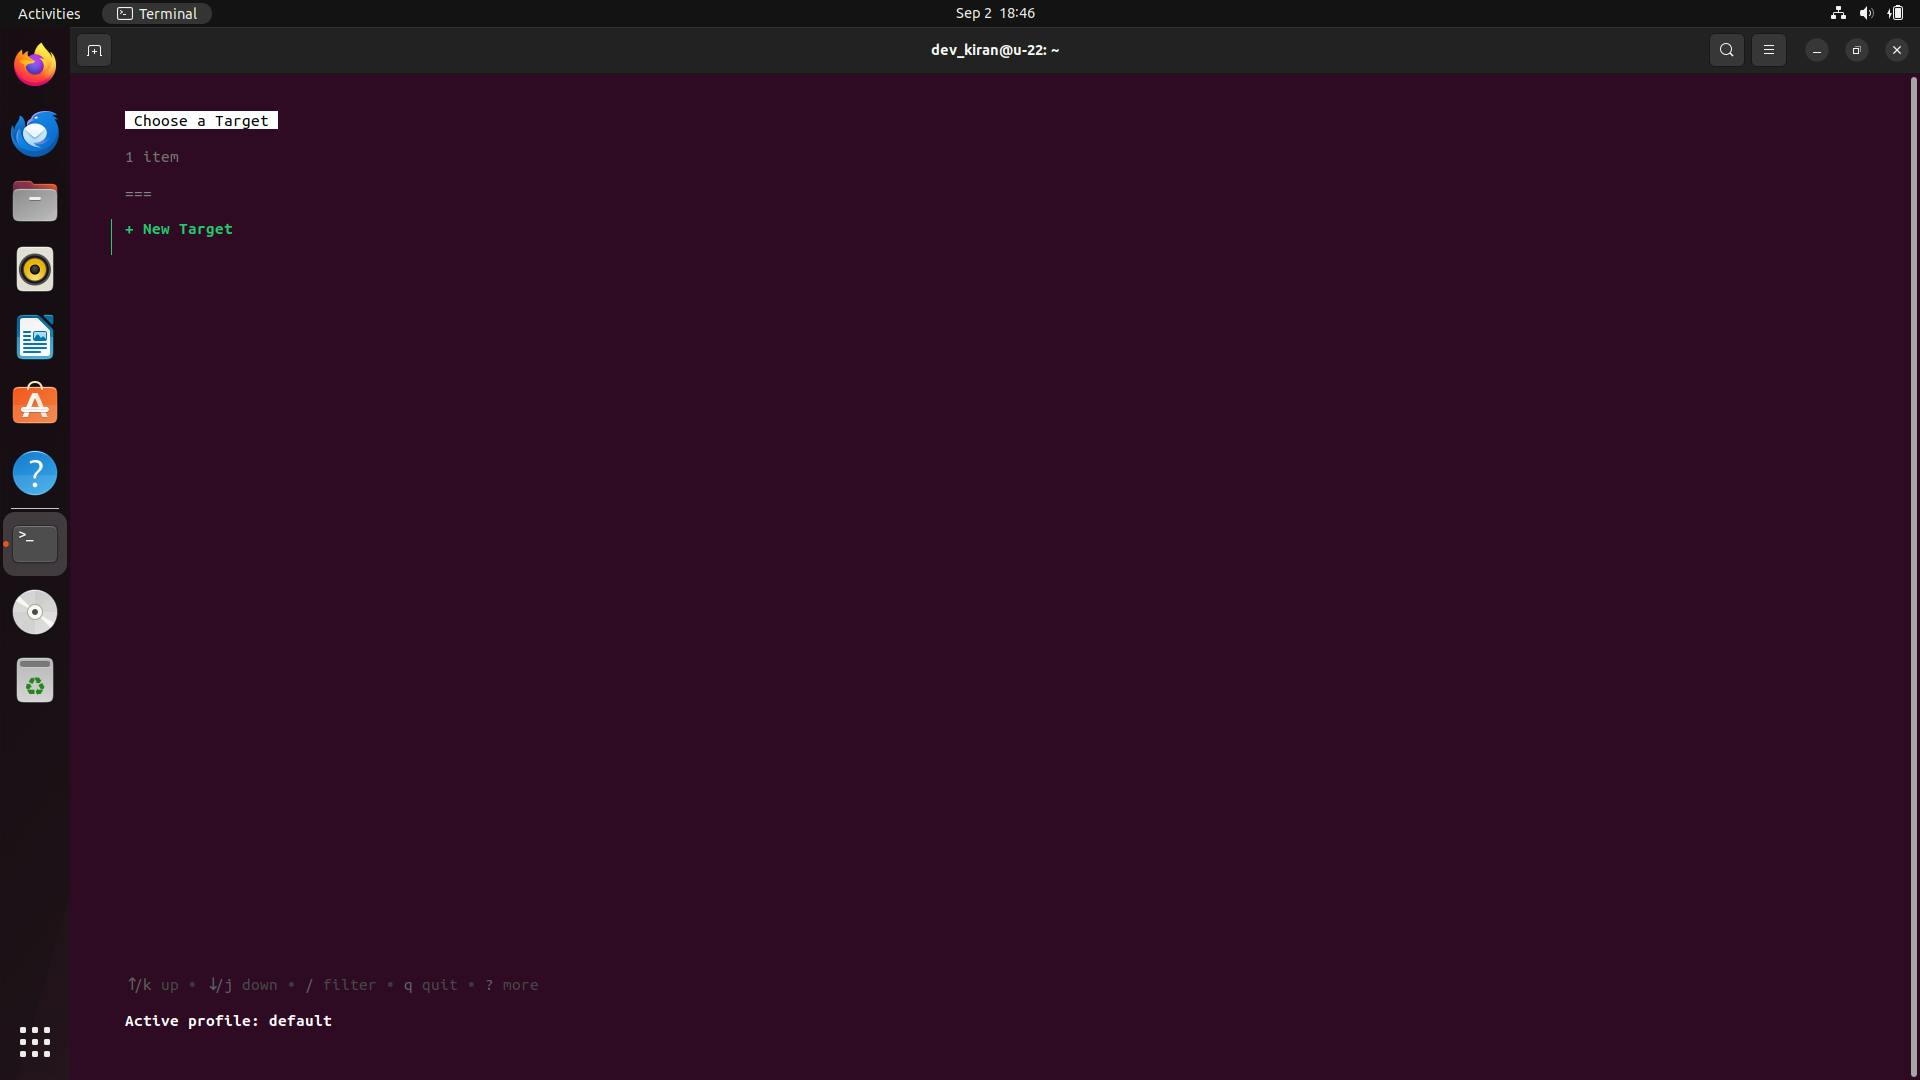
Step 2.3: Set the DigitalOcean Target
Run the following command to initiate the target setup process:
1daytona target set
Step 2.3.1: Select the DigitalOcean Provider
You will be prompted to choose a provider. Select digitalocean-provider from the list.

Step 2.3.2: Create a New Target
After selecting the DigitalOcean provider, create a new target and enter a unique and descriptive name for your DigitalOcean target (e.g., daytona-digitalocean-target).
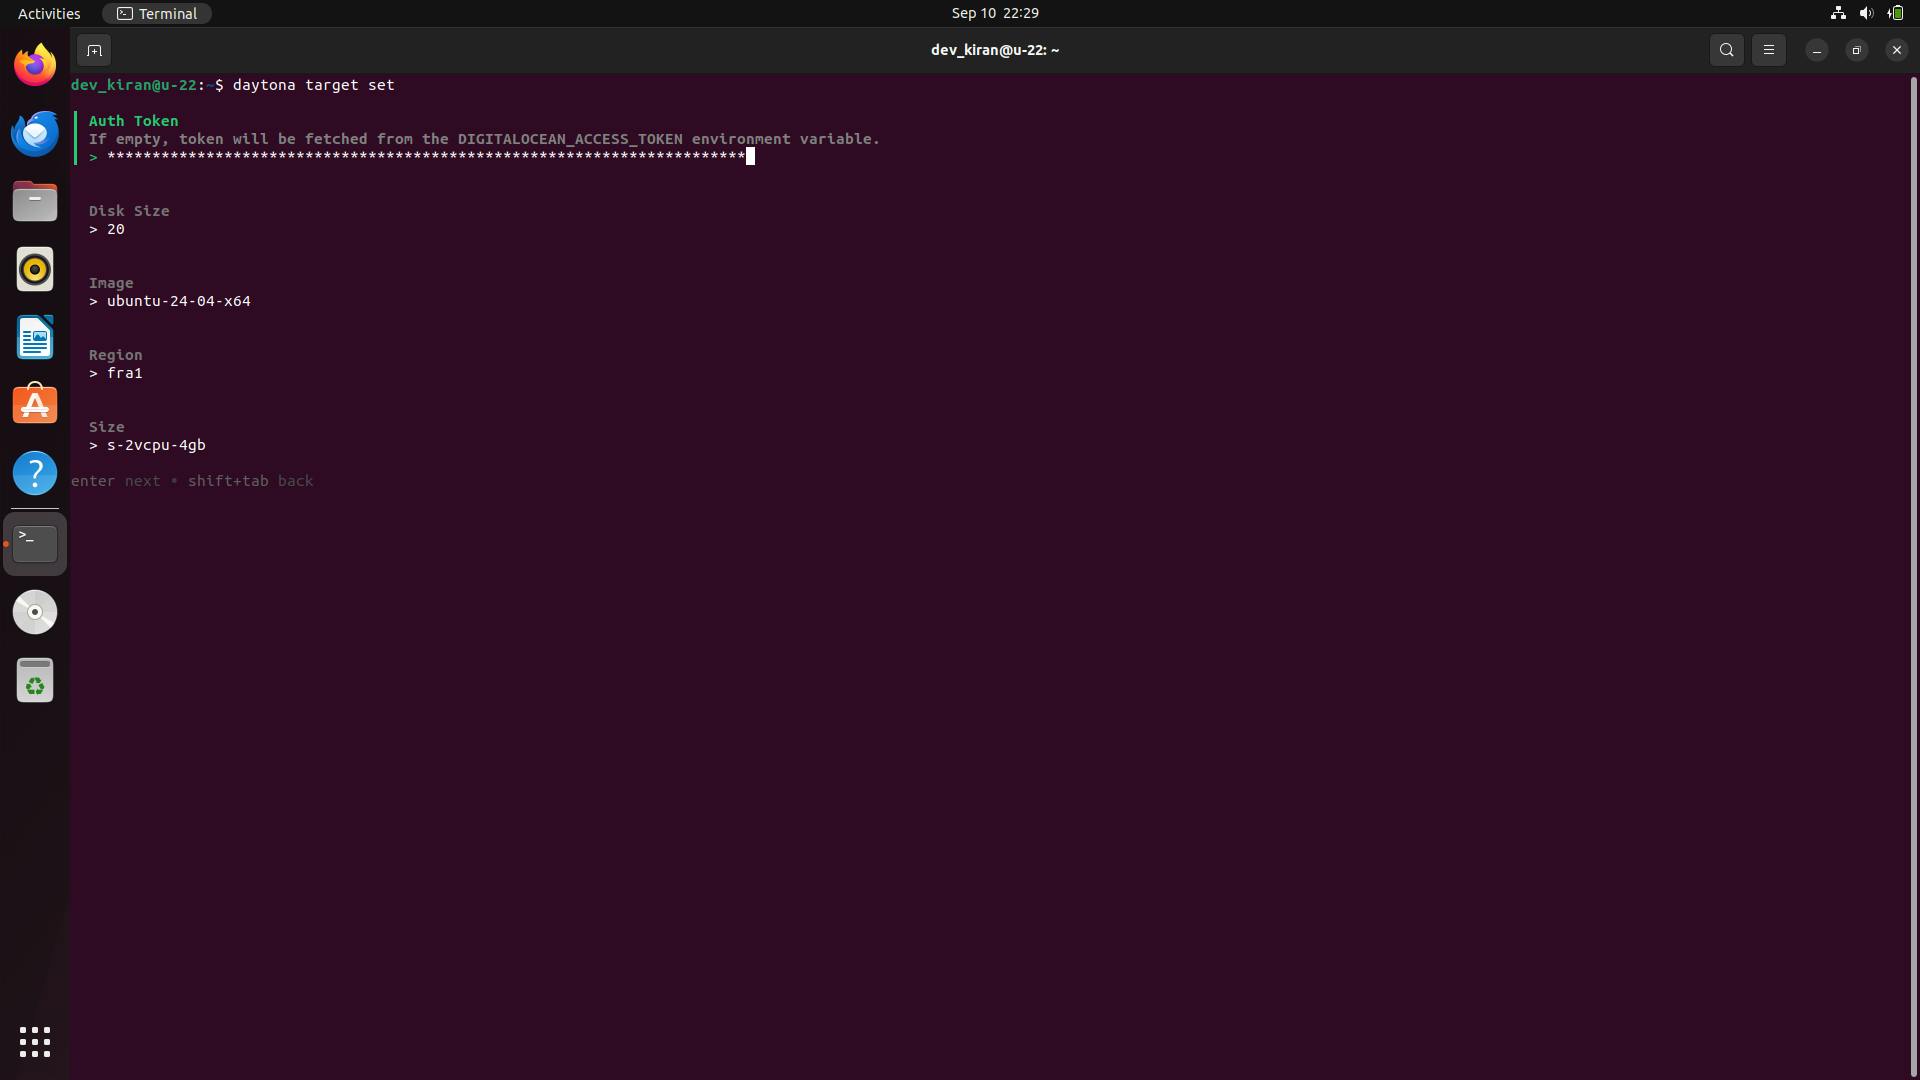
Step 2.3.3: Configure DigitalOcean target options
You will be prompted to enter several configuration options for the DigitalOcean provider. Here’s an overview:
Auth Token: Enter the API token you generated earlier. If you left it empty, Daytona will attempt to retrieve it from the
DIGITALOCEAN_API_TOKENenvironment variable.Disk Size: The size of the disk in GB. The default is 20 GB.
Image: Select the base image for your droplet (e.g.,
ubuntu-24-04-x64). More information on images can be found here. hereRegion: Select the DigitalOcean region where the droplets will be deployed (e.g.,
nyc3for New York). Check available regions hereSize: Choose the droplet size (e.g., s-1vcpu-1gb). Find available droplet sizes here
Congratulations! You have successfully configured Daytona DigitalOcean Provider to create and manage droplet workspace.
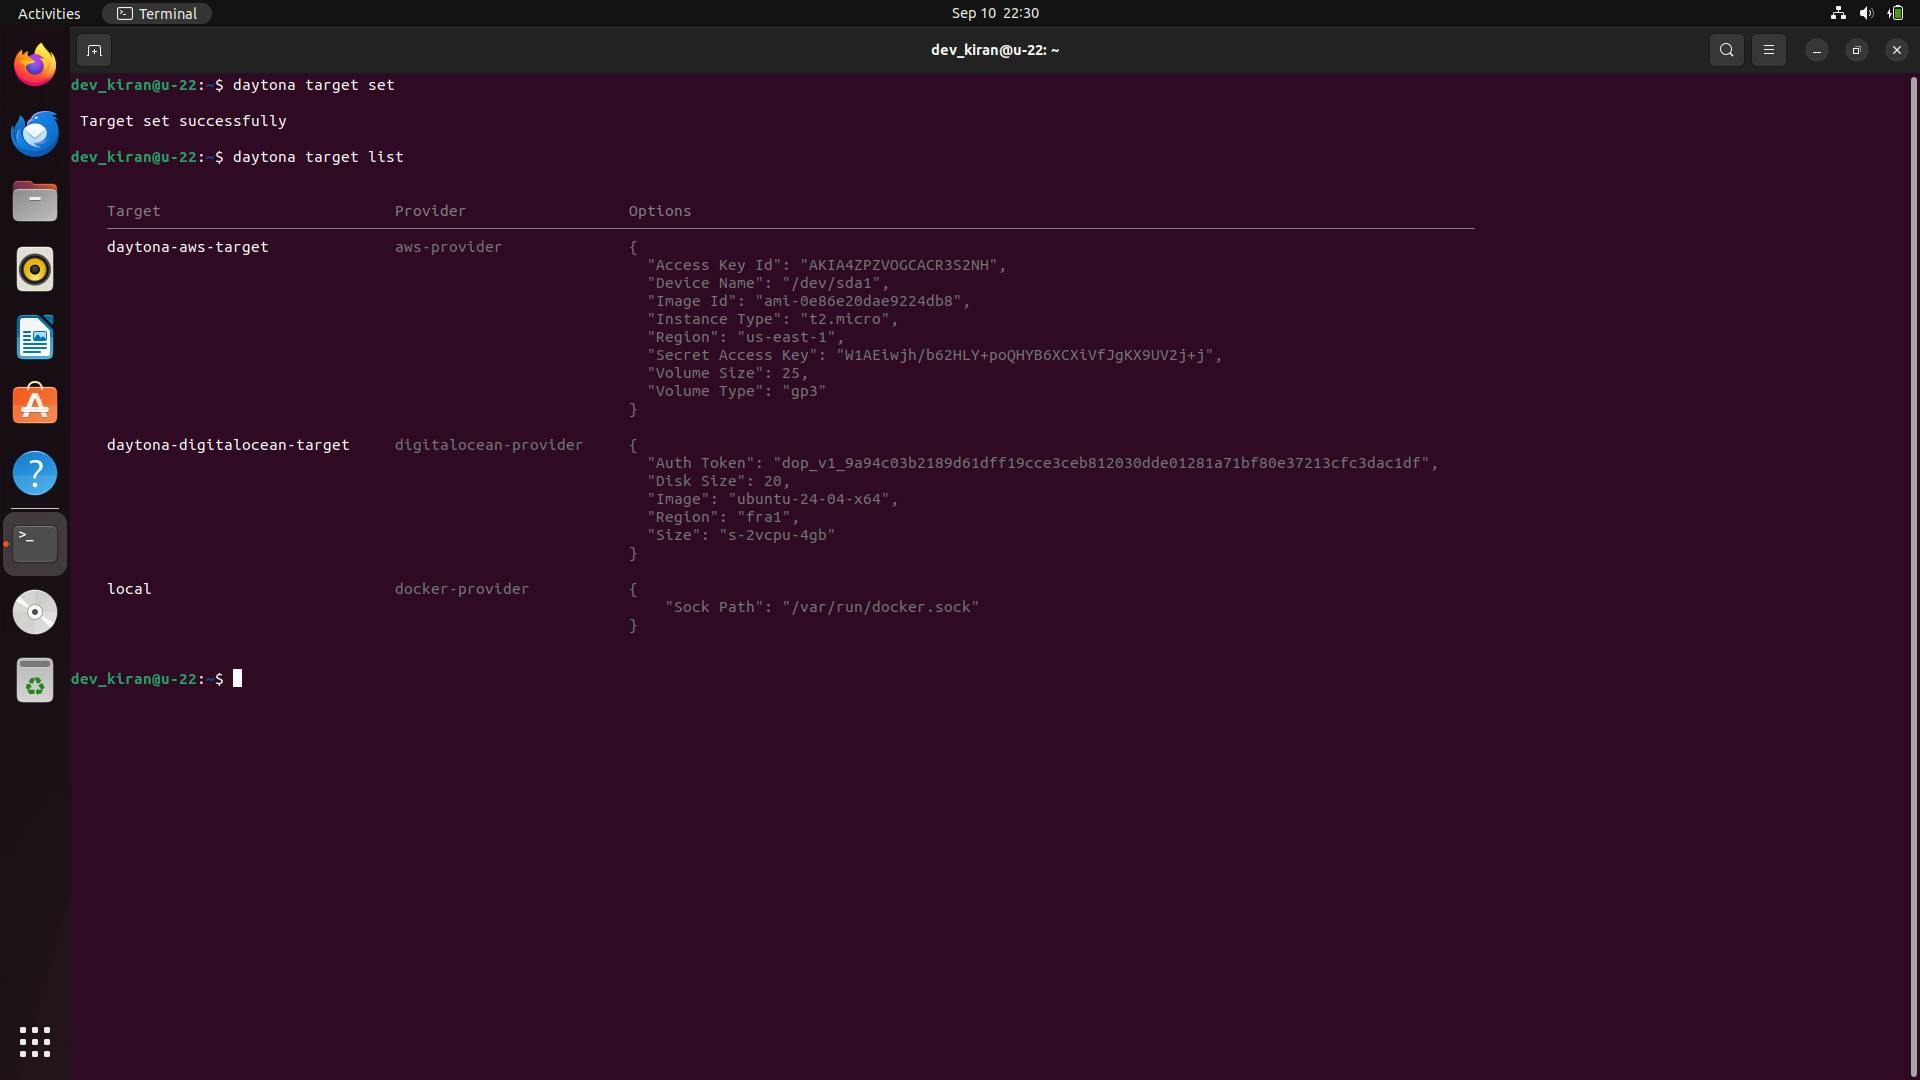
To verify whether the daytona DigitalOcean provider has been successfully installed or not, run the below command you will get the provider and target configuration information you have configured.
1daytona provider list
Common Issues and Troubleshooting
You may encounter some common issues while setting up and configuring the DigitalOcean Provider with Daytona. Below are troubleshooting tips to help resolve them:
Problem: Invalid API Token
Solution: Double-check that your DigitalOcean API token is correct and has the necessary scopes. You can generate a new token if needed. If necessary, you
Problem: Droplet Creation Failure
Solution: Ensure the selected region, droplet size, and image are valid for your target. Verify that you have sufficient resources (e.g., account limits) on DigitalOcean.
Problem: Provider Errors
Solution: If you encounter issues with the DigitalOcean provider, it could be due to bugs or limitations in the latest release. Keep an eye on the DigitalOcean Provider GitHub Repository for updates and fixes.
Conclusion
Following this article, you’ve successfully set up and configured the Daytona DigitalOcean Provider. You can now manage Workspaces on DigitalOcean using Daytona, leveraging its powerful infrastructure for your development and deployment needs.