Large Language Models (LLMs) are revolutionizing industries with their powerful capabilities. Using Ollama to harness these models in a robust, reproducible development environment can significantly improve productivity.
This guide demonstrates how to set up and run LLM with Ollama inside Daytona workspace.
TL;DR
Configure Daytona workspace with Ollama for LLM development
Set up Python environment and chat interface
Run LLMs through Daytona's containerized setup
Prerequisites
To follow this guide, you’ll need to have the following:
Setting up a project template
Now, we’re going to create a dev container using a devcontainer.json configuration file also,
writing project files like ollama_chat.py and requirements-dev.txt.
Here is the step-by-step guide:
Step 1: Create a new director.
Create a directory with any name you choose and move into the directory.
1mkdir ollama-llm-env && cd ollama-llm-env
Step 2: Create a .devcontainer directory
This is where your devcontainer.json file will live.
1mkdir .devcontainer && cd .devcontainer
Step 3: Create a
devcontainer.jsonfile
You are going to create a devcontainer.json file with the following code. This is the configuration file for the Python dev environment specifying settings and dependencies.
1{2"name": "Ollama LLM Environment",3"image": "mcr.microsoft.com/devcontainers/python:3.11-bullseye",4"features": {5 "ghcr.io/prulloac/devcontainer-features/ollama:1": {}6},7"customizations": {8 "vscode": {9 "settings": {10 "python.defaultInterpreterPath": "/usr/local/bin/python",11 "files.exclude": {12 "__pycache__": true13 }14 },15 "extensions": [16 "ms-python.python",17 "ms-toolsai.jupyter",18 "ms-toolsai.ai-tools",19 "10nates.ollama-autocoder"20 ]2122 }23},24"postStartCommand": "pip3 install --user -r requirements-dev.txt",25"hostRequirements": {26 "memory": "16gb"27},28"remoteUser": "vscode"29}
Let’s break down the devcontainer.json file.
name: Specifies the name of the development environment.
features: Specifies additional functionality or tools to be included in the development container. In this file, the feature
ghcr.io/prulloac/devcontainer-features/ollama:1adds configurations or dependencies specifically for using Ollama in the dev environment.image: Points to the Docker image used for the container,
mcr.microsoft.com/devcontainers/python:3.11-bullseye, a Python 3.11 environment based on Debian Bullseye.customizations: Allows customization of the development environment, specifically for Visual Studio Code.
vscode: AContains VS Code-specific configurations.
settings: Defines default VS Code settings for the container.
python.defaultInterpreterPath: Specifies the Python interpreter path inside the container (
/usr/local/bin/python).files.exclude: Hides specified files and folders (e.g.,
__pycache__) from the VS Code file explorer.extensions: Lists extensions to be installed automatically in the container.
postStartCommand: Installs Python packages from requirements-dev.txt (
pip3 install --user -r requirements-dev.txt).hostRequirements: This specifies the minimum host system requirements for the container. Adjust the memory value according to the model you plan to use. Smaller models may require less memory, while larger models may need more.
remoteUser: sets
vscodeas the non-root default user.
By including a devcontainer.json file in your project repository, you can specify not just
the Python version and dependencies, but also any required system packages, VS Code extensions, environment variables, and even custom scripts to run during setup.
Step 4: Add the Chat Script
ollama_chat.py
Create an ollama_chat.py file in the root of your project directory.
1#import openai2import openai34#You can change the model here5MODEL_NAME = "phi3:mini"67#Model Client Set up8client = openai.OpenAI(9 base_url="http://localhost:11434/v1",10 api_key="nokeyneeded",11)1213#Set context of the conversation14messages = [15 {"role": "system", "content": "You are a chat assistant that helps people with their questions."},16]1718while True:19 question = input("\nYour question: ")20 print("Sending question...")2122 messages.append({"role": "user", "content": question})23 response = client.chat.completions.create(24 model=MODEL_NAME,25 messages=messages,26 temperature=1,27 max_tokens=40028 )29 bot_response = response.choices[0].message.content30 messages.append({"role": "assistant", "content": bot_response})3132 print("Answer: ")33 print(bot_response)
This code sets up an interactive chatbot using an AI model phi3:mini.
It allows the user to type questions in a loop, sends these questions to the AI model, and displays the AI’s responses. If you want to run a model other than phi3:mini, change the MODEL_NAME
Step 5: Create a
requirements-dev.txtfile
Add a requirements-dev.txt file to specify development dependencies. Include the following content:
1openai2ollama
Step 6: Initialize, Commit, and Create a GitHub repository
Now, initialize git and commit all your changes to your directory.
1git init2git add .3git commit -m "inital commit"
After committing your code you will push it to a remote repository of your choice.
1git remote add origin https://github.com/YOUR-GITHUB-USERNAME/YOUR-DIRECTORY-NAME.git2git branch -M main3git push -u origin main
Running LLM with Ollama in Daytona
Here, you will use Daytona to run LLM, use GitHub as a provider, and open a workspace in VS Code. You should ensure daytona is installed on your machine before proceeding.
Step 1: Start Daytona Server
Start the daytona server by running the command.
1daytona server
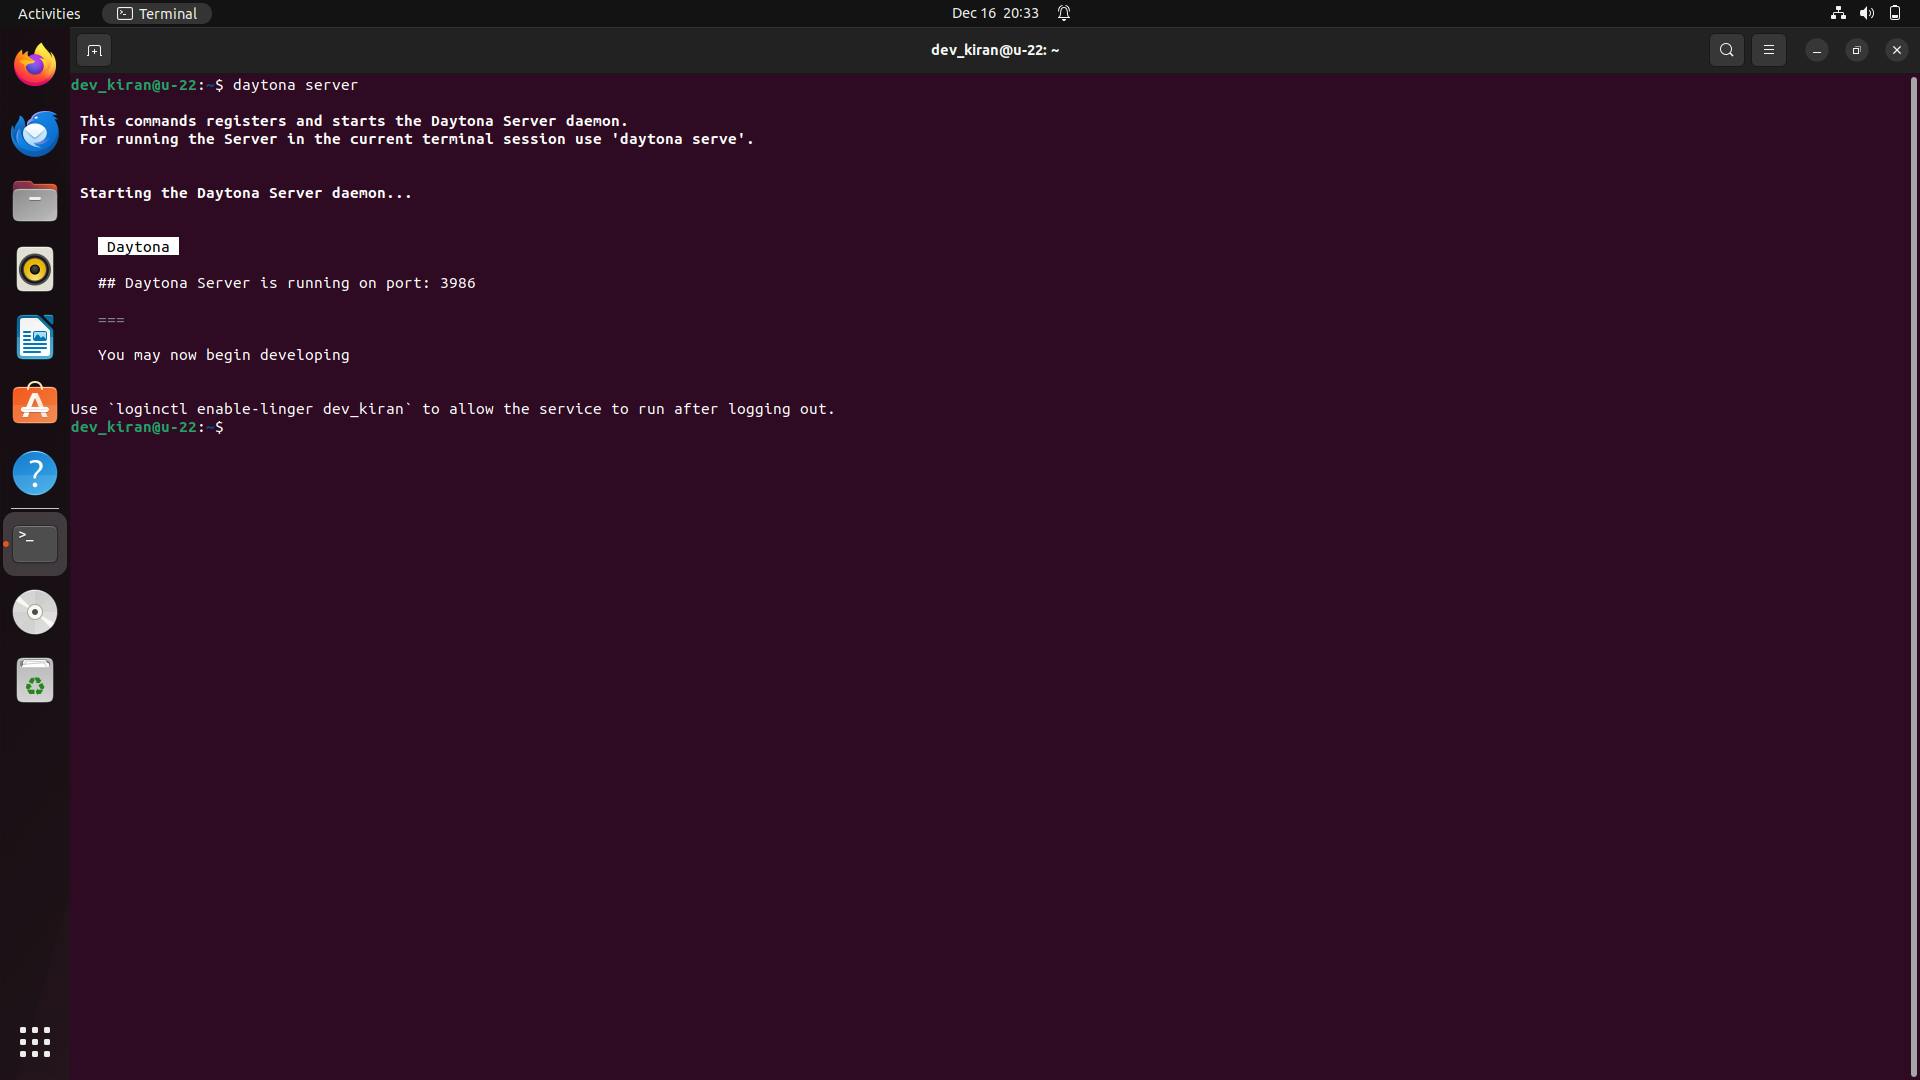
Your output should be similar to the screenshot below.
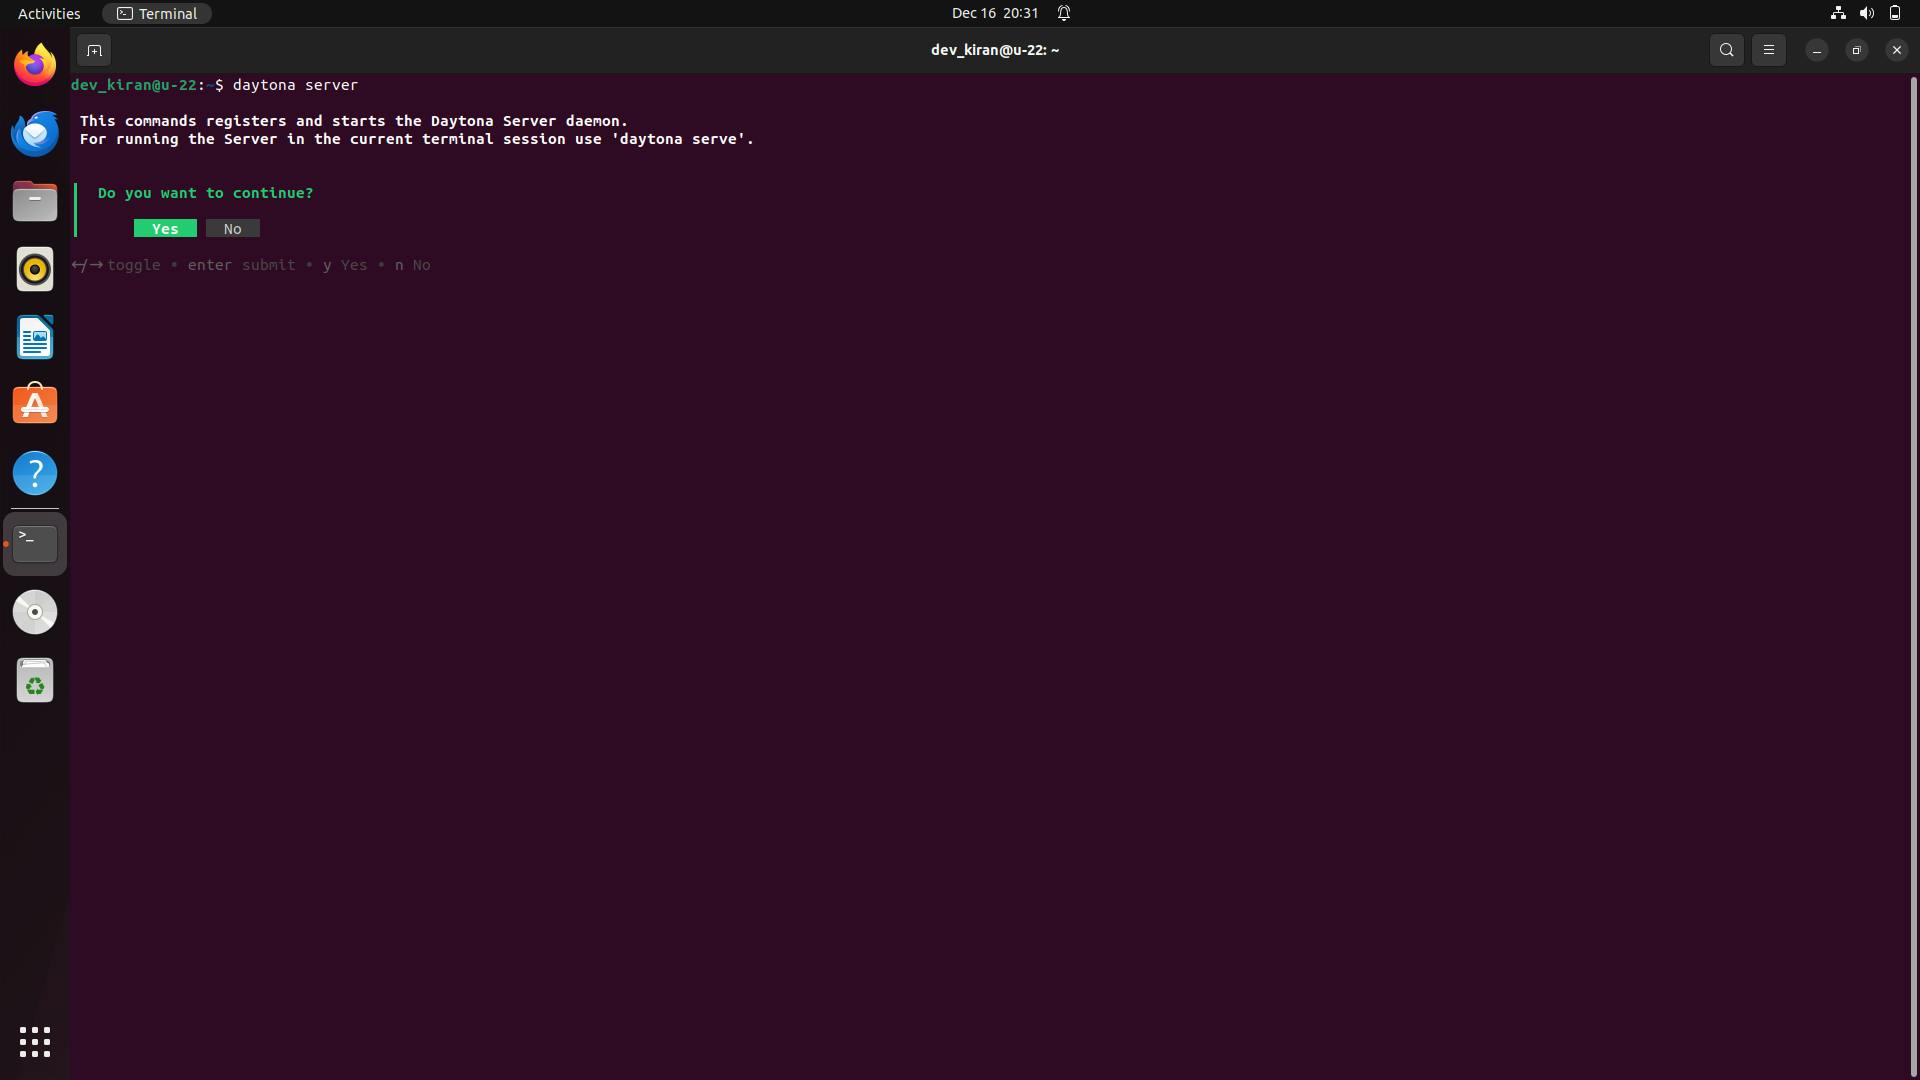
Choose “yes,” and you should see a similar output in the screenshot below.
Step 2: Add Git Provider
Daytona integrates with your preferred Git provider, streamlining your workflow by allowing direct access to repositories and simplifying workspace creation from existing projects.
1daytona git-provider add
Your output should be similar to the image below.
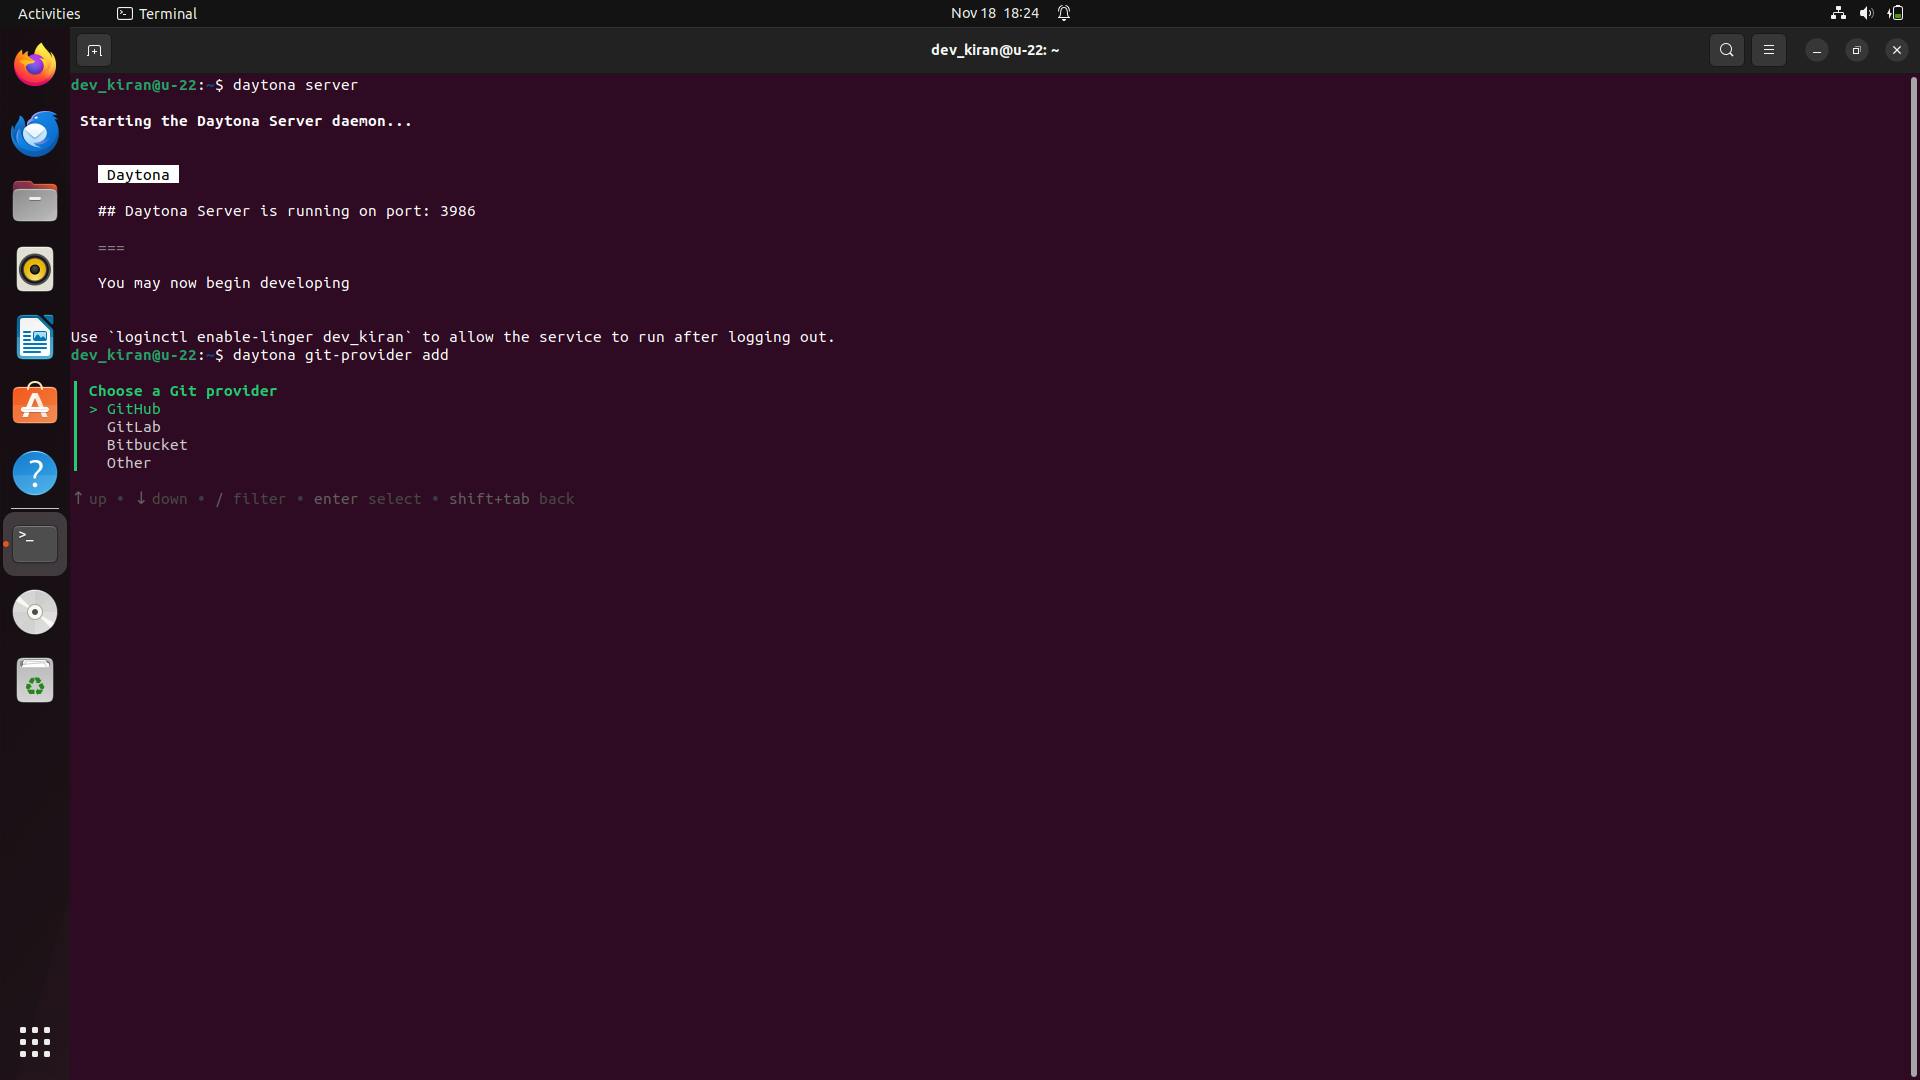
Select GitHub and provide your personal access token.

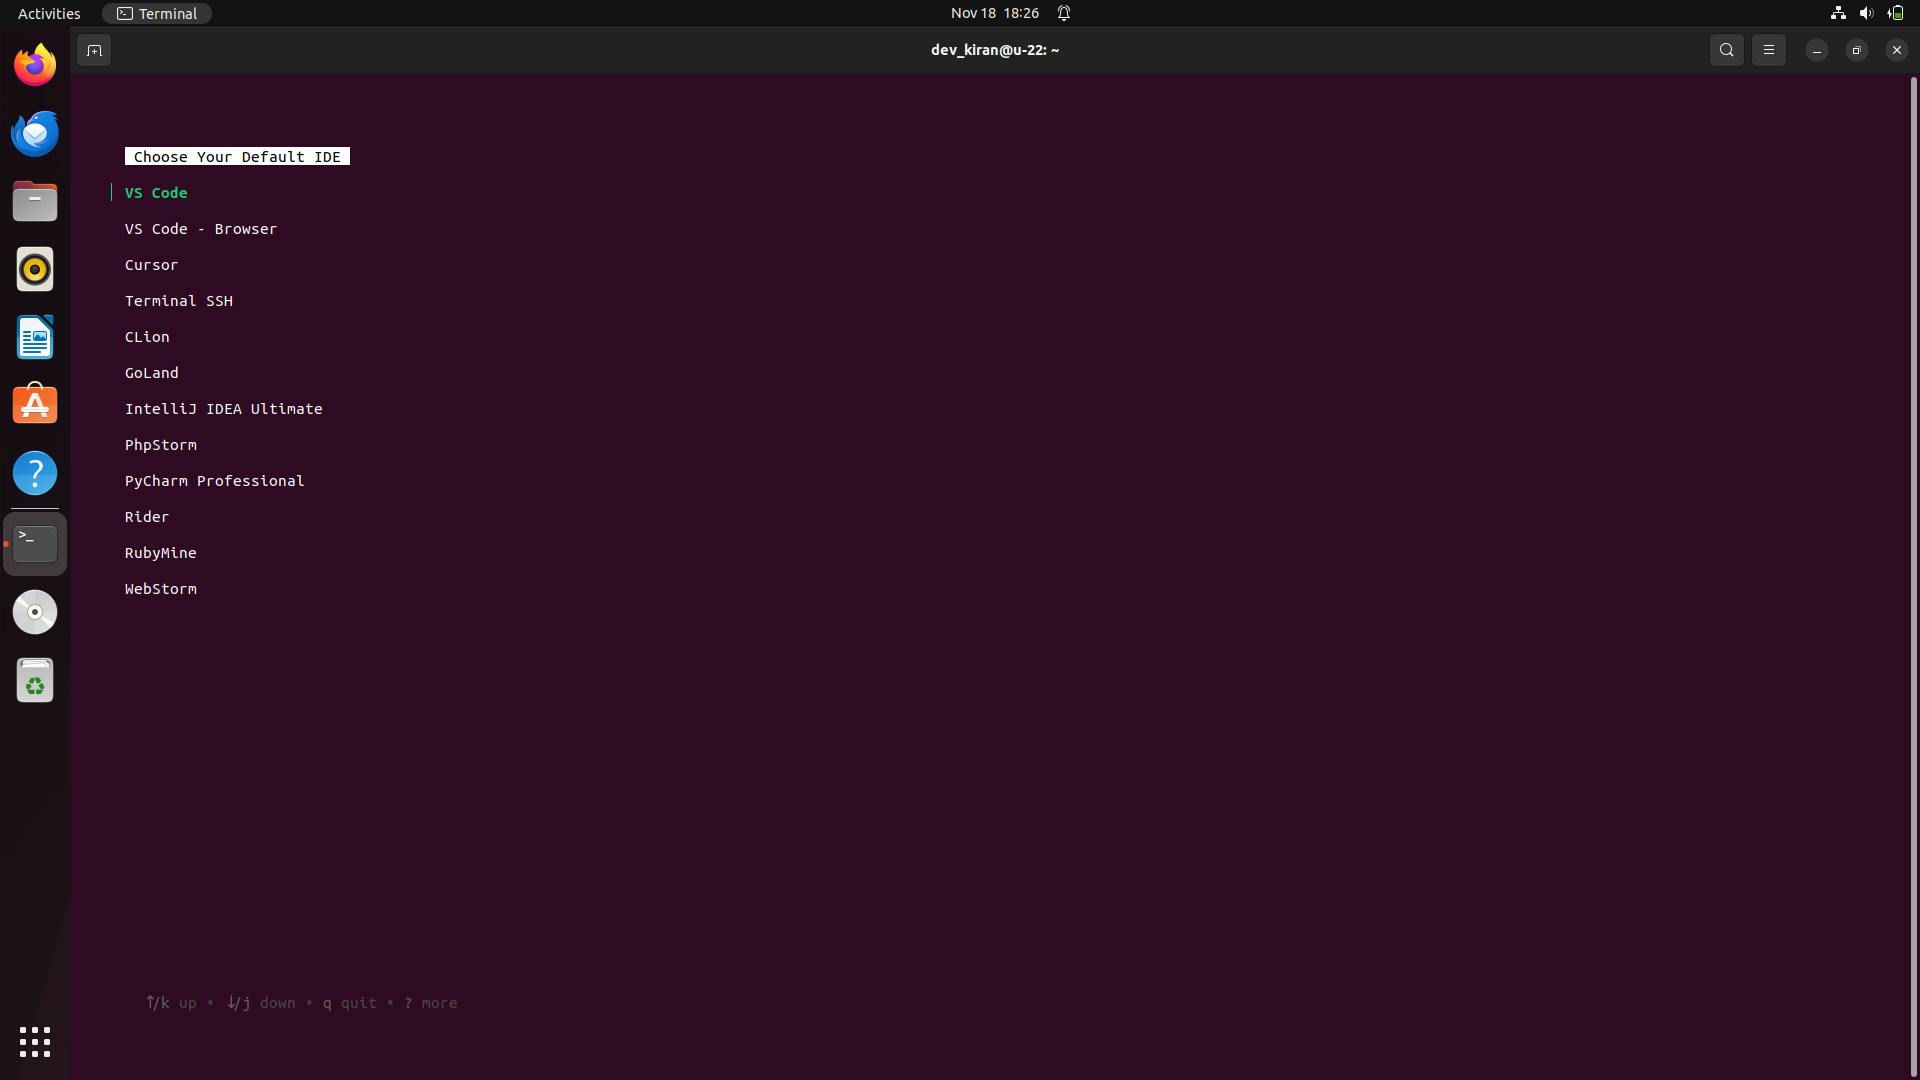
Step 3: Choose your preferred IDE
Run this command in the terminal to choose your IDE.
1daytona ide
Step 4: Create a Daytona Workspace
Now, create a dev environment for the repository you created in GitHub and follow the prompts after you run it.
1daytona create
Choose GitHub as a provider and select the ollama-llm-env repository.
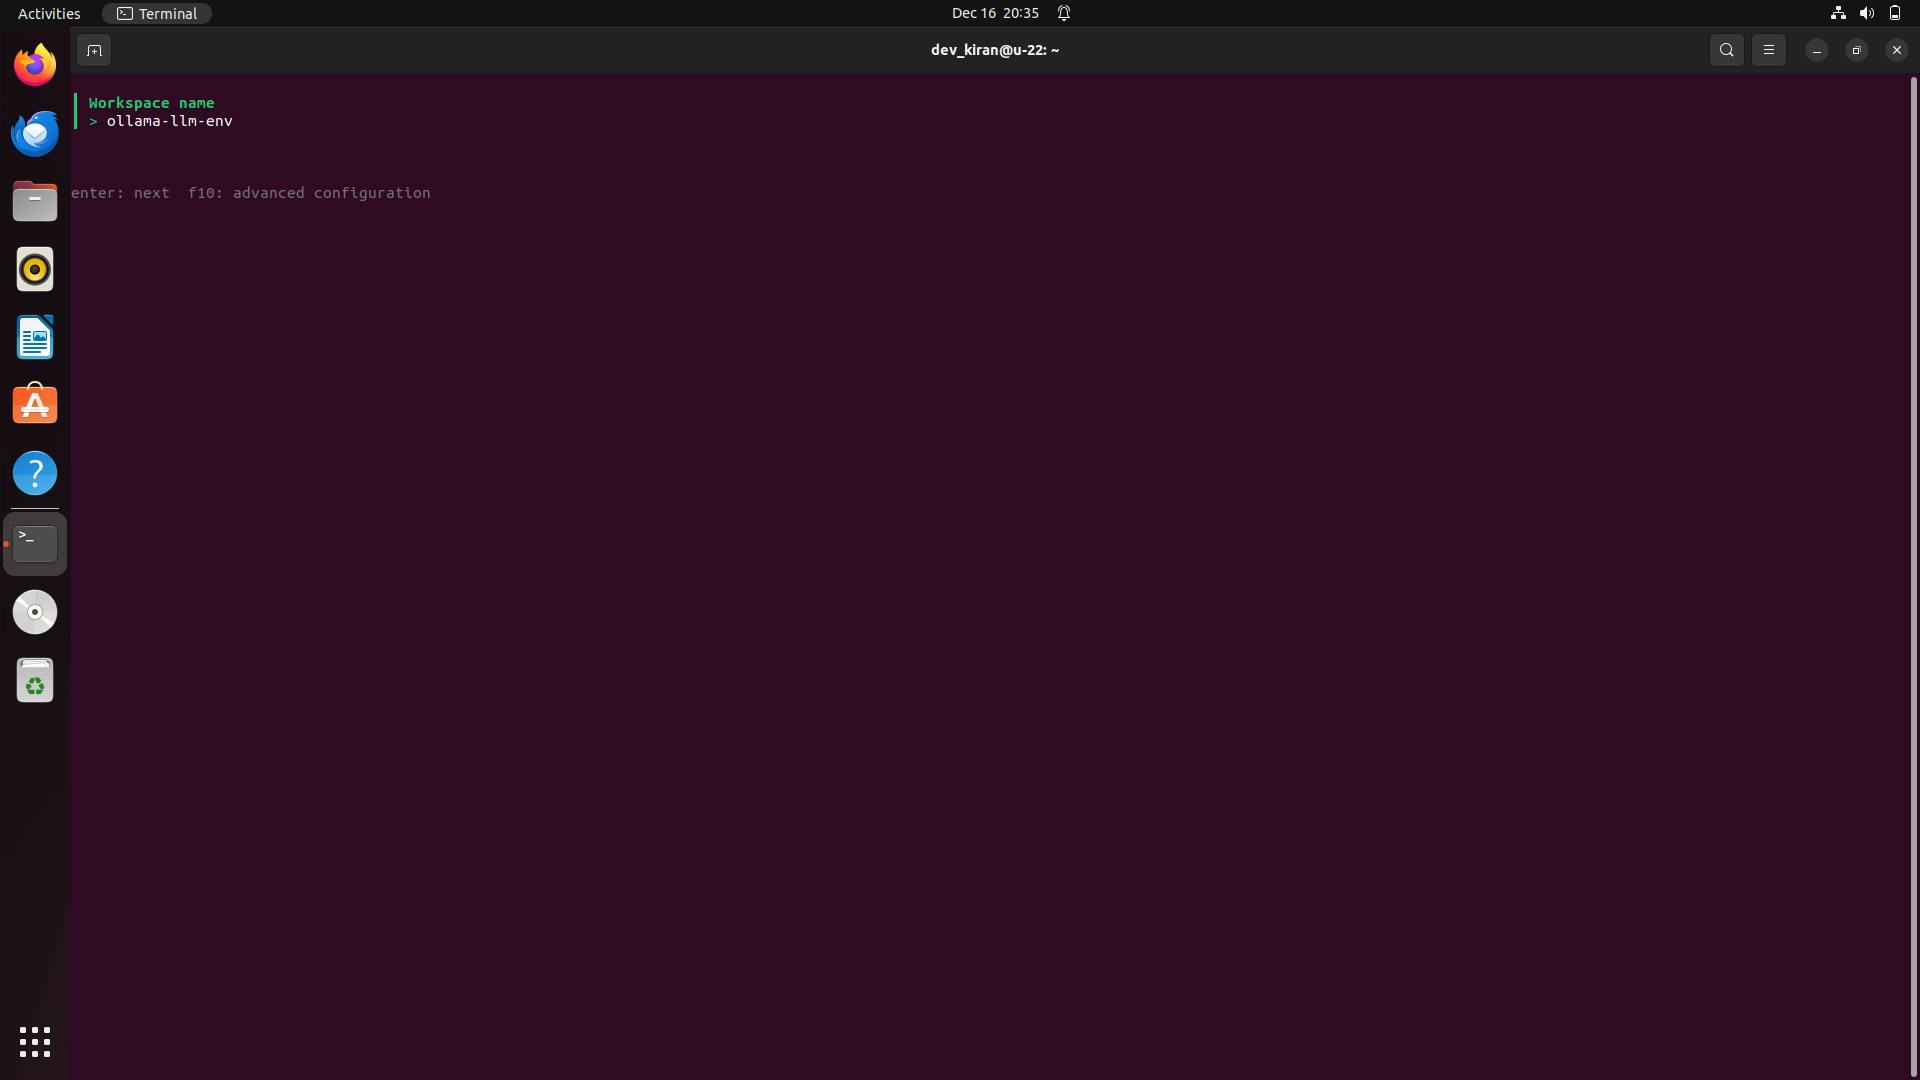
Step 4.1: Provide workspace name
The name of the workspace is usually the repository name if you didn’t modify it when prompted in the creation of the workspace.
Step 4.2: Choose the target
Now, it will ask you to choose the target, select local, and enter.
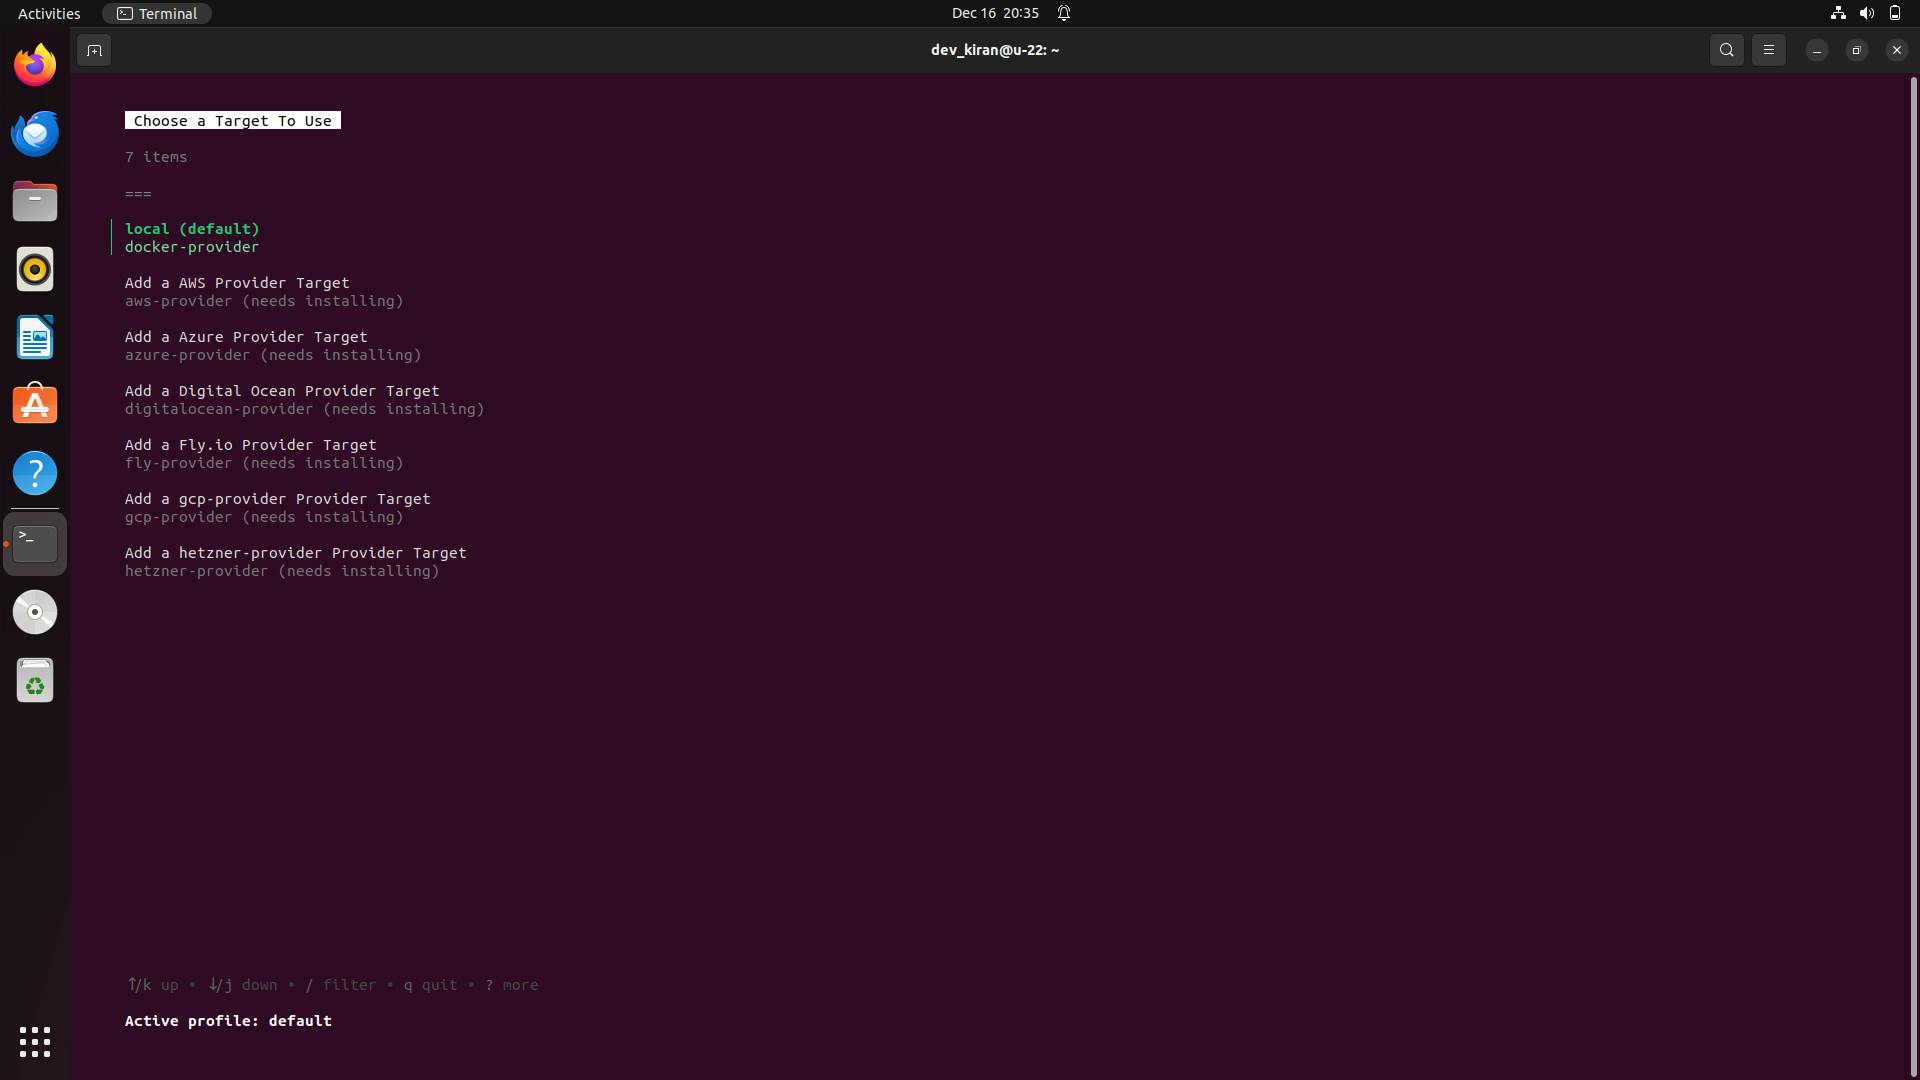
Daytona will now start creating a workspace by pulling your project and installing all
required dependencies, it will open your project in your default IDE.
Confirmation
Test the setup by running the LLM model in your VS Code:
Ask Ollama to run the LLM of your choice. In our case, the phi3:mini model:
1ollama run phi3:mini
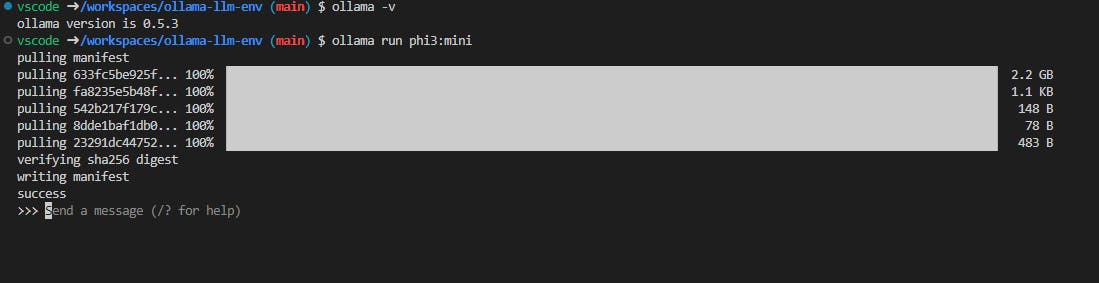
Once you see success in the output, you can send a message to that model from the prompt.

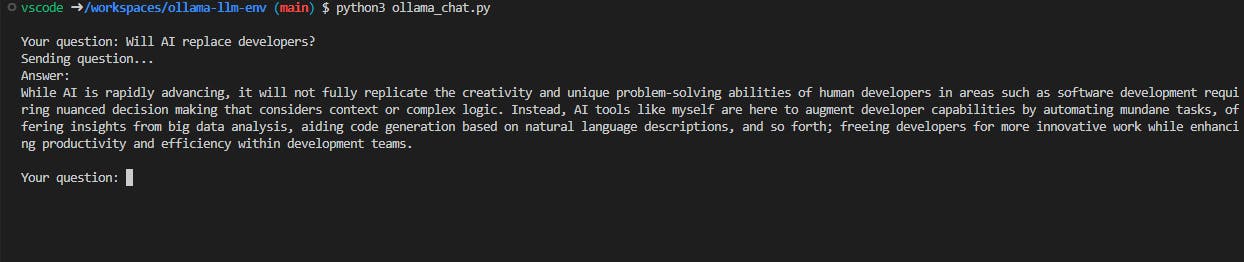
To have a conversation with a model from Python, run the Python file ollama_chat.py. You can change the MODEL_NAME at the top of the file as needed and modify the system message.
Conclusion
You’ve successfully set up a fully containerized development environment for LLMs with Ollama inside Daytona. This workflow ensures consistency, simplicity, and efficiency in managing Python-based AI projects.