Link shorteners are essential tools in modern web development. They transform lengthy, complex URLs into concise, memorable links and provide valuable analytics and tracking capabilities.
This guide shows how to build one using FastHTML (a Python web framework) and Dub.co's API, covering setup, implementation, and deployment.
TL;DR
Configure a Daytona workspace for isolated and efficient development environments.
Build a clean and responsive landing page using FastHTML.
Incorporate external API calls to generate and manage shortened links with Dub.co.
Deploy the final application to a production-ready environment like Render.
Prerequisites
Daytona: Install Daytona to manage your development environments.
Docker: Ensure Docker is running to support containerized workspaces.
Python 3.10 or later: Required for running FastHTML and related scripts.
An IDE: Use an integrated development environment like VS Code or PyCharm for coding.
Basic familiarity with Python
Overview of Daytona
Daytona is a powerful development environment manager that streamlines creating, managing, and sharing isolated workspaces.
Built on containerization technology, Daytona eliminates the "it works on my machine" problem and ensures consistency across development environments.
It is particularly useful for collaborative teams and individual developers who want to focus on coding rather than dealing with setup complexities. Daytona integrates seamlessly with Docker to provide efficient, lightweight workspaces that are easy to set up and share.
Key Features:
Dependency Isolation: Ensures that each workspace has its own dependencies, avoiding conflicts.
Quick Startup: Launch ready-to-use environments in seconds.
Collaboration: Share reproducible environments across teams with ease.
Integration: Works seamlessly with Docker and other container-based tools.
Flexibility: Suitable for prototyping, debugging, and production environments.
Learn more in our Docs
Learn more in our Docs
Overview of FastHTML
FastHTML is a lightweight Python framework for building server-rendered web apps, ideal for small to medium projects. It simplifies web development with a templating engine and server-side rendering, ensuring fast load times and improved SEO. FastHTML is perfect for developers seeking speed and simplicity.
Why Choose FastHTML:
Minimalistic Design: Reduces complexity, focusing on speed and efficiency.
Server-Side Rendering (SSR): Delivers pre-rendered HTML for better performance and SEO.
Clean Templating System: Creates dynamic, responsive pages intuitively.
Python Ecosystem: Integrates smoothly with Python libraries and frameworks.
Fast Prototyping: Perfect for quickly building and deploying MVPs.
Overview of Dub.co
Dub.co is a robust link management platform that allows developers and businesses to create, manage, and track shortened URLs.
It provides a powerful API for seamless integration, enabling developers to add advanced link management functionality to their applications.
Dub.co supports custom branding, analytics, and scalability, making it a top choice for marketing campaigns, content sharing, and app integrations.
Core Features:
Link Creation: Easily generate shortened, branded URLs.
Analytics: Track link performance with insights into clicks, geographic data, and device types.
Custom Branding: Add personalized domains or custom slugs for professional link sharing.
Scalability: Handles high traffic and integrates with large-scale applications.
API Access: Integrate with external tools and workflows effortlessly.
Use Cases:
Marketing campaigns to measure user engagement.
Building link shorteners with custom branding.
Managing links in applications and content delivery.
Check out Dub.co: Dub.co API Documentation
Setting Up Your Project Environment
Before developing your link shortener, it's essential to set up a proper project environment.
This includes creating a project directory, managing dependencies, and configuring your development container. This section will guide you through the steps to set up your project environment from scratch, ensuring you have a solid foundation for your project.
Step 1: Create a Project Directory:
Open your terminal and create a new directory for your project using the following command:
1mkdir dub-fasthtml-shortener
Step 2: Change into the Project Directory:
Navigate into the newly created directory:
1cd dub-fasthtml-shortener
Step 3: Create a requirements.txt File:
Create a requirements.txt file to manage project dependencies. You can use the following command:
1touch requirements.txt
For Windows users using WSL, use wsl touch requirements.txt.
Step 4: Add Dependencies to requirements.txt:
Open the requirements.txt file and add the necessary dependencies for your project.
1python-fasthtml2dub3python-dotenv
Step 5: Create a main.py File:
Create a main.py file to serve as the entry point for your application:
1touch main.py
For Windows users using WSL, use wsl touch main.py.
Step 6: Create a .env File:
Create a .env file to manage environment variables:
1touch .env
For Windows users using WSL, use wsl touch .env.
Step 7: Create a .devcontainer Folder and devcontainer.json File:
Create a .devcontainer folder and a devcontainer.json file to configure your development container:
1mkdir .devcontainer2touch .devcontainer/devcontainer.json
For Windows users using WSL, use mkdir .devcontainer and wsl touch .devcontainer/devcontainer.json.
Step 8: Add Devcontainer Configuration:
Add the following configuration to the devcontainer.json file:
1{2 "name": "Python - fasthtml Project",3 "image": "mcr.microsoft.com/devcontainers/python:3.11",4 "features": {},5 "postCreateCommand": "pip install --no-cache-dir -r requirements.txt",6 "forwardPorts": [8000],7 "remoteUser": "vscode",8 "customizations": {9 "vscode": {10 "extensions": [11 "ms-python.python",12 "ms-python.vscode-pylance",13 "ms-toolsai.jupyter"14 ]15 }16 }17}
Step 9: Create a GitHub Repository and Push Your Project:
Create a GitHub repository for your project and push your local project to the remote repository:
1# Initialize a git repository2git init34# Create a .gitignore file and add .env and .sesskey to it5touch .gitignore6# For powershell, you can use this command7wsl touch .gitignore89# Add the variable that you don't ant pushed to the git ignore file10.env11.sesskey1213# Add all files to the staging area14git add .1516# Commit the changes17git commit -m "Initial commit"1819# Add the remote repository20git remote add origin <your_github_repository_url>2122# Push the changes to the remote repository23git push -u origin master
You have successfully set up your project from scratch by following these steps.
Setting up Daytona development environment
To set up your Daytona development environment and integrate it with your IDE (such as VSCode, IntelliJ, or Cursor) and Git providers
(including Bitbucket and GitHub), follow these steps:
Step 1: Create a GitHub Repository:
Start by creating a GitHub repository for your project. This repository will be used to create your Daytona workspace.
Step 2: Start the Daytona Server:
Open your terminal and run the following command to start the Daytona server and Docker desktop:
1daytona serve
Step 3: Set the Target to Local Docker Provider:
Once the server is running, set up a target to your local Docker provider by executing:
1daytona target set
Step 4: Add Git Provider:
Next, set up your Git provider using the command:
1daytona git-providers add
Select your preferred Git provider from the options presented.
Step 5: Set Up IDE for Development:
Use the following command to set up your IDE for development:
1daytona ide
Choose any IDE you prefer, such as Visual Studio Code or IntelliJ.
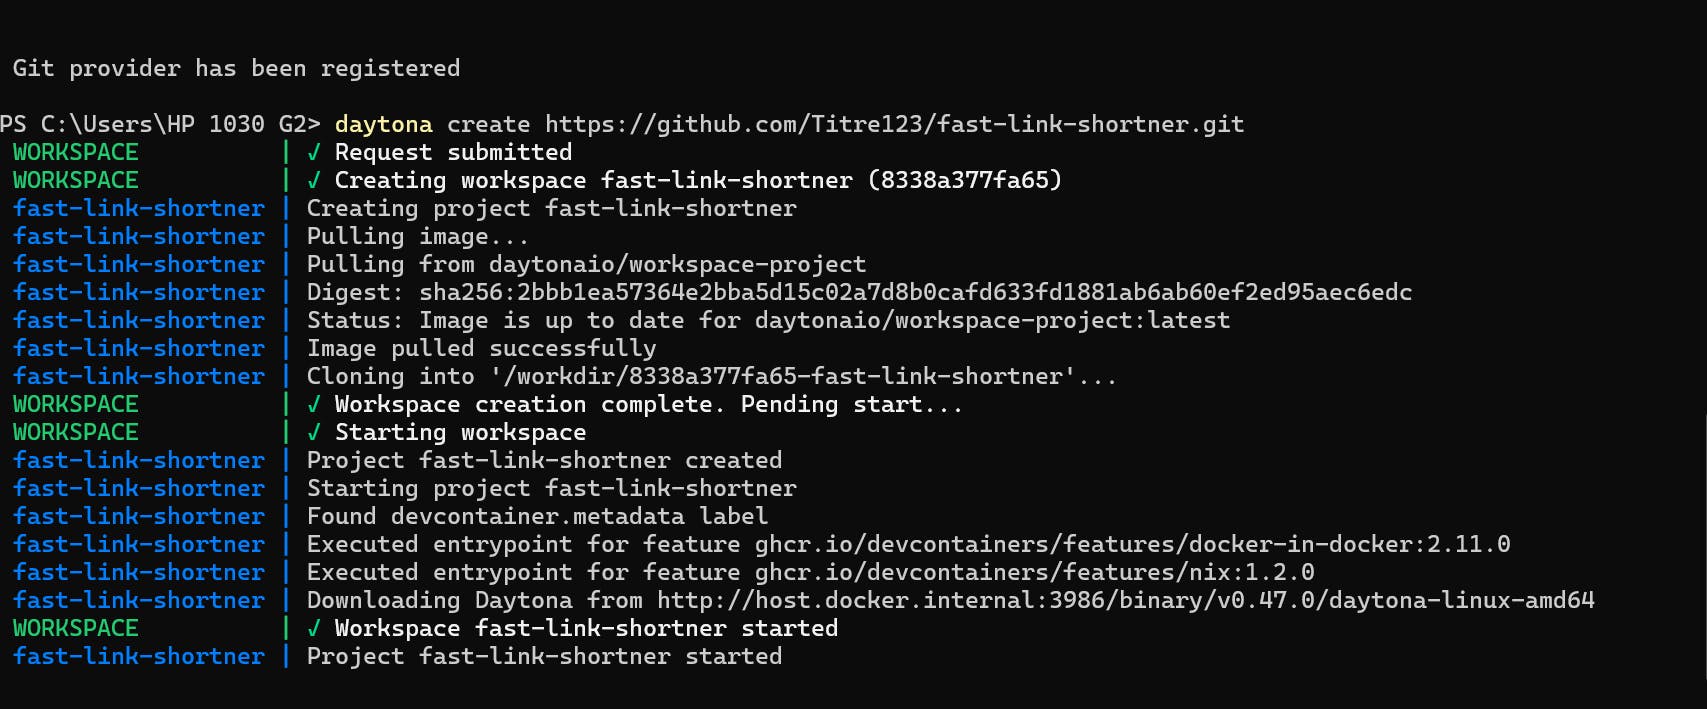
Step 6: Create a Workspace:
Finally, create a workspace using your GitHub repository URL with the command:
1daytona create <github_url>
The workspace will be opened in your ide using SSH from daytona. You can start experimenting in your development environment.
Setting Up Dub.co and Obtaining API Key
In this section, you will create a Dub.co account and obtain an API key for our application.
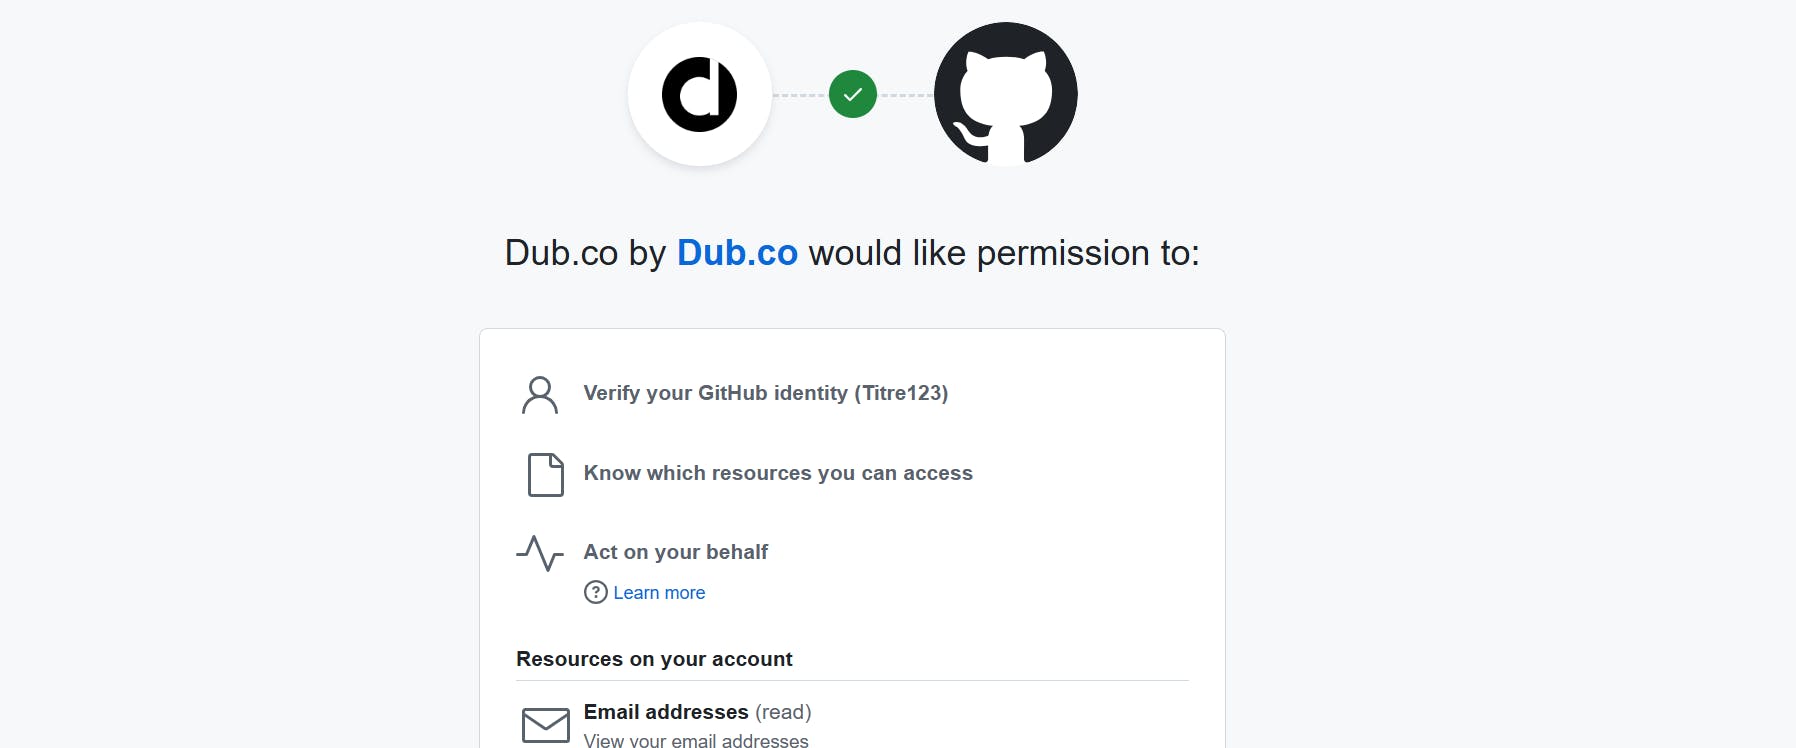
Step 1: Register on Dub.co
Click on dub.co and follow the sign-up process to create an account.
Step 2: Obtain API Key
After successfully registering, you will be directed to the dashboard. In the sidebar, there is a tab to obtain the API key for your application.
Setting Up the Project
This section will install the necessary dependencies for our project and set up the environment variables required for integration with the Dub.co API, and create a main entry point for our application.
Step 1: Create a .env File and Add the Environmental Variable
Add the following line to the file, replacing your_api_key_here with your actual API key: DUB_API_KEY=your_api_key_here
Integrating the Dub.co API for a simple FastHml landing page
This section will guide you through building a link shortener using FastHTML and Dub.co. This will involve setting up the project structure, implementing the main application logic, and explaining each step in detail.
Step 1: Create the Application Structure
Organize your project as follows:
1dub-fasthtml-shortener/2│3├── .devcontainer/4│ └── devcontainer.json5├── .env6├── .gitignore7├── main.py8└── requirements.txt
Step 2: Implement main.py
The following code implements the main application logic for the link shortener. It begins by importing necessary modules and loading environment variables.
1from fasthtml.common import *2import dub3from dotenv import load_dotenv4import os56# Load environment variables7load_dotenv()89# Initialize Dub with the API key from the environment variables10d = dub.Dub(token=os.getenv('DUB_API_KEY'))1112# Initialize the FastHTML app13app, rt = fast_app()1415@rt("/")16def index():17 # This function defines the home page of the application, which includes a form to input URLs for shortening.18 return Titled(19 "AI Link Shortener",20 Article(21 Form(method="post", action="/shorten")(22 Label("Enter URL: ", Input(name="url", type="url", required=True)),23 Button("Shorten", type="submit")24 ),25 Div(id="result")26 )27 )2829@rt("/shorten")30async def shorten(url: str):31 # This function handles the shortening of URLs. It attempts to shorten the URL using Dub.co and returns the result.32 try:33 response = d.links.create(request={"url": url})34 short_link = response.short_link35 except Exception as e:36 short_link = f"Error: {e}"3738 # This returns the result of the shortening process, including the original URL, the shortened URL, and a link to shorten another URL.39 return Titled(40 "Shortened Link",41 Article(42 P(f"Original URL: {url}"),43 P(f"Shortened URL: ", A(href=short_link)(short_link)),44 A(href="/")("Shorten another link")45 )46 )4748# This starts the FastHTML application server.49serve()
Step 3: Testing and debugging the application
To run the project, use the following command in your terminal:
1python main.py
If you are using Python 3, use the following command instead:
1python3 main.py
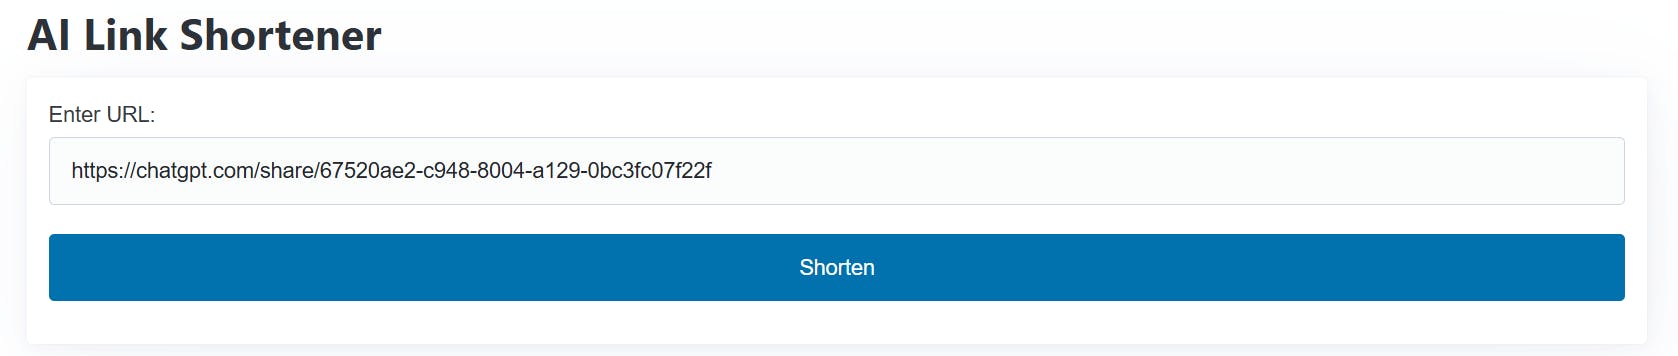
Once the project is running, open http://127.0.0.1:5001 in your browser to access the interface.
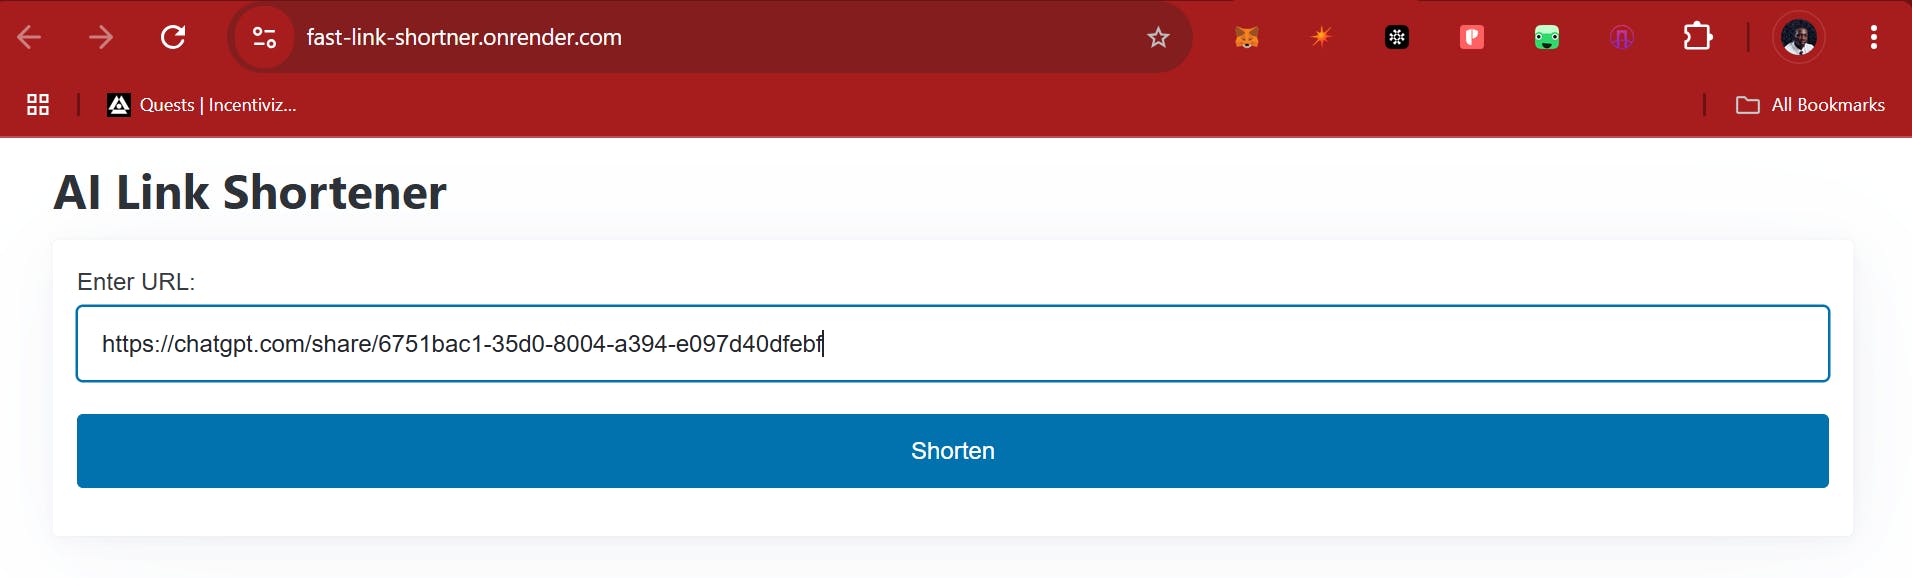
To test the link-shortening functionality, enter an AI artifact link and click the "Shorten" button to see the shortened link.
Deploying the Application to Render
Once your link shortener application is complete, you can deploy it to a production environment using Render.
Render is a cloud platform for quickly and easily deploying web applications. It supports a wide range of technologies and provides a simple, intuitive interface for managing deployments.
To deploy your application to Render, follow these steps:
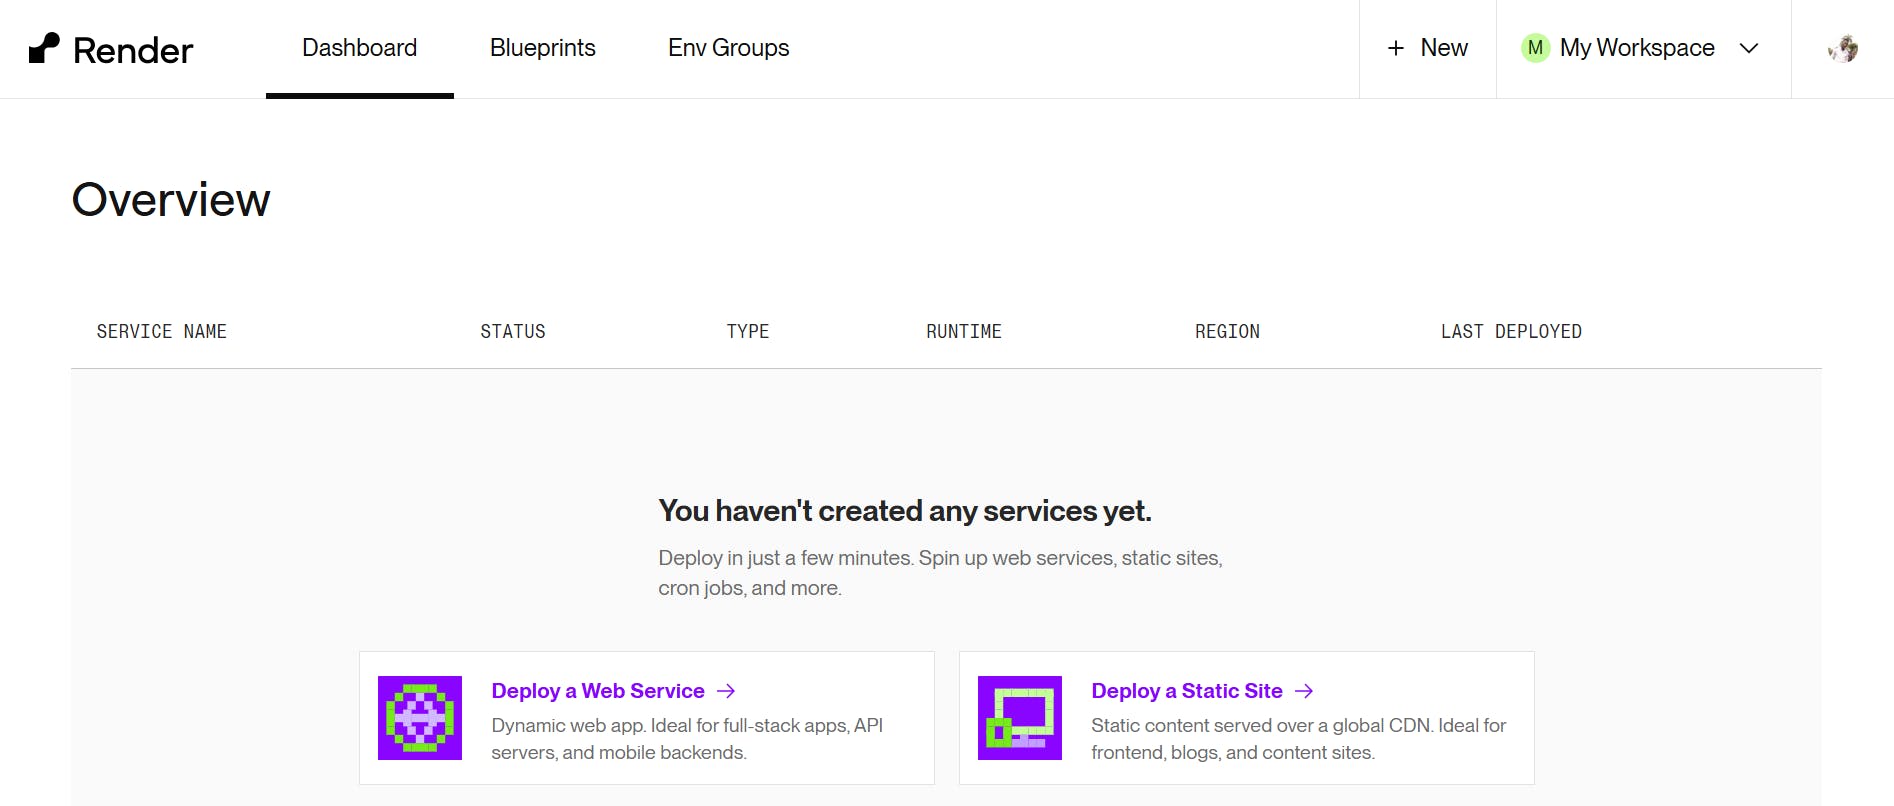
Step 1: Create a Render account and log in to the dashboard.
Navigate to the Render website and sign up for an account. Once you've registered, log in to access the dashboard, where you'll manage your deployments.
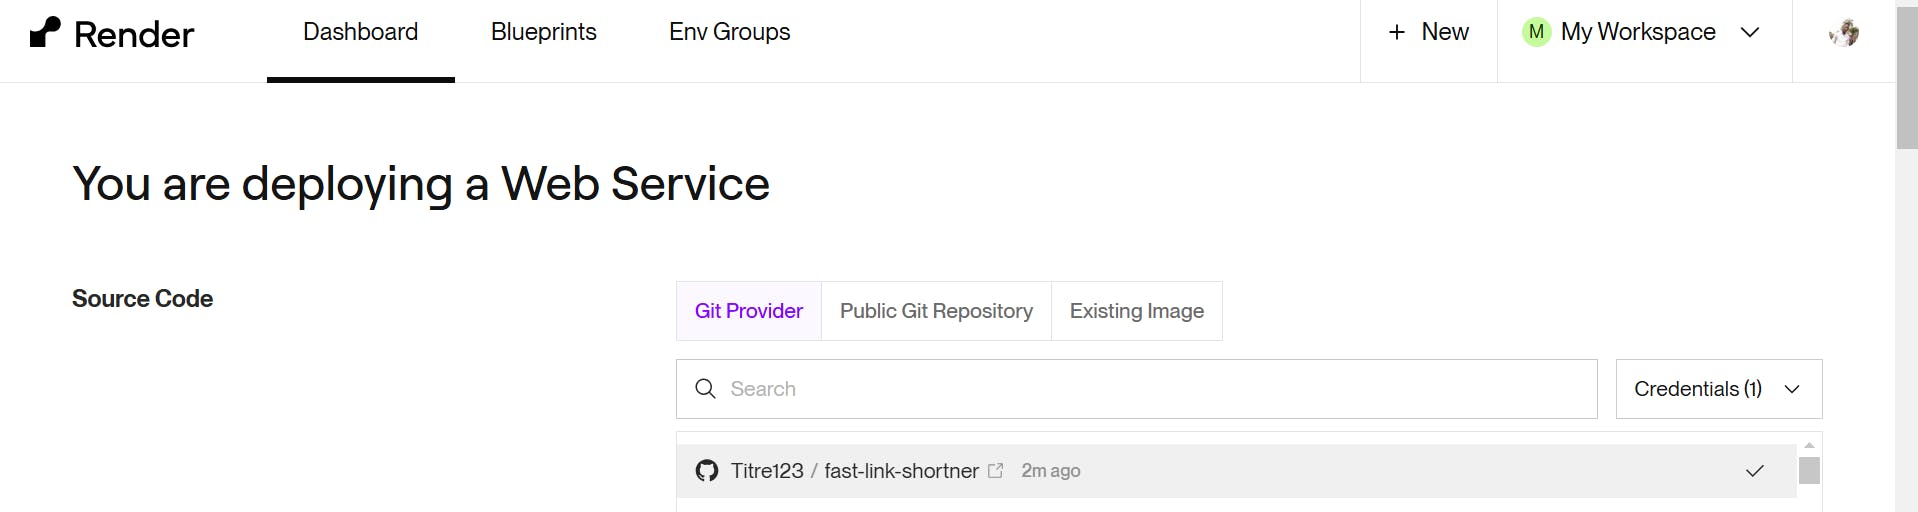
Step 2: Click the "New Web Service" button and select "Python" as the runtime.
Click on the "New Web Service" button in the Render dashboard to start the deployment process. You will be prompted to select the runtime environment for your application. Choose "Python" as the runtime environment, as it is the language used for this project.
Step 3: Connect your GitHub repository containing the link shortener application.
Next, you need to connect your GitHub repository that contains the link shortener application. This allows Render to access your code and deploy it. Follow the instructions provided by Render to link your GitHub account and select the repository containing your project.
Step 4: Configure the deployment settings, such as the environment variables and the command to run the application, as needed.
In this step, you'll need to configure the deployment settings for your application. This includes setting environment variables and
specifying the command to run your application. Ensure that you set the environment variables required by your application,
such as the Dub.co API key. Additionally, specify the command to run your application, which in this case is python main.py.
Step 5: Click "Deploy" to start the deployment process.
Once you've completed the configuration, click the "Deploy" button to start the deployment process. Render will then build and deploy your application to a production environment. This process may take a few minutes to complete.
After deployment, your link shortener application will be accessible at a public URL provided by Render. You can then share this URL with others, allowing them to use your application to shorten links.
Common Issues and Troubleshooting
During the process of building and deploying your link shortener application, you may encounter some common issues. This section addresses these problems and provides solutions to help you troubleshoot and resolve them efficiently.
Problem 1: Daytona Serve Error
The Daytona serve is giving an error, and you are unable to start the development server.
Solution 1
Make sure Docker Desktop is running. This is a common issue that can be resolved by ensuring that Docker is up and running.
Problem 2: Unable to Create a Workspace
You are unable to create a new workspace in Daytona, and you are encountering errors during the setup process.
Solution 2
Try updating your Daytona version to the latest release. Bugs were discovered in previous versions, which have since been fixed. Additionally, you can try deleting the file in AppData/Roaming and reinstalling Daytona. If the issue persists, check if the Daytona target and Git providers are set.
Problem 3: Dub API Key Error
If you are getting an error relating to the Dub API key, such as d = dub.Dub(token=os.getenv('DUB_API_KEY'))
Solution 3
If you are encountering an error related to the Dub API key, such as d = dub.Dub(token=os.getenv('DUB_API_KEY')), it is likely that your environmental variables are not set. To resolve this issue, ensure that you have set the DUB_API_KEY environmental variable.
Conclusion
In this guide, we have successfully set up a robust link shortener using Daytona, FastHTML, and the Dub.co API.
We have learned how to configure a Daytona workspace, build a landing page with FastHTML, integrate external APIs,
and deploy the finished application to a production environment. Following this guide, you have gained hands-on experience managing development environments, building server-rendered web applications, and integrating external APIs.
You can explore further by customizing the landing page, adding more features to the link shortener, or integrating other APIs. For more advanced usage and best practices, you can also check out the documentation for Daytona, FastHTML, and the Dub.co API.