Ever wondered how those smart chatbots you interact with are made? AI chatbots are more than just a trend—they’re revolutionizing how we communicate with technology. Yet, for many developers, the journey to creating a functional, responsive chatbot can feel like navigating a maze of tools, APIs, and configurations.
That’s where this guide comes in. Instead of building an AI chatbot from scratch, we’ll dive into a pre-built AI Chatbot starter. You’ll learn how the core structure works and, more importantly, how to easily modify or add features to suit your needs. Also, we’re going to make the entire process as smooth as possible.
The key to this streamlined approach? Daytona.
Consider Daytona, your trusted co-pilot in the development process. It eliminates the hurdles of environment setup and dependency management, enabling you to focus on what truly matters—building and innovating. In this guide, we’ll show you how Daytona can help you get your AI chatbot up and running seamlessly without the usual complications.
Key Technologies Powering the Chatbot
This application uses a combination of modern technologies to deliver a robust and efficient development experience. Here are the key technologies that make it stand out:
AI-Powered Chat Interface: The application features a responsive chatbot interface built with Vercel AI SDK, enabling smooth and intelligent user interactions.
Svelte Framework: Svelte is used to create a fast and reactive front end, ensuring a seamless and efficient user experience.
Groq API Integration: The Groq API, utilizing the llama-3.1 model, provides advanced AI capabilities, allowing the chatbot to generate accurate and context-aware responses.
Setting Up Your Development Environment
A well-set-up development environment is key to a smooth workflow. In this guide, we’ll show you how to quickly set up your environment using a pre-configured repository configured for this chatbot application. With Daytona, we’ll simplify the setup process, allowing you to focus on building your application.
The full codebase, along with all configuration and setup details, is available on our GitHub repository.
Prerequisites
Before we begin, make sure you have the following tools and knowledge to set up your development environment:
Daytona installed on your system
Docker installed and running (e.g., Docker Desktop)
Basic understanding of Svelte and the Vercel AI SDK
Groq API key (You can obtain it from Groq's website)
Setting up Daytona for Development Workspace
Configuring a development environment for your chatbot can be a complex task, with potential challenges like version conflicts and dependency management. Daytona simplifies this process by automating the setup of your development environment. It handles everything from managing essential tools like TypeScript and Git to ensuring smooth port forwarding for your Dev Server.
With Daytona, you can focus on building your AI chatbot without the usual setup headaches. The pre-configured Dev Container ensures that your environment is consistent and ready to use right away.
For detailed instructions on installing and configuring Daytona for this project, refer to the Daytona installation documentation. This guide will help you get your development environment optimized and running smoothly.
Cloning and Setting Up Your Environment for the Chatbot
Start Daytona Server:
Open your terminal and start the Daytona server using the following command:
1daytona serve
Create and Open in Daytona Workspace:
1daytona create https://github.com/daytonaio-experiments/starter-ai-chatbot.git
After executing this command, the repository will open in your preferred IDE.

Create a .env file in the root directory and add the following line:
1GROQ_API_KEY="<YOUR_GROQ_API_KEY>"
Run the application using:
1npm run dev
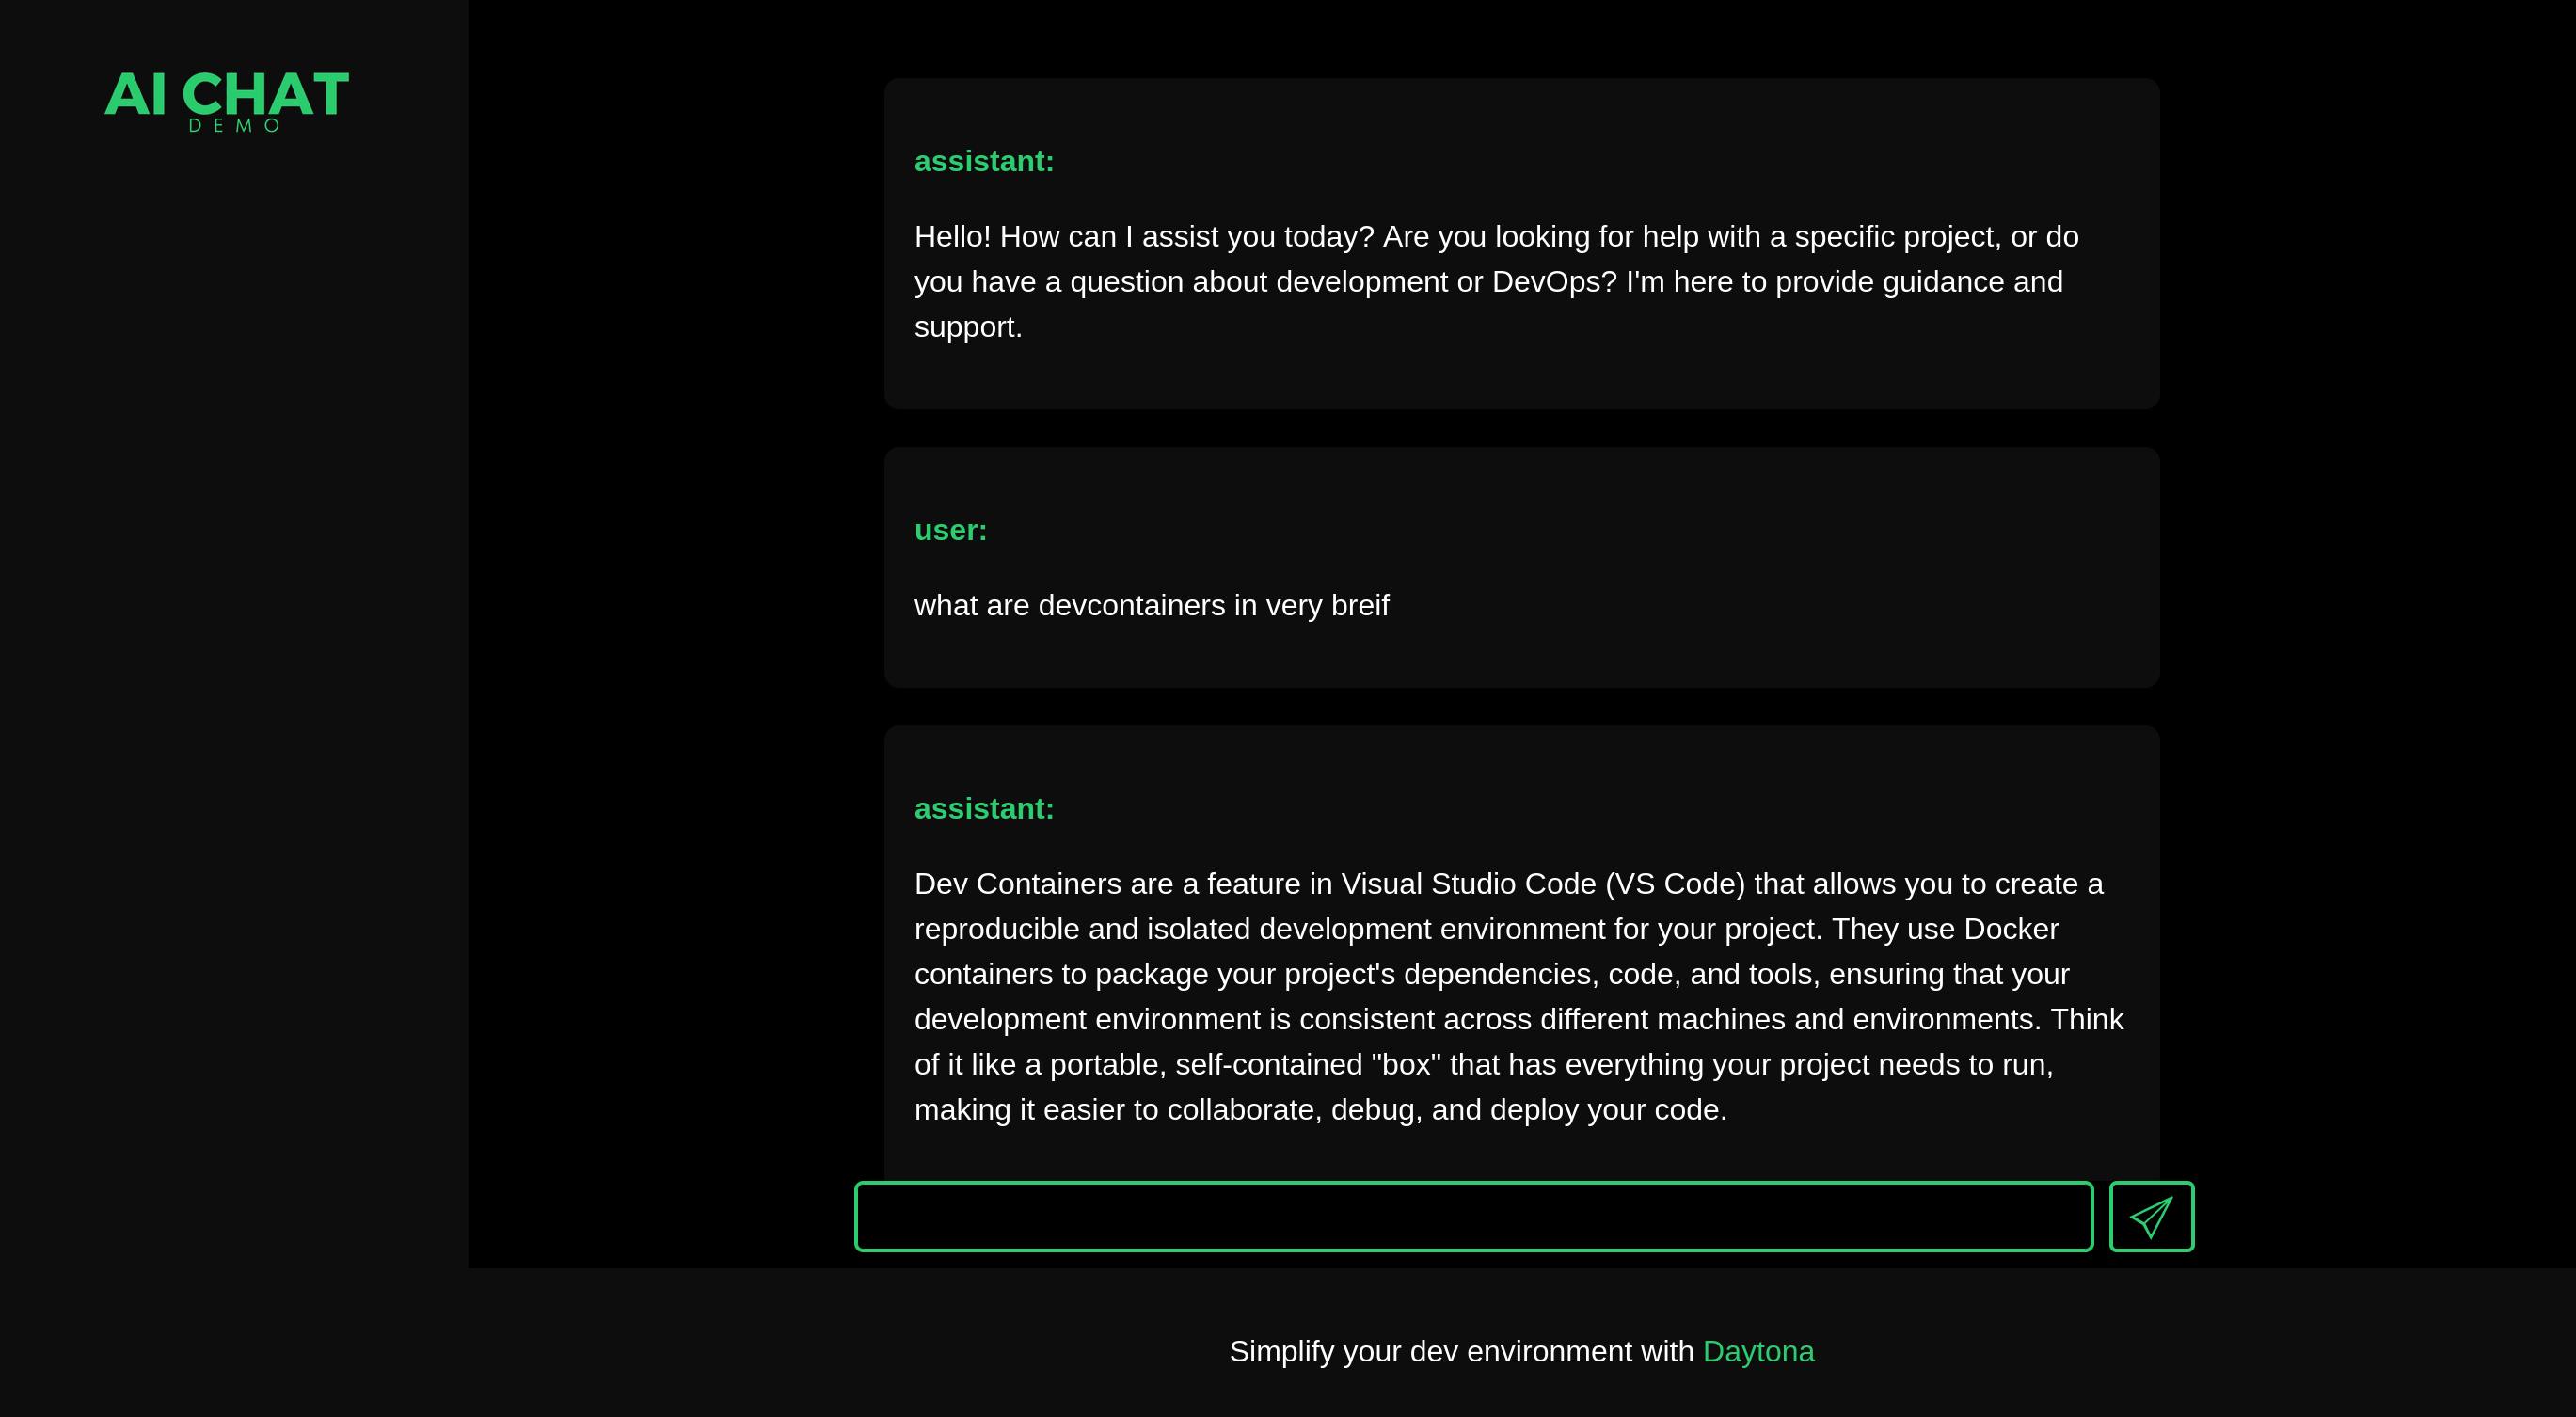
Your AI Chatbot app should now be up and running.

Daytona and Dev Container: A Perfect Match for Developers
Daytona takes care of all the heavy lifting when it comes to setting up and managing your development environment so you can focus on what really matters—building your AI chatbot. It saves you time on tedious setup tasks, letting you get straight into development and boost your productivity.
Daytona enhances the development experience by providing a standardized and scalable environment. This setup ensures that your development workspace is consistent across different machines, eliminating the need for complex local configurations.
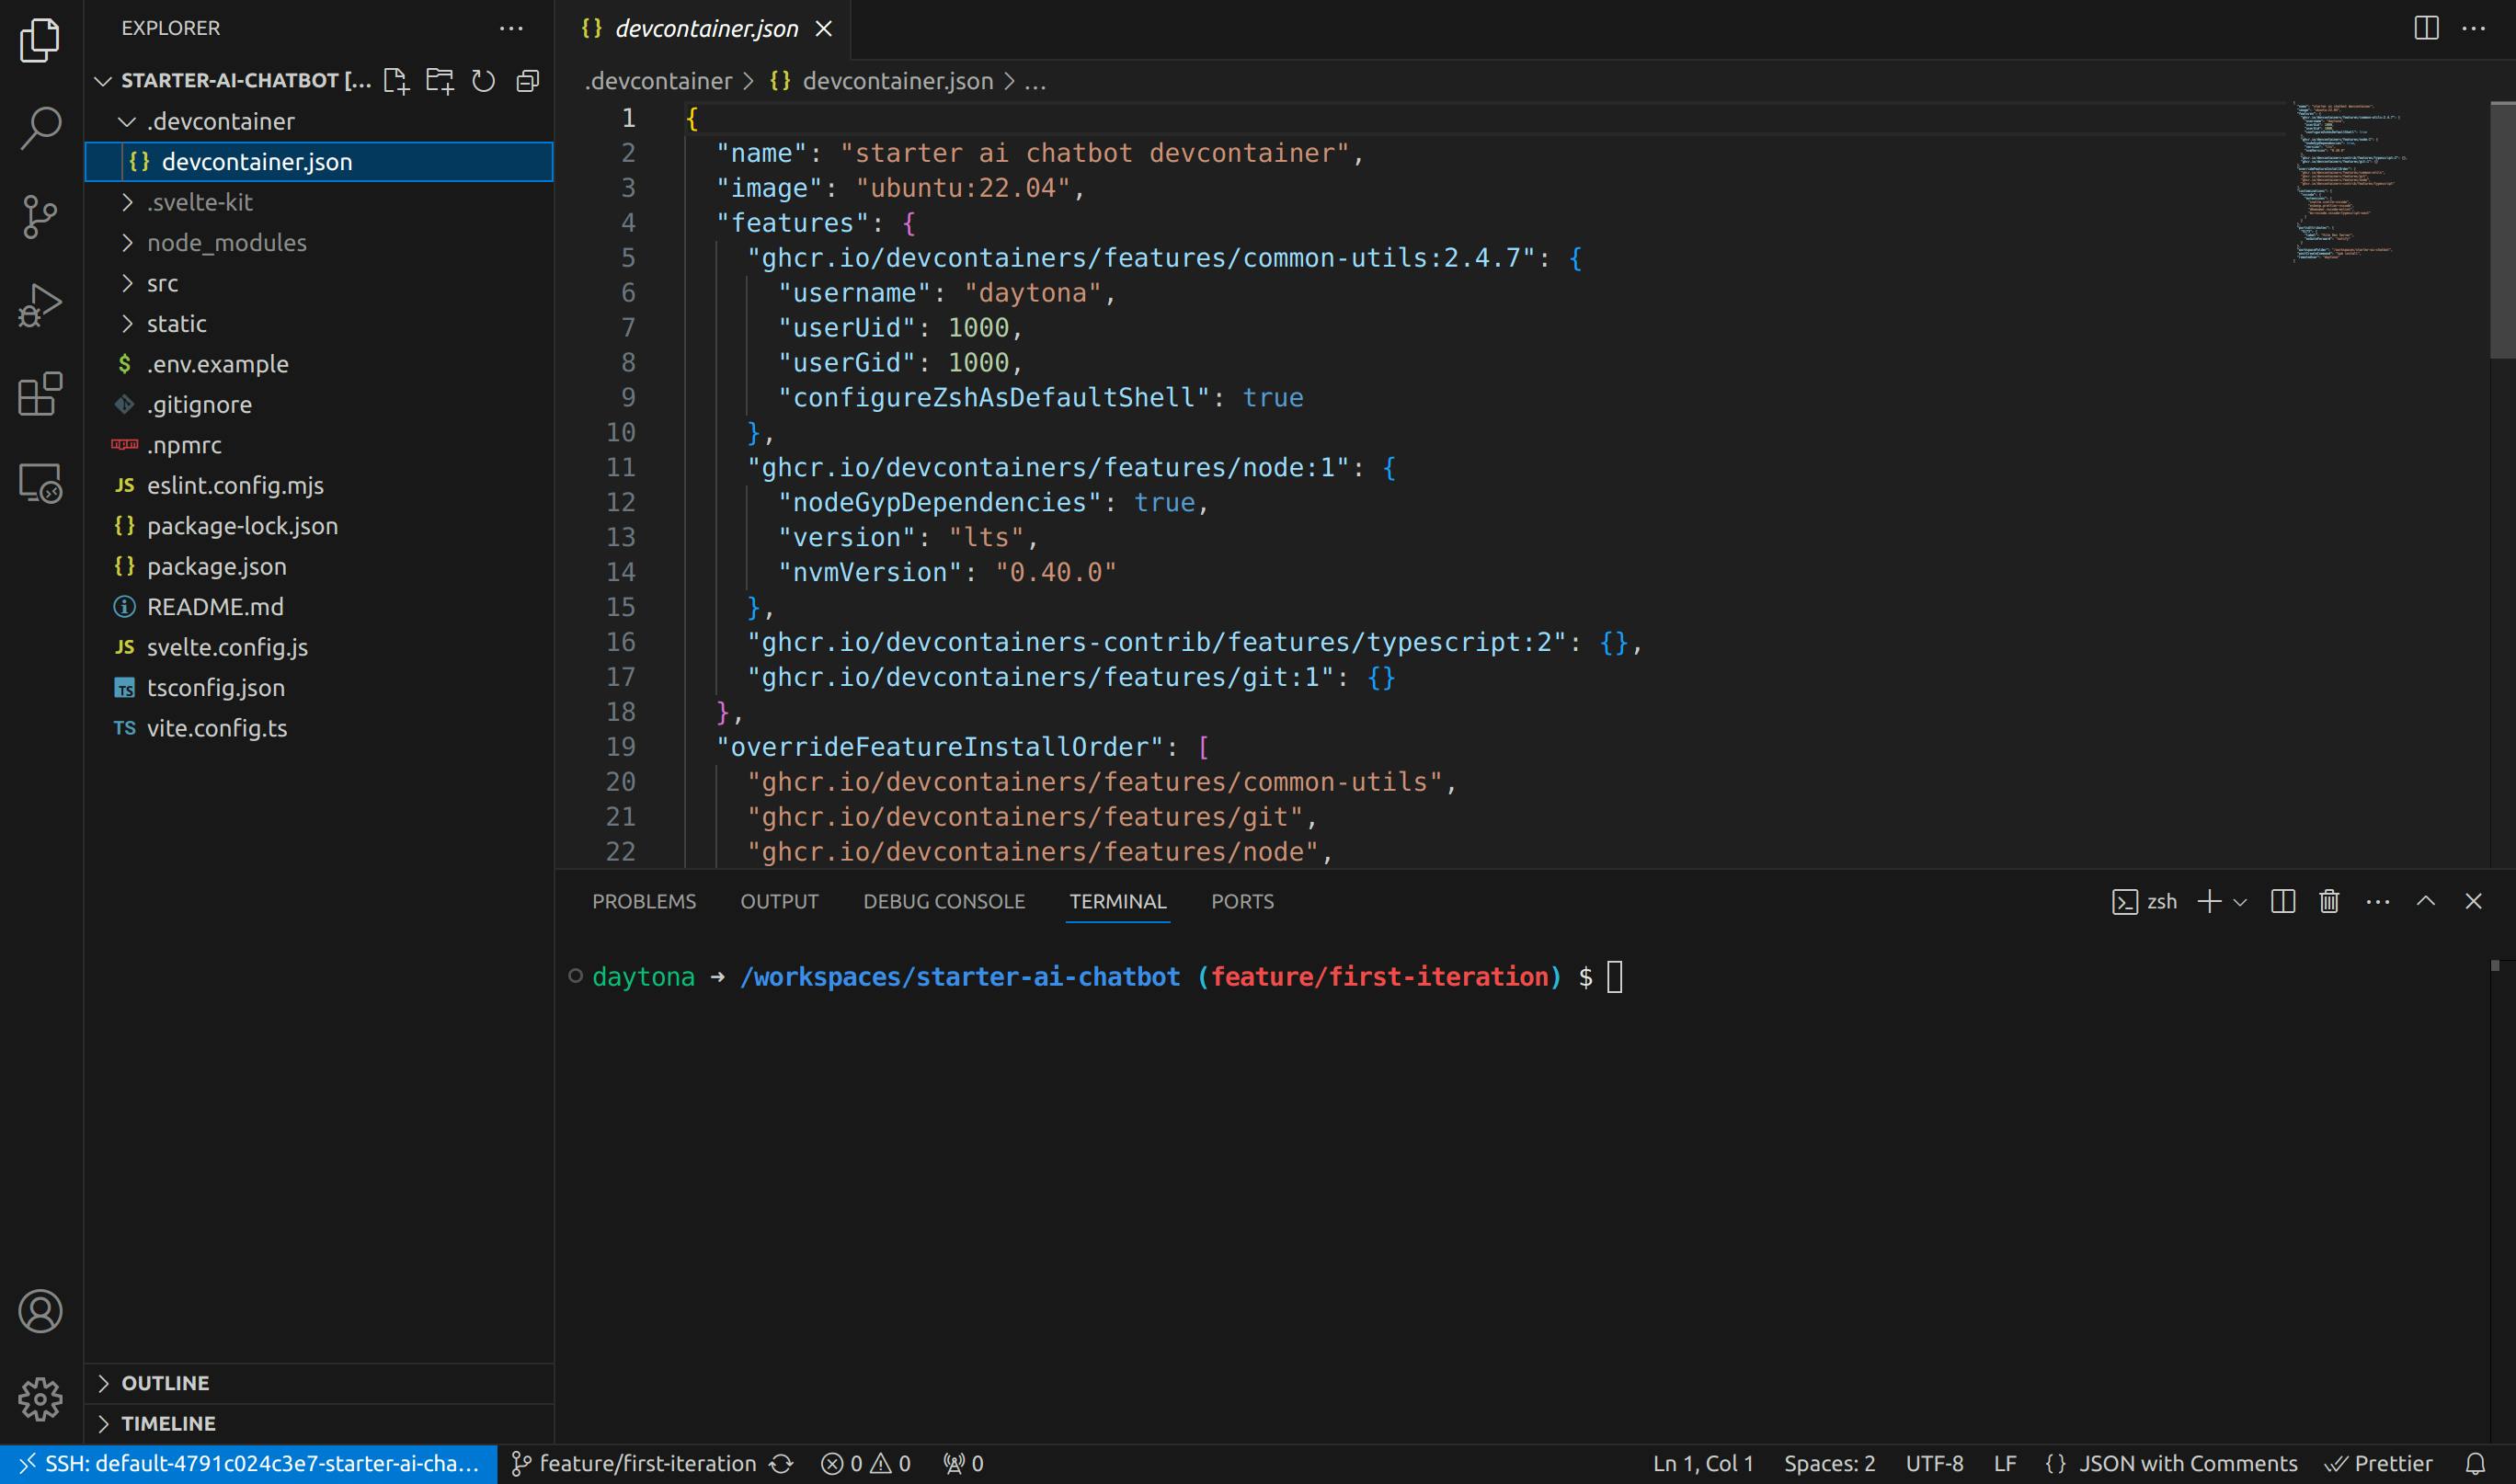
The project uses a devcontainer.json configuration to provide a predefined development environment using Docker containers. Here’s the configuration used in this project:
1{2 "name": "starter ai chatbot devcontainer",3 "image": "ubuntu:22.04",4 "features": {5 "ghcr.io/devcontainers/features/common-utils:2.4.7": {6 "username": "daytona",7 "userUid": 1000,8 "userGid": 1000,9 "configureZshAsDefaultShell": true10 },11 "ghcr.io/devcontainers/features/node:1": {12 "nodeGypDependencies": true,13 "version": "lts",14 "nvmVersion": "0.40.0"15 },16 "ghcr.io/devcontainers-contrib/features/typescript:2": {},17 "ghcr.io/devcontainers/features/git:1": {}18 },19 "overrideFeatureInstallOrder": [20 "ghcr.io/devcontainers/features/common-utils",21 "ghcr.io/devcontainers/features/git",22 "ghcr.io/devcontainers/features/node",23 "ghcr.io/devcontainers-contrib/features/typescript"24 ],25 "customizations": {26 "vscode": {27 "extensions": [28 "svelte.svelte-vscode",29 "esbenp.prettier-vscode",30 "dbaeumer.vscode-eslint",31 "ms-vscode.vscode-typescript-next"32 ]33 }34 },35 "portsAttributes": {36 "5173": {37 "label": "Vite Dev Server",38 "onAutoForward": "notify"39 }40 },41 "workspaceFolder": "/workspaces/starter-ai-chatbot",42 "postCreateCommand": "npm install",43 "remoteUser": "daytona"44}
This configuration includes:
name: Defines the name of the development environment as "starter ai chatbot devcontainer".
image: Uses the base image "ubuntu:22.04" for the development container.
features: Includes common utilities, Node.js (LTS), TypeScript, and Git for the user "daytona".
overrideFeatureInstallOrder: Specifies the installation order to ensure proper setup.
customizations: Installs VSCode extensions for Svelte, Prettier, ESLint, and TypeScript.
portsAttributes: Sets up port forwarding for the Vite Dev Server on port 5173 with a notification.
workspaceFolder: Specifies the workspace folder as "/workspaces/starter-ai-chatbot".
postCreateCommand: Runs
npm installto install dependencies upon container creation.remoteUser: Sets the remote user to "daytona" for the development environment.
Unpacking the AI Chatbot: Key Components Explained
Now that we’ve set up and run our AI chatbot, let’s break down the structure of the application to understand how all the pieces fit together seamlessly.
The project is organized to ensure clarity, maintainability, and efficiency. Here’s a closer look at how the files and directories are structured:
.devcontainer: Contains the devcontainer.json file, which defines the development environment, making it easy to set up and maintain a consistent workspace.
src: The core of the Svelte application, where the main functionality is implemented.
routes: Defines the different routes in the application.
api/chat:
This folder handles API requests related to the chatbot.
The
+server.tsfile manages the server-side logic and integrates with the Groq API, using the llama-3.1 model to stream AI responses.A key aspect is the system prompt, which defines the chatbot’s persona as a "seasoned development assistant and DevOps expert."
System prompt ensures that responses remain focused, efficient, and professional, guiding the AI’s behavior throughout conversations.
+layout.svelte:
The layout component that wraps around the page content, ensuring a consistent look and feel across the entire application.
+page.svelte and +page.ts:
These files represent the main chat interface, where users interact with the chatbot.
The
+page.sveltefile uses theuseChathook to manage chat state, handle input, and display messages in real-time.The chat interface automatically scrolls to the most recent message, providing a smooth and uninterrupted conversation flow.
It also includes basic error handling, letting users retry in case of failures, and a loading state to improve the overall experience.
styles.css: Contains global styles that apply across the application, ensuring a consistent visual design.
app.html: The HTML template that serves as the entry point for the Svelte application.
static: Stores static assets like images, SVGs, and other files that are served directly without processing.
.env: The environment file where sensitive information like API keys can be securely stored.
Tailoring Your AI Chatbot: Personalization and Features
Now that you’ve set up the core AI chatbot, you might be wondering how to make it your own. Customizing your chatbot to better fit your specific use case can elevate the overall user experience and enhance its functionality. In this section, we’ll guide you on how to modify and personalize your AI chatbot.
1. Modifying the Chatbot Interface
The design and feel of the chatbot interface play a key role in how users interact with it. You can tweak the layout and styling to match your brand or desired aesthetic. Here’s a quick guide on how to do that:
Change the Welcome Message: In the
+page.sveltefile, you can update the welcome message to something more personalized.Example:
1{#if !hasStartedTyping}2 <h1 class="heading">Hello there! 👋</h1>3 <div class="subheading">4 <h2>I'm your virtual assistant. How can I assist you today?</h2>5 </div>6{/if}
Update the Styles: Modify the
styles.cssfile to change colors, fonts, or other visual elements to reflect your brand.Example:
1.heading {2 color: #2a9d8f;3 font-size: 2.5rem;4}56.message-card.user {7 background-color: #f4a261;8 width: 50%;9}1011.message-card.assistant {12 background-color: #ff0000;13 width: 40%;14}
2. Customizing with Vercel AI SDK
The Vercel AI SDK offers a robust set of features that allows you to modify the behavior and extend the functionality of your chatbot. Here’s how you can customize it using Vercel’s SDK.
Handle Custom Events or Actions: Vercel AI SDK allows you to define custom actions to handle specific user inputs or events. You can customize the chatbot’s behavior for specific queries or commands. You can make the following changes in your +page.svelte file.
Example:
1import { useChat } from "@ai-sdk/svelte";23const { handleSubmit, messages, input } = useChat({4 onFinish(message) {5 if (message.content.includes("help")) {6 console.log("User requested help");7 // Custom action or response8 }9 }10});
Custom Error Handling: You can enhance error handling to improve user experience, making the chatbot more resilient to issues like API failures or network errors. This way, you can ensure the chatbot gracefully handles any issues that arise during interactions. You can modify your +page.svelte with these changes.
Example:
1const { error, reload } = useChat({2 onError(err) {3 console.error("An error occurred:", err);4 // Provide a custom response or retry logic5 }6});78if (error) {9 // Display a user-friendly message10 return "Oops! Something went wrong. Please try again.";11}
Optimize AI Model Selection: You can experiment with different model configurations provided by Vercel AI SDK to optimize the chatbot's responses. This allows you to balance performance and accuracy based on your use case. You can modify your +server.ts with these changes.
Example:
1const groq = createOpenAI({2 baseURL: 'https://api.groq.com/openai/v1',3 apiKey: env.GROQ_API_KEY,4});56const result = await generateText({7 model: groq('llama3-8b-8192'),8 prompt: 'Generate a product description.',9 temperature: 0.7, // Adjust the temperature for more creative responses10 maxTokens: 1000, // Limit the number of tokens per response11});
3. Personalizing the System Prompt
The system prompt in the +server.ts file determines the chatbot’s persona and tone. You can adjust it based on your project’s needs to change how the chatbot responds to user queries.
You can make the chatbot more specific to your use case, for example, a financial advisor, a customer support agent, or a developer guide.
Example:
1 const systemPrompt = {2 role: 'system',3 content: 'You are a professional financial advisor specializing in stock market investments. Provide users with accurate, timely, and well-researched advice based on the latest market trends.'4 };
These examples give you a glimpse into how versatile the AI chatbot can be. Whether it’s design tweaks, API integrations, or changing the chatbot’s personality, you have full control to create an AI chatbot that perfectly aligns with your project’s goals and user needs.
Conclusion
Awesome job! You’ve not only set up your AI chatbot using Svelte, Vercel AI SDK, and Groq API, but you’ve also taken advantage of Daytona to make your development process smooth and hassle-free.
With everything in place, you’ve built a powerful, responsive chatbot that’s ready to be customized and scaled to meet your unique needs. Daytona has helped you skip the usual setup headaches, letting you focus on what matters—building something great.
As you continue to refine and expand your chatbot, remember you’re not alone. If you ever hit a bump along the way, the Daytona team is just a message away, and their community is there to help. Now, go ahead and make your chatbot even better, and enjoy the journey ahead!


