


Prebuilds are pre-configured workspace environments that are built ahead of time based
on your project’s configuration.
on your project’s configuration.
They significantly reduce the time it takes to start a new workspace by having most of the setup work done in advance. In this article, we will explore the process of setting up prebuilds in Daytona, how they work, and how they can help you streamline development workflows.
Overview of Prebuilds
Prebuilds accelerate development by pre-building your Workspace, ensuring it starts almost instantly. They achieve this by setting up a project configuration that monitors changes in the connected Git repository.
Prebuilds work by registering a listener for webhook events from the Git Provider.
A public API endpoint is provided, which the Git Provider uses to send these requests.
Key Features of Prebuilds:
Automatic Triggers: Prebuilds can be automatically initiated based on repository events.
Customizable Configurations: Tailor prebuild settings to your project’s specific needs.
Build Retention: Control how many prebuilds are retained to manage resources effectively.
Prebuild Status Monitoring: Track the status of your prebuilds through the Daytona CLI.
Setting up a Project Configuration
Before setting up Prebuilds for your project, you must set up a Project Configuration.
A project configuration defines and manages projects within a Workspace, storing information like repository URL, build configuration, and environment variables. It enables reuse of settings for consistent and reproducible setups across multiple Workspaces.
Follow the below steps:
Step 1: Start Daytona Server
Start the daytona server by running the command:
1daytona server
Step 2: Add a new Project Configuration
Run the following command to add a new Project Configuration:
1daytona project-config add
Step 3: Choose a Git Provider
You will be prompted to choose a provider. Select GitHub from
the list.
If you haven’t added GitHub as a provider, you can do so by running the below command:
1daytona git-providers add
Step 4: Select repository URL
Select the repository URL of the project you want to configure from your GitHub.
In my case, I’ve selected pyhton-dev-env repository from my GitHub account for configuration.
Step 5: Choose a build configuration
Choose your preferred builder for your project. Builders are responsible for creating
a container image with the necessary tools and configurations for your Project.
Step 6: Enter the environment variables
Enter environment variables in the format KEY=VALUE
To pass machine env variables at runtime, use $VALUE
Leave blank, if there are no environment variables for your project.
Step 7: Provide name
Enter a name for the Project Configuration.
Now, you have successfully set up your project configurations.
You can check the list of Project Configurations you added by running the below command:
1daytona project-config list
Now, let’s move to setting up prebuild for your project.
Setting Up Prebuilds
Add a Prebuild
Run the following command to add a new Prebuild:
1daytona prebuilds add
Upon running the above command, Select a project configuration you plan to work on.
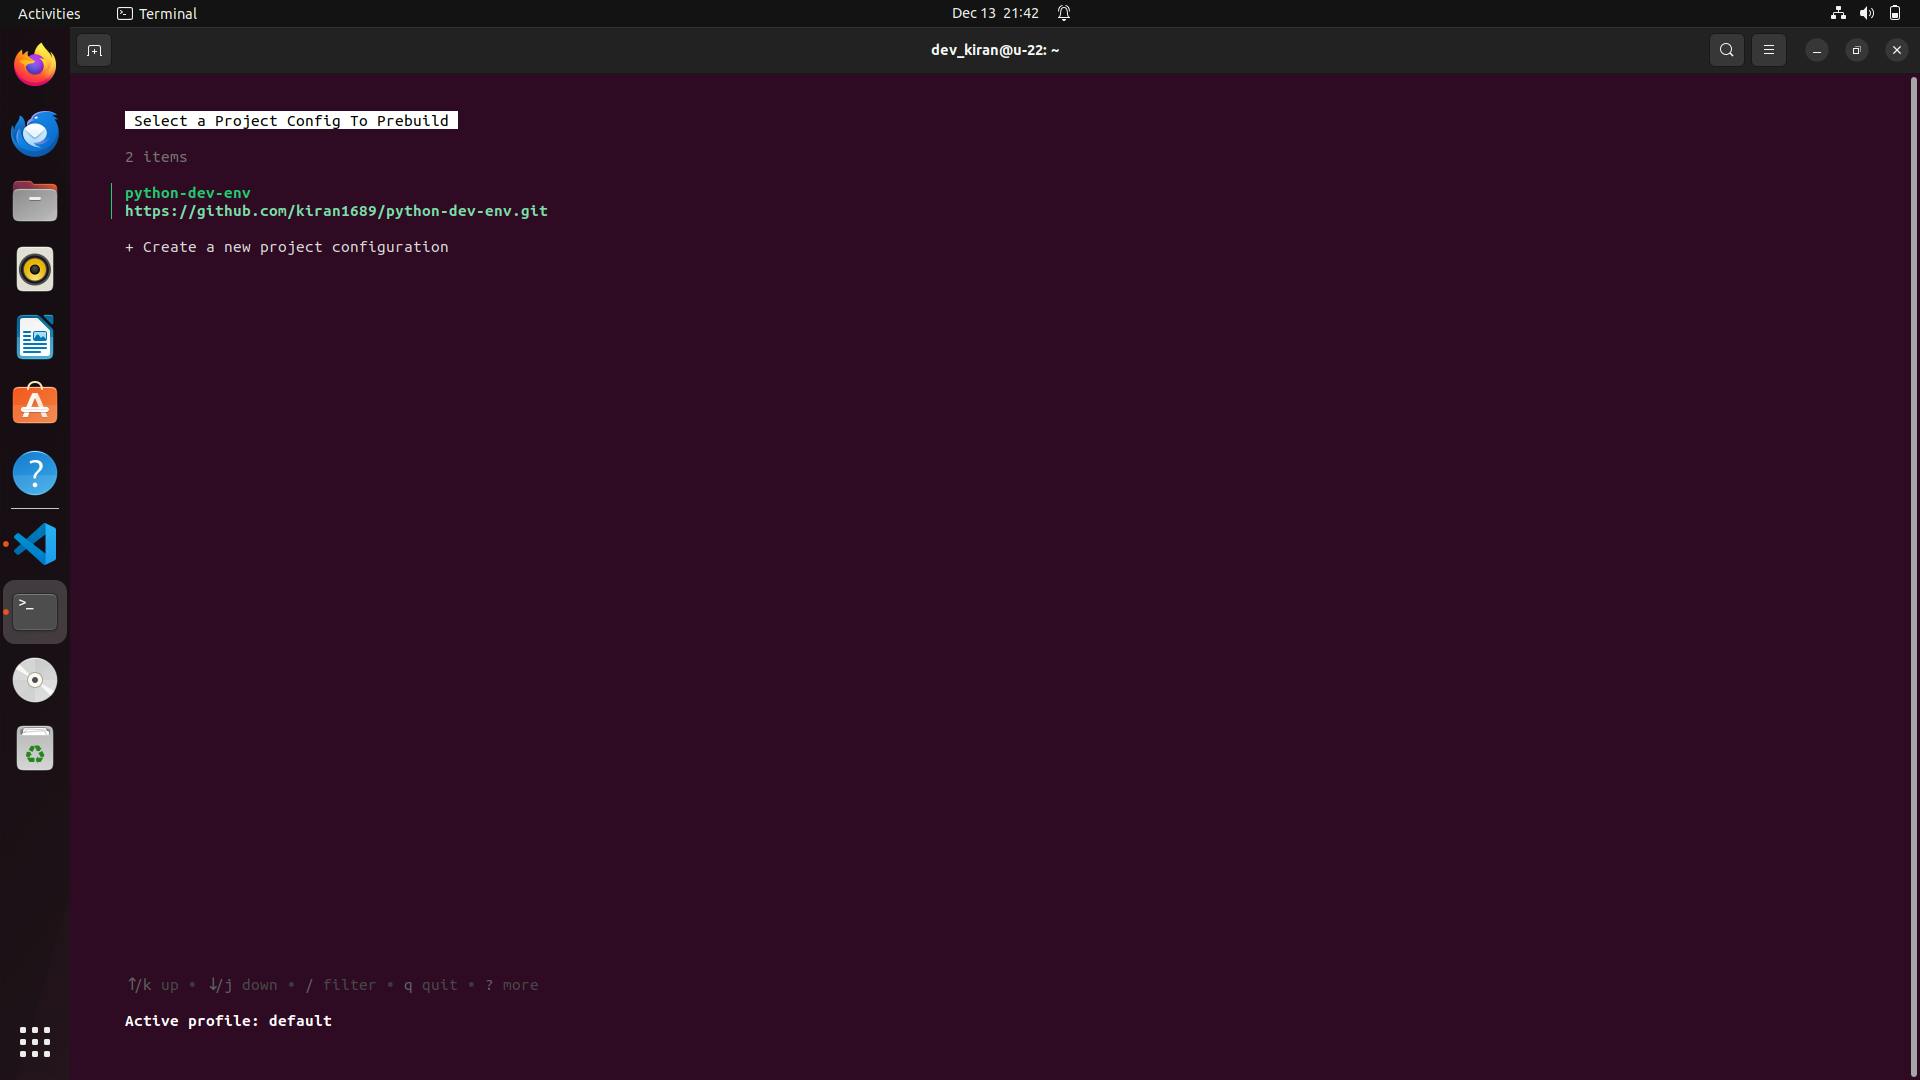
After that, Daytona will prompt you to enter several configuration options.
Here’s an overview:
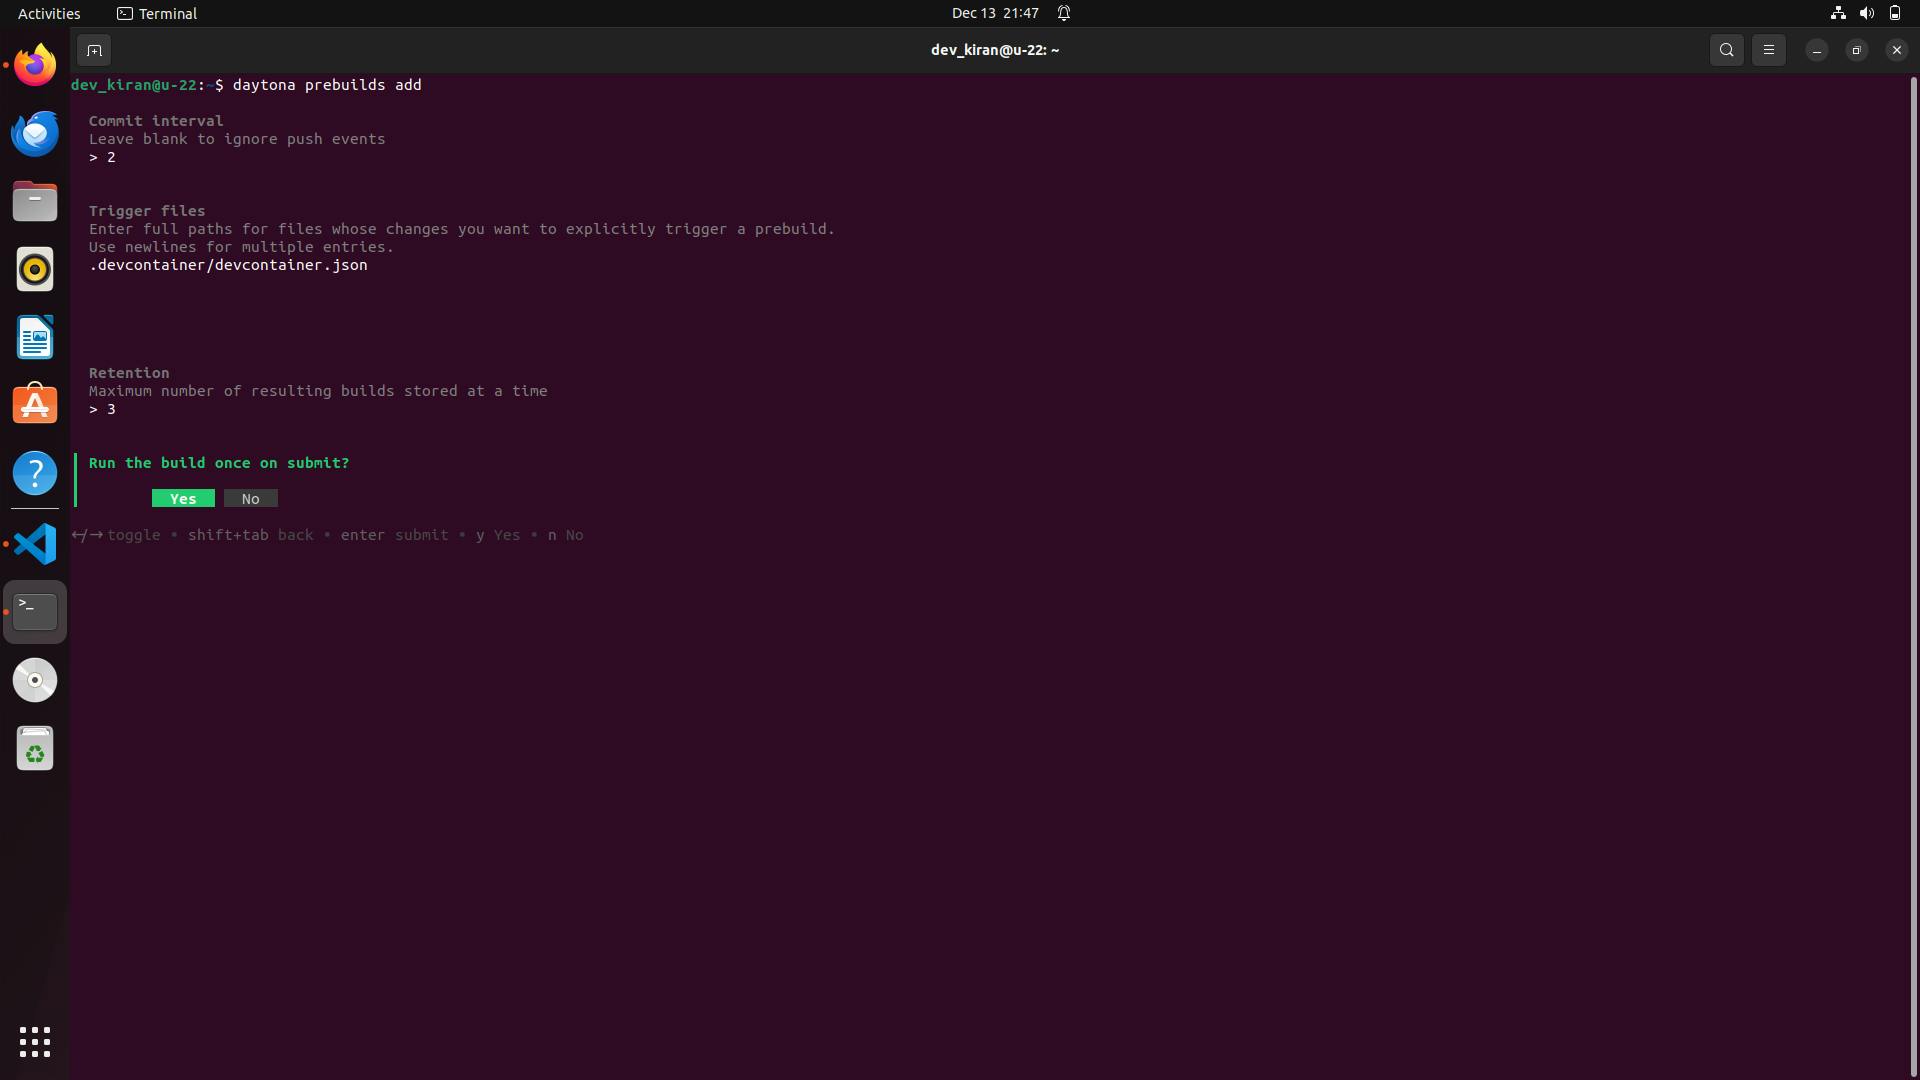
Commit interval
Set the commit interval for triggering builds for your project.
For instance, if you specify a commit interval of 2, the Prebuild will run after every 2 commits to the repository.
Trigger Files
Enter the file path whose changes you want to immediately trigger a Prebuild, without having to wait for the commit interval.
Retention
Define how many successful builds you want Daytona to remember (defaults to 3).
Select Yes to Run the build once submit.
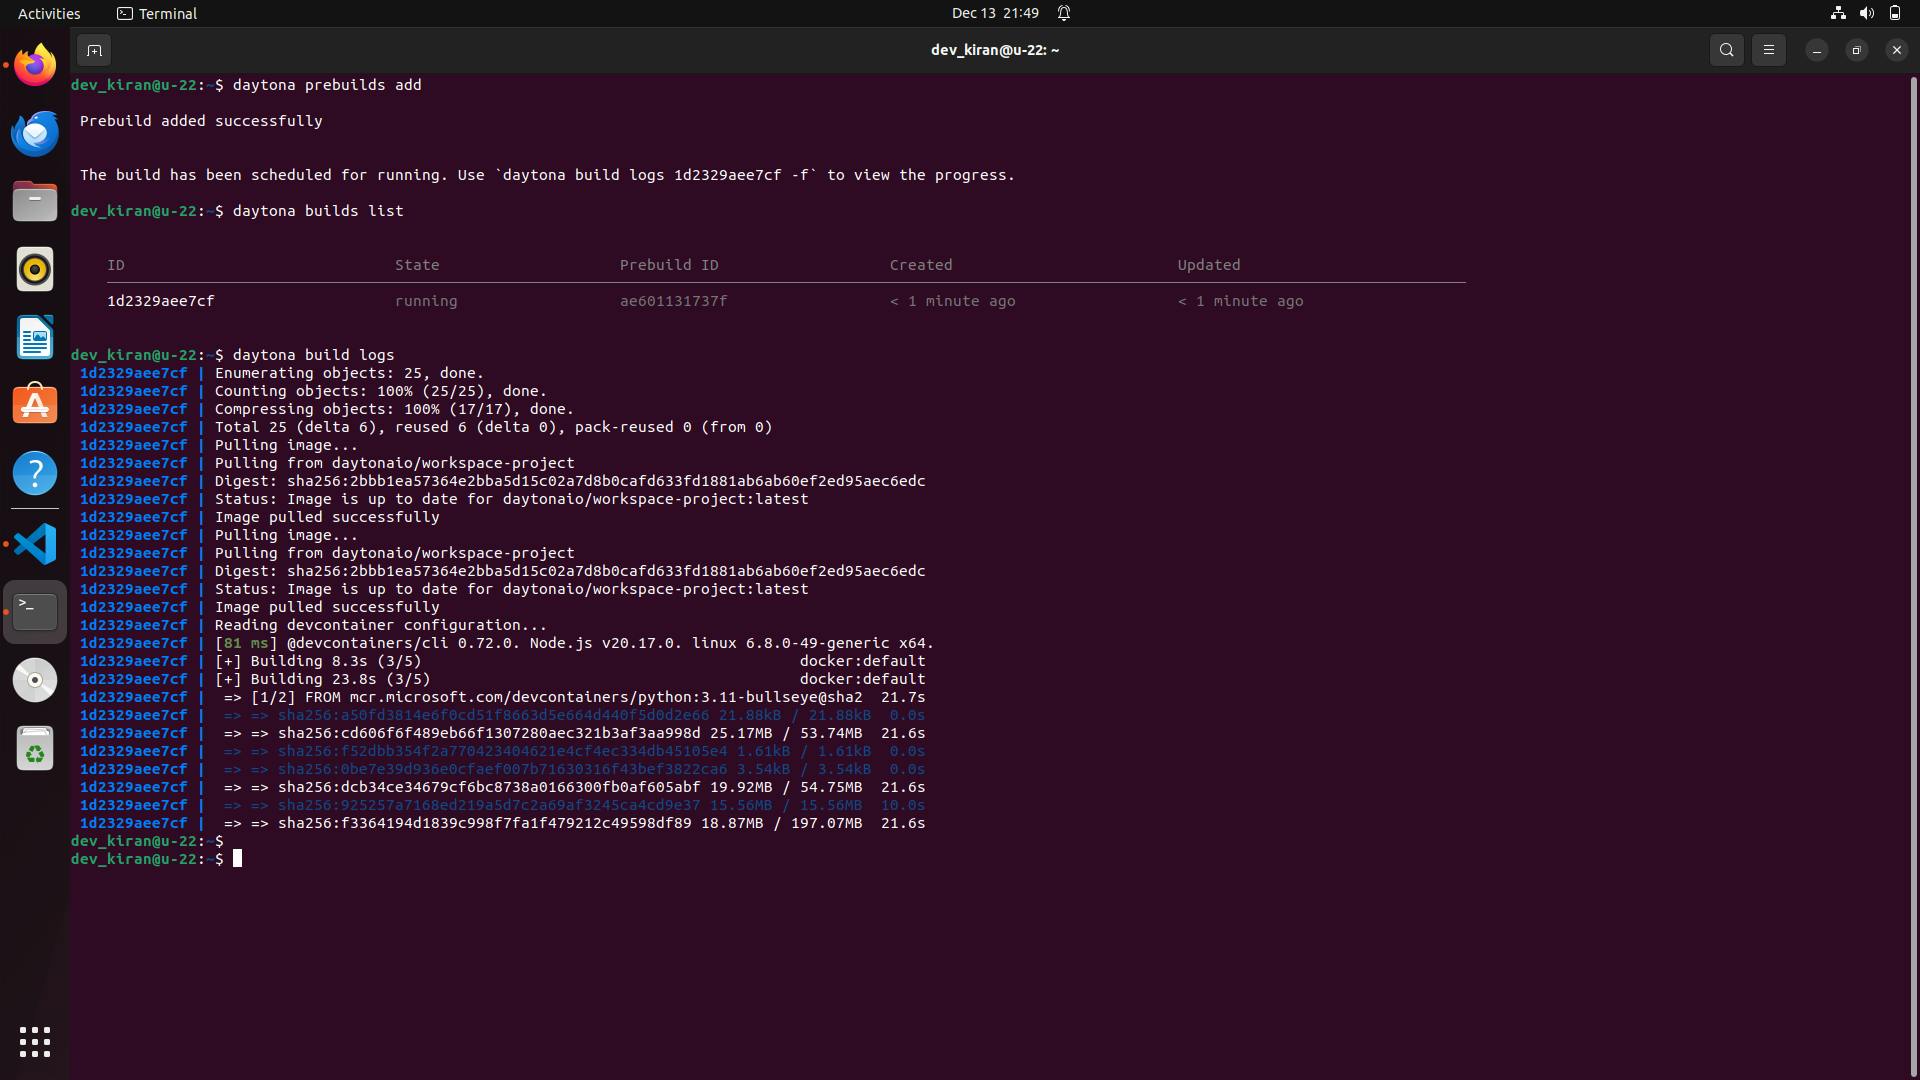
Once you add a Prebuild, it becomes active immediately based on the project configuration you provided and
a build process will automatically start in the background.
You can check the progress of the build by running the command:
1daytona build logs
Once the build process is complete, run the following command to create a Workspace using the configured project configuration:
1daytona create [PROJECT_CONFIG_NAME]
Upon running this command, Daytona will detect the most recent Prebuild associated with the selected project configuration. The Workspace will then use this Prebuild, significantly speeding up the setup process.
Prebuild is now configured for your project, automatically running when specified conditions like a set number of commits or changes to Trigger files occur. Subsequent Daytona create calls will detect and use the latest build for the project.
Managing Prebuilds
Daytona allows you to manage your Prebuilds through Daytona CLI.
List Prebuilds
Daytona allows you to list all Prebuilds, providing you with an overview
of the properties stored within each Prebuild configuration.
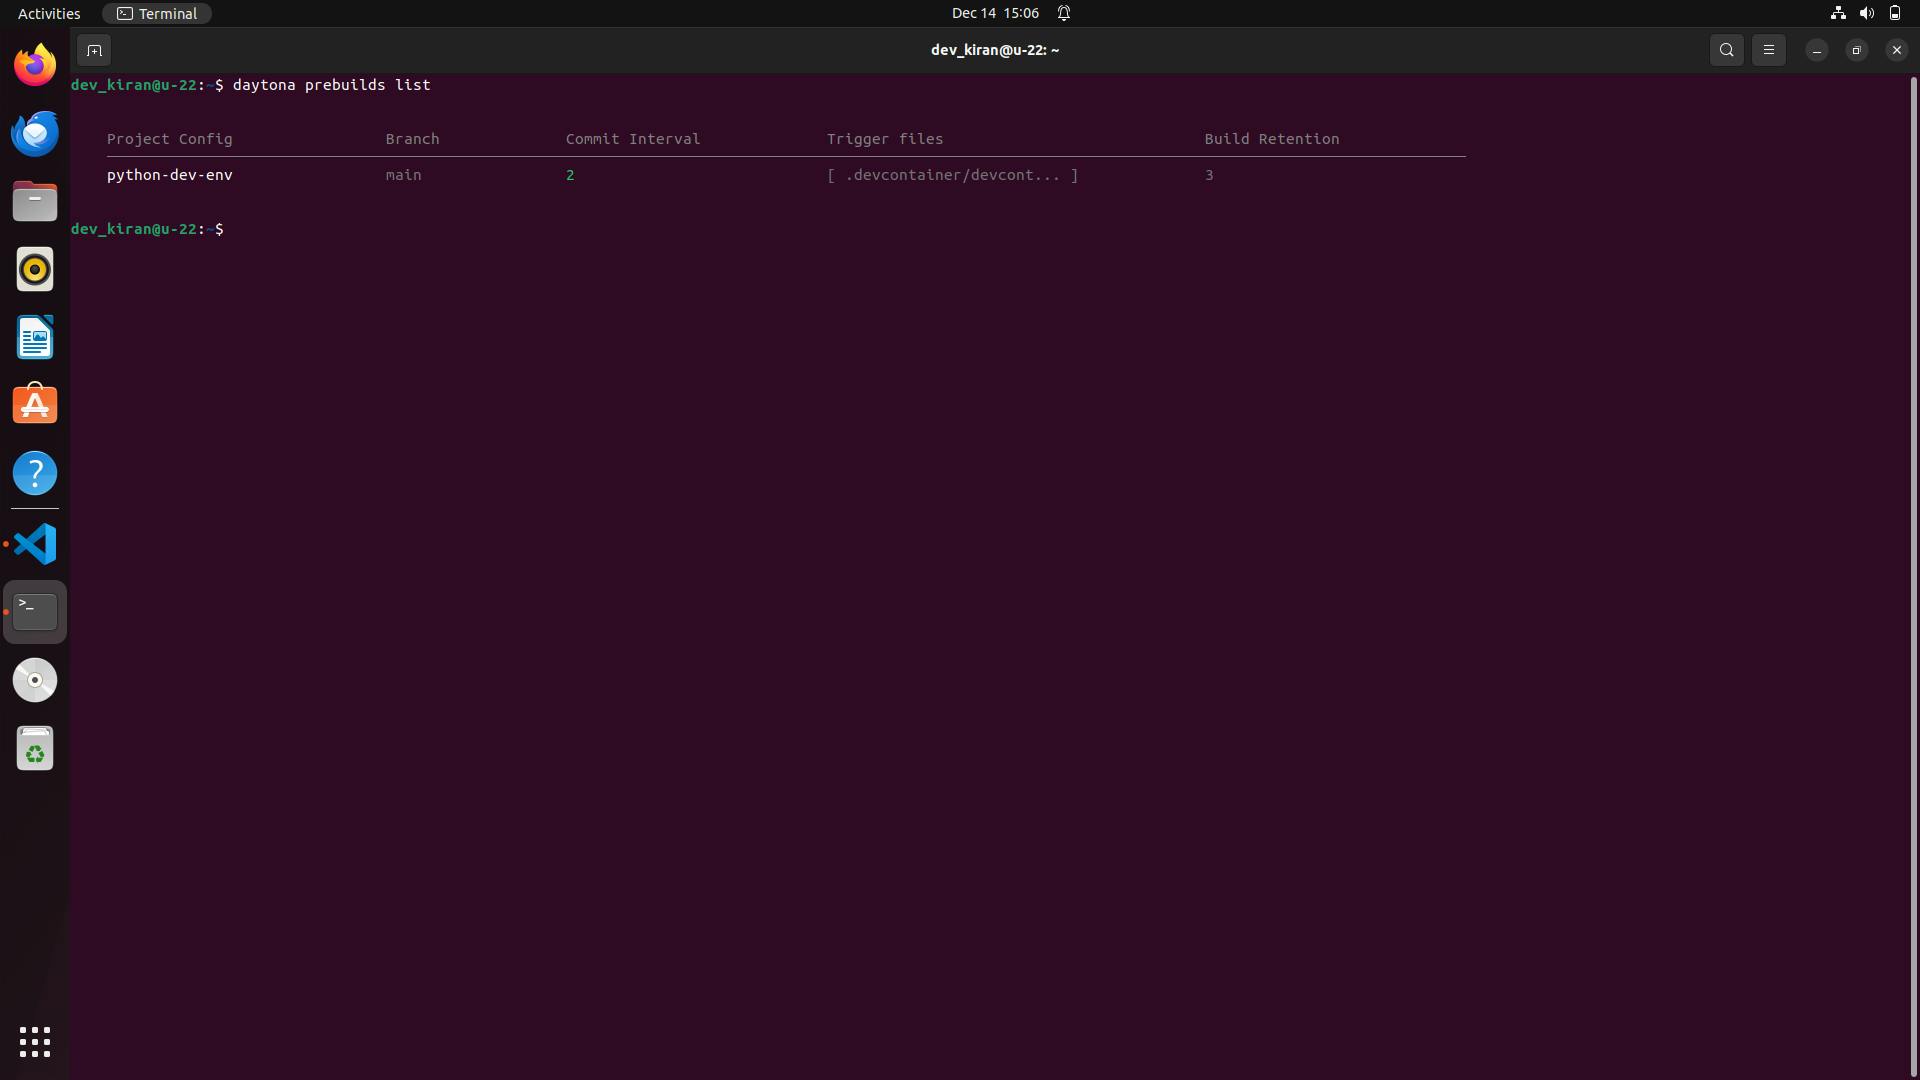
1daytona prebuilds list
Upon running this command, Daytona will display a list of your Prebuilds.
You will be able to view the project configuration, the branch it is linked to,
the commit interval, the trigger files, and the build retention.
Prebuilds Information
Daytona allows you to view detailed information of a Prebuild, providing you with an overview of the properties stored within it.
Run the following command to view the details of a Prebuild:
1daytona prebuilds info
It will prompt you to select the Prebuild you want to view.
Upon selecting the Prebuild, Daytona will display the details of the selected Prebuild.
You will be able to view the Prebuild ID, the project configuration, the branch it is linked to,
the commit interval, the trigger files, and the build retention.
Update Prebuilds
Daytona allows you to update a Prebuild, helping you manage and modify the Prebuild configuration.
Step 1: Run the following command to update a Prebuild
1daytona prebuilds update
Step 2: Select the Prebuild you want to update
Upon selecting the Prebuild, Daytona will prompt you to update the Prebuild commit interval, trigger files, and build retention.
Delete Prebuilds
Daytona allows you to delete Prebuilds, helping you manage and remove those that are no longer needed.
Run the following command to delete a Prebuild:
1daytona prebuilds delete
It will prompt you to select the Prebuild you want to delete. Upon selecting the Prebuild, Daytona will delete that Prebuild.
Benefits of Using Prebuilds
Faster Startup Times: Dramatically reduce the time it takes to create new workspaces.
Improved Productivity: Spend less time waiting and more time coding.
Consistent Environments: Ensure all team members start with the same, up-to-date workspace configuration.
Resource Efficiency: Optimize resource usage by having environments ready when you need them.
Conclusion
Prebuilds in Daytona offer a powerful way to streamline workspace creation and boost development efficiency. By setting up prebuilds, you can ensure faster, more consistent, and resource-efficient workflows. To fully harness the power of prebuilds, start by configuring your projects, automating your build triggers, and optimizing your environment setup for success.